 Digging a pooper is high on our list of priorities.
It’s not every day you get to say that but our new property in Plain, WA has no place to poo, and in the near future, we are planning on hosting weekend camping parties and big group rafting trips. Since we can’t very well have lots of people dropping deuces behind every other tree it requires a creative solution.
 So the past few weekends have been dedicated to sorting out our toilet situation.
A few years down the road, we’re going to have a full septic system, so this is probably just going to be a temporary solution – one that we hope will cost us next to nothing as opposed to a $10,000 system. Since I’m hoping to use mostly salvaged lumber scraps and scrounged materials from the area, my total budget should be around $50.
Another parameter: There’s no electricity, so I’ll be cutting everything with a chainsaw and doing the assembly with battery powered drills.
I started by looking up some basic designs on the internet, but most plans seemed to be geared toward servicing an entire village. Ours will only get occasional use, so the hole won’t be as massive as the types you see in the big National Parks.
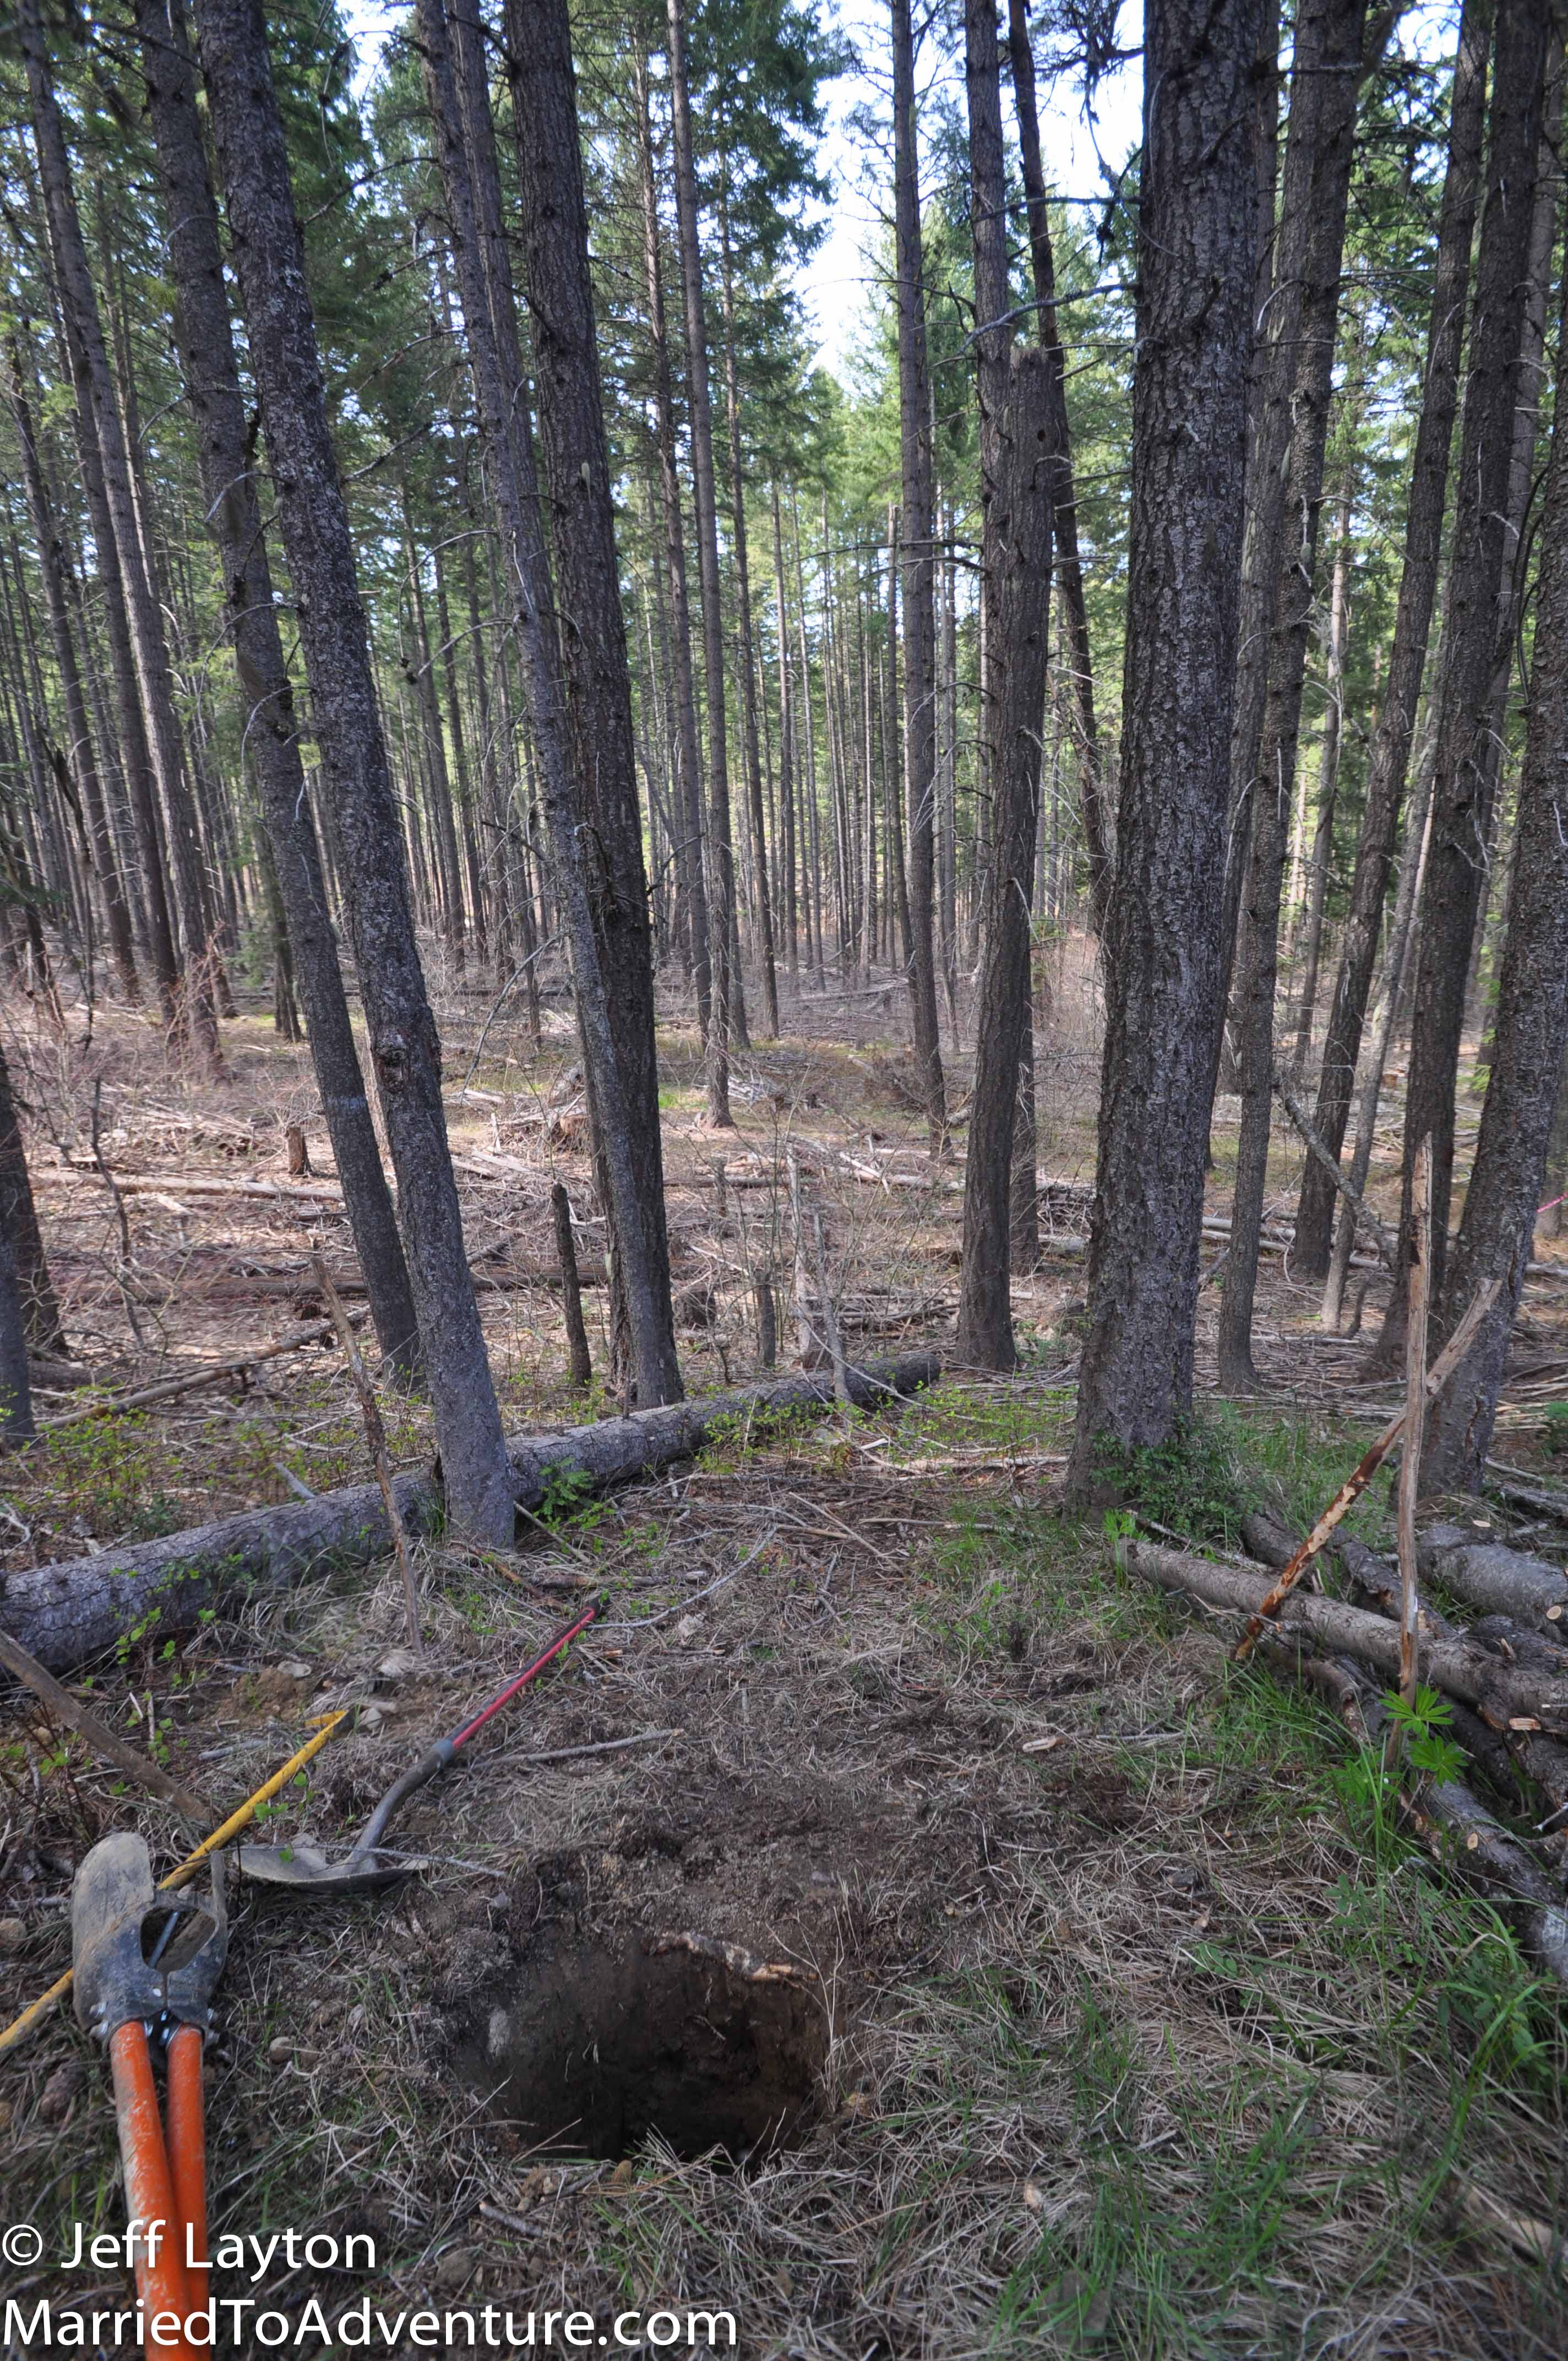
Still, six feet deep seems to be the standard in the outdoor commode world, so the rest is just a matter of constructing a seat, and some kind of roof/privacy screen.
Easy Right?
Well, like all building projects, there were a few refinements along the way.
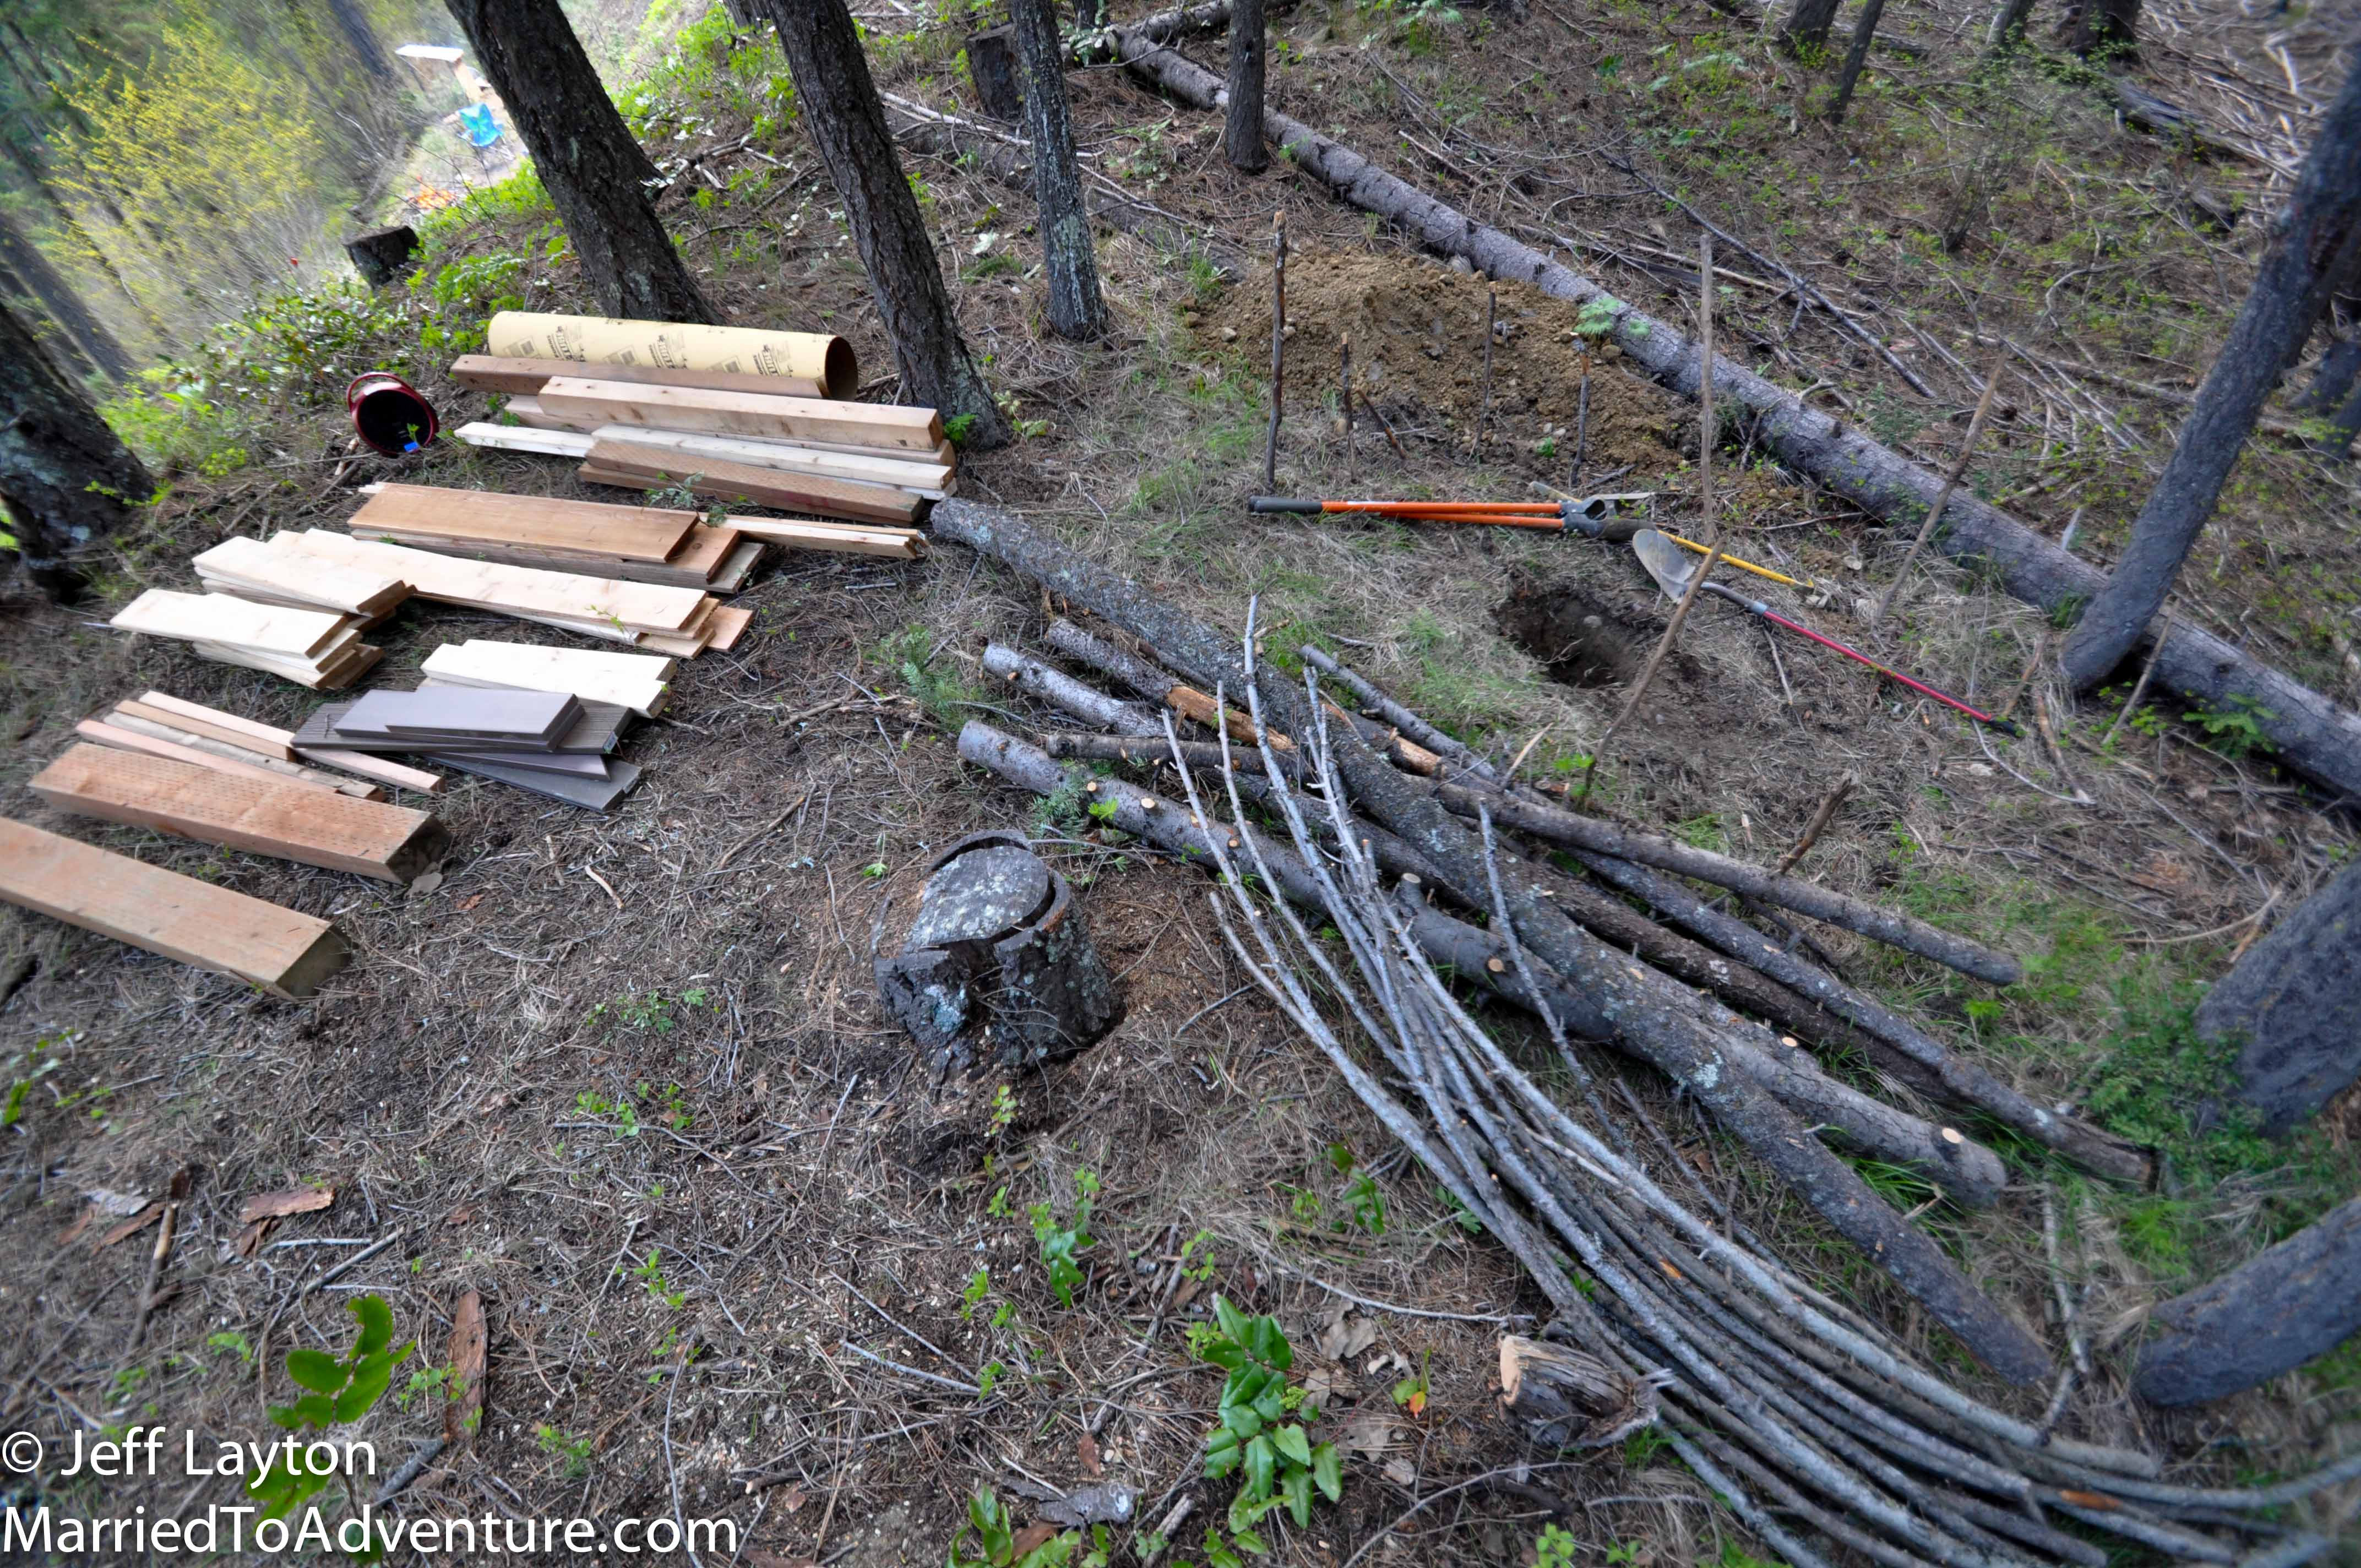
First up: digging. All went well for the first four feet, with the soil being an easy mixture of sand and gravel. Then I hit a layer of clay, and my shovel went thud. From there, it was tedious, hand-slamming work knocking out chunks of clay with a steel pry bar and hoisting it out with a posthole digger.
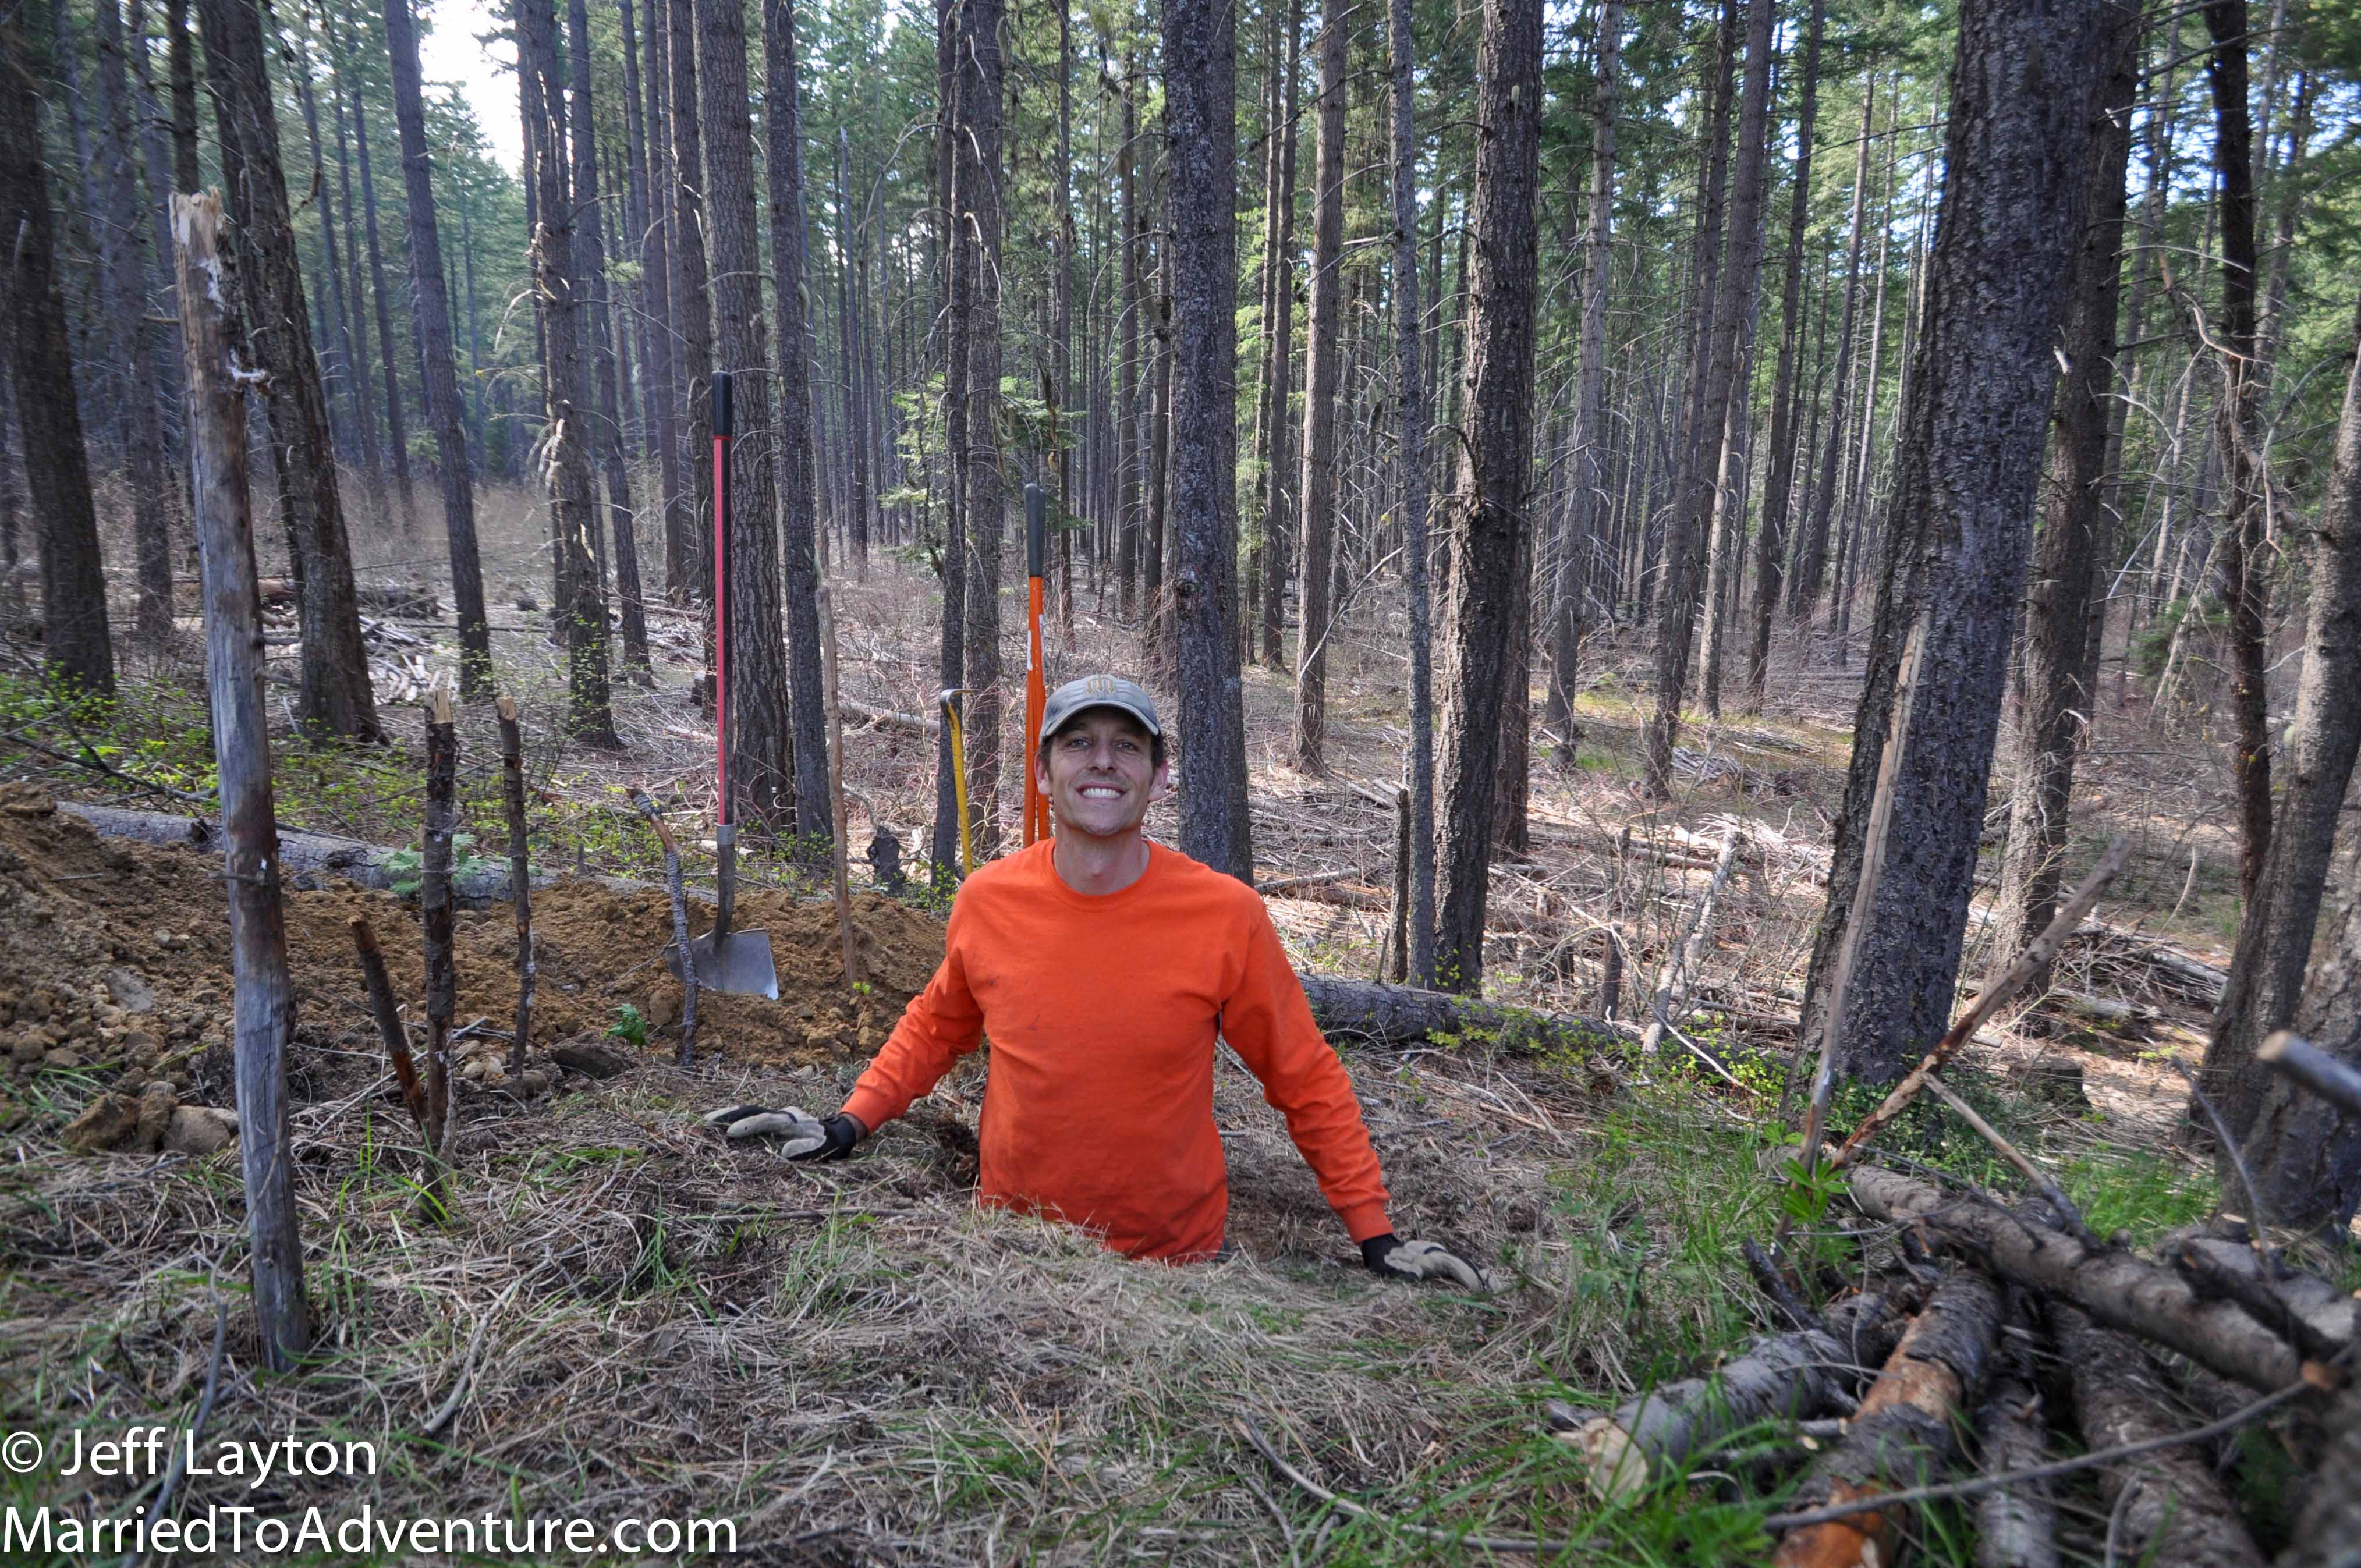
I hope this will be the only time I ever have to stand in an outhouse hole
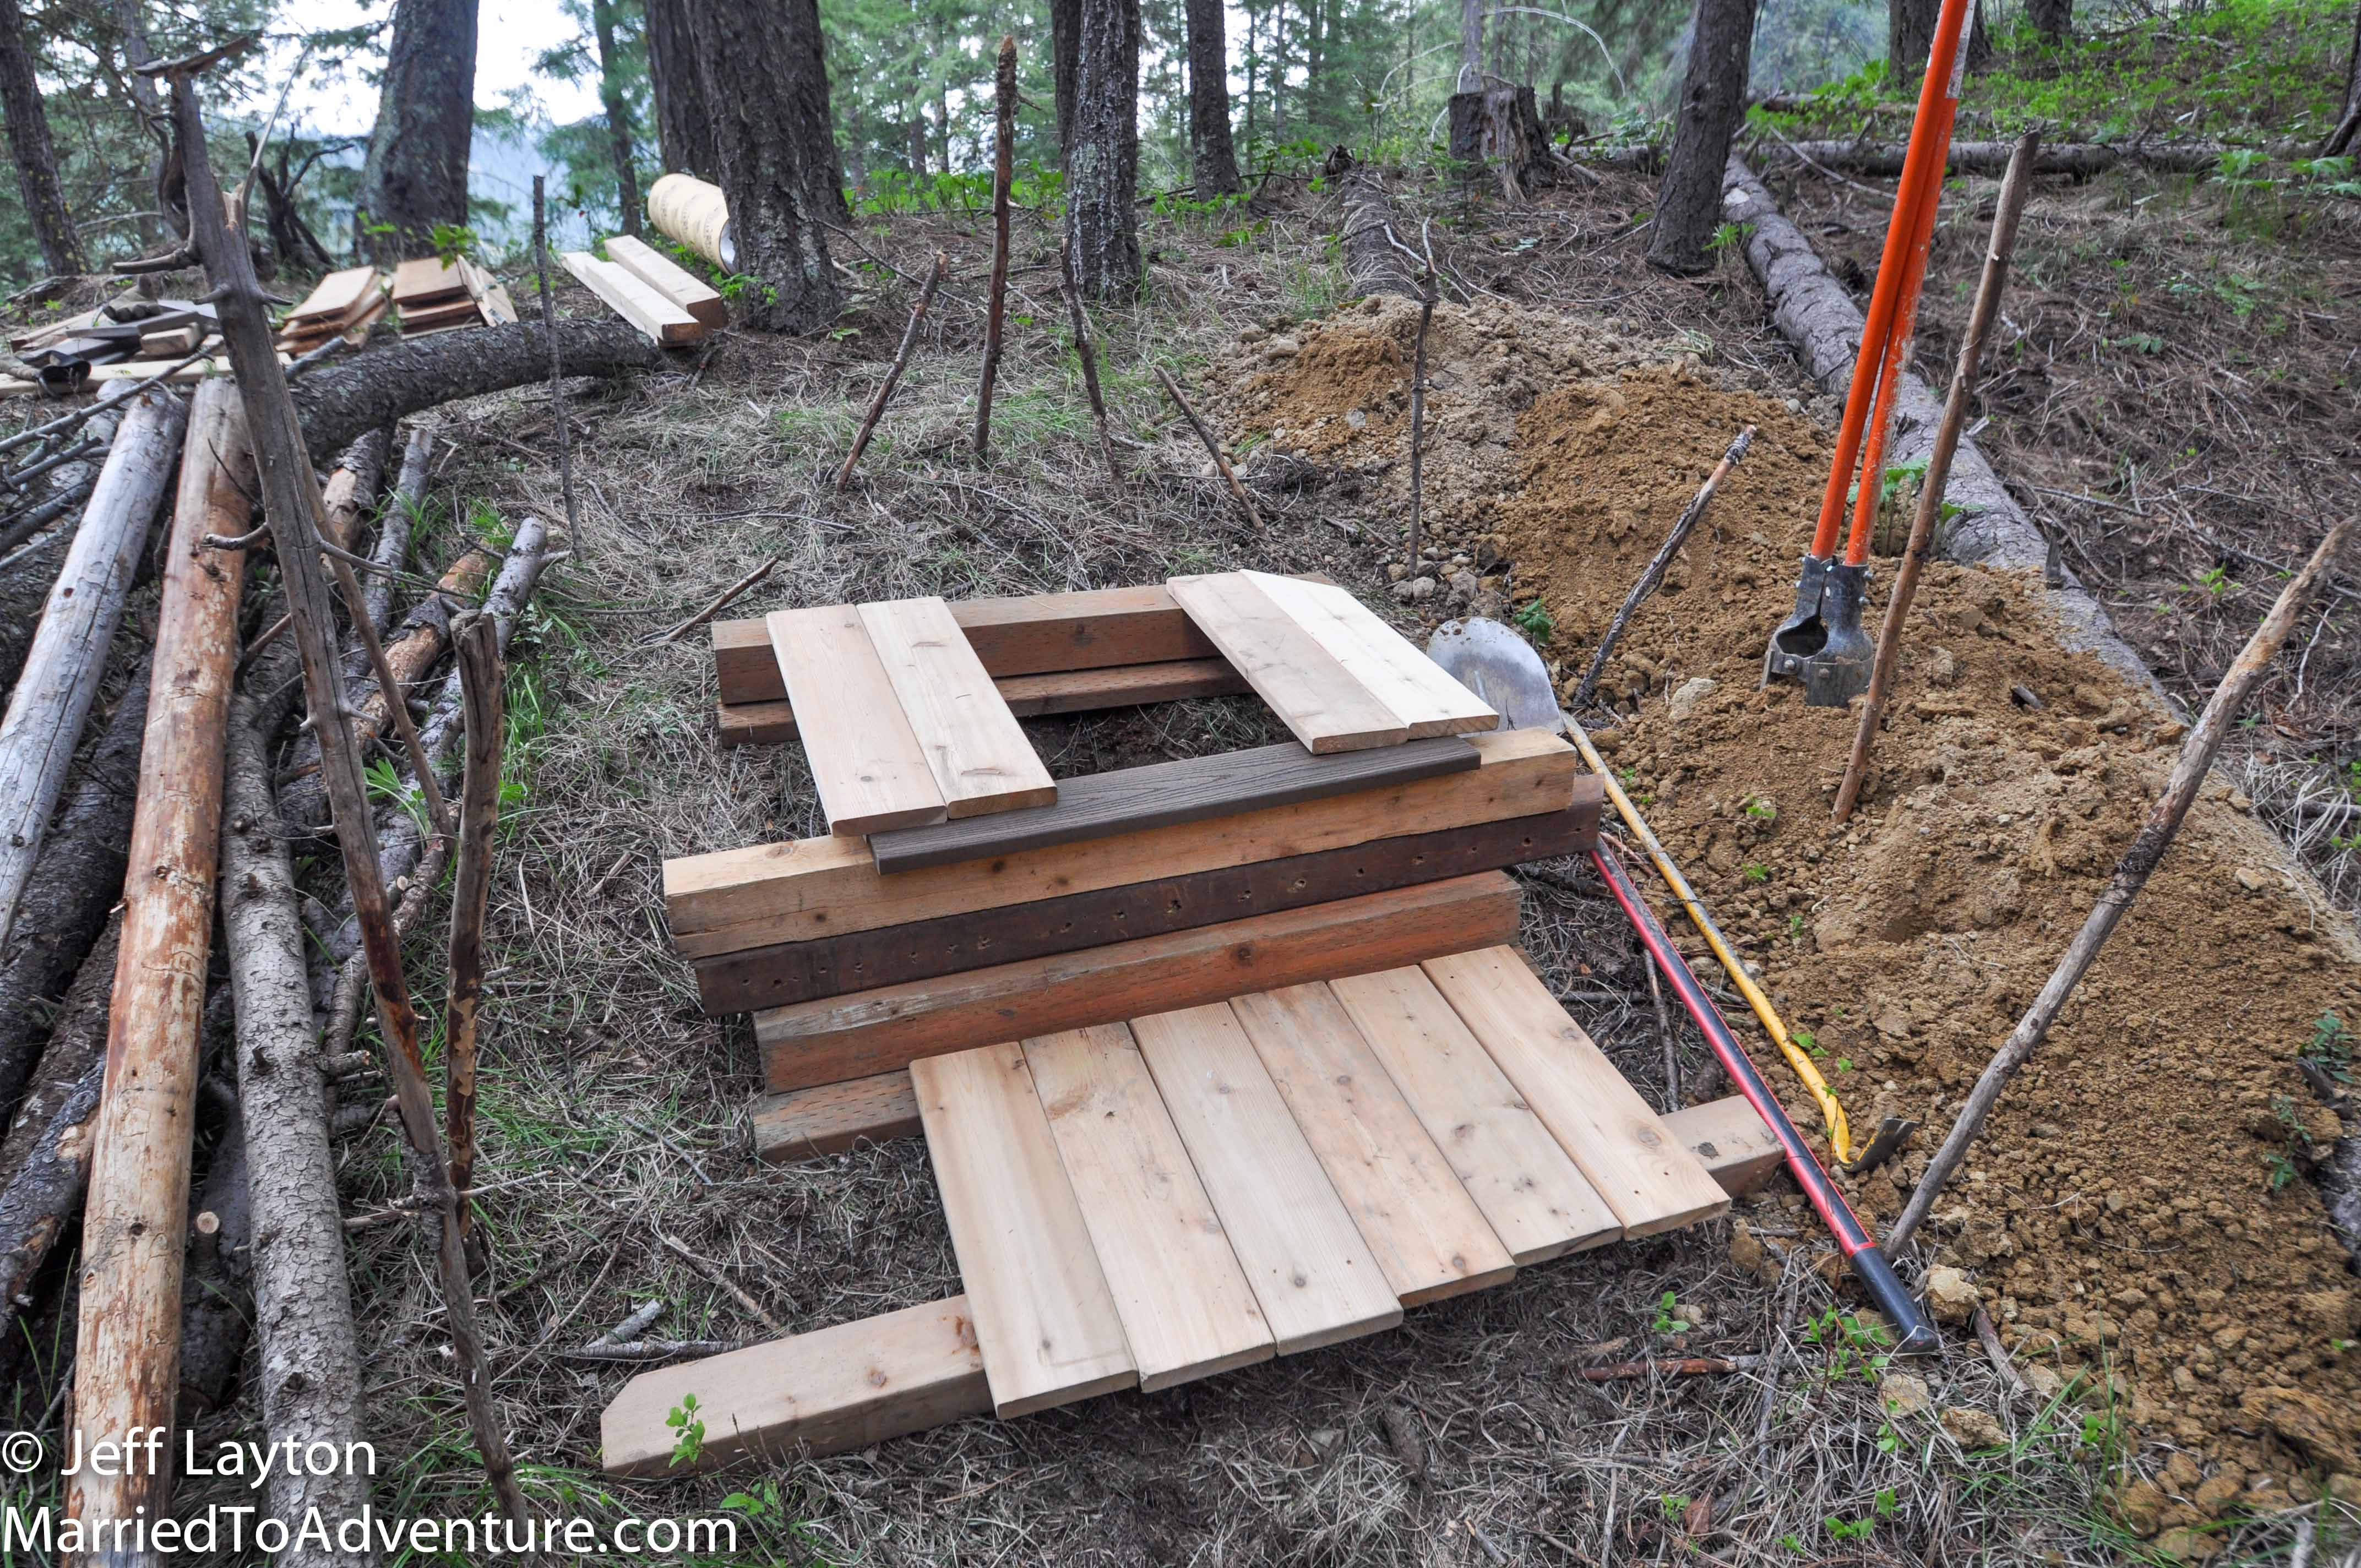
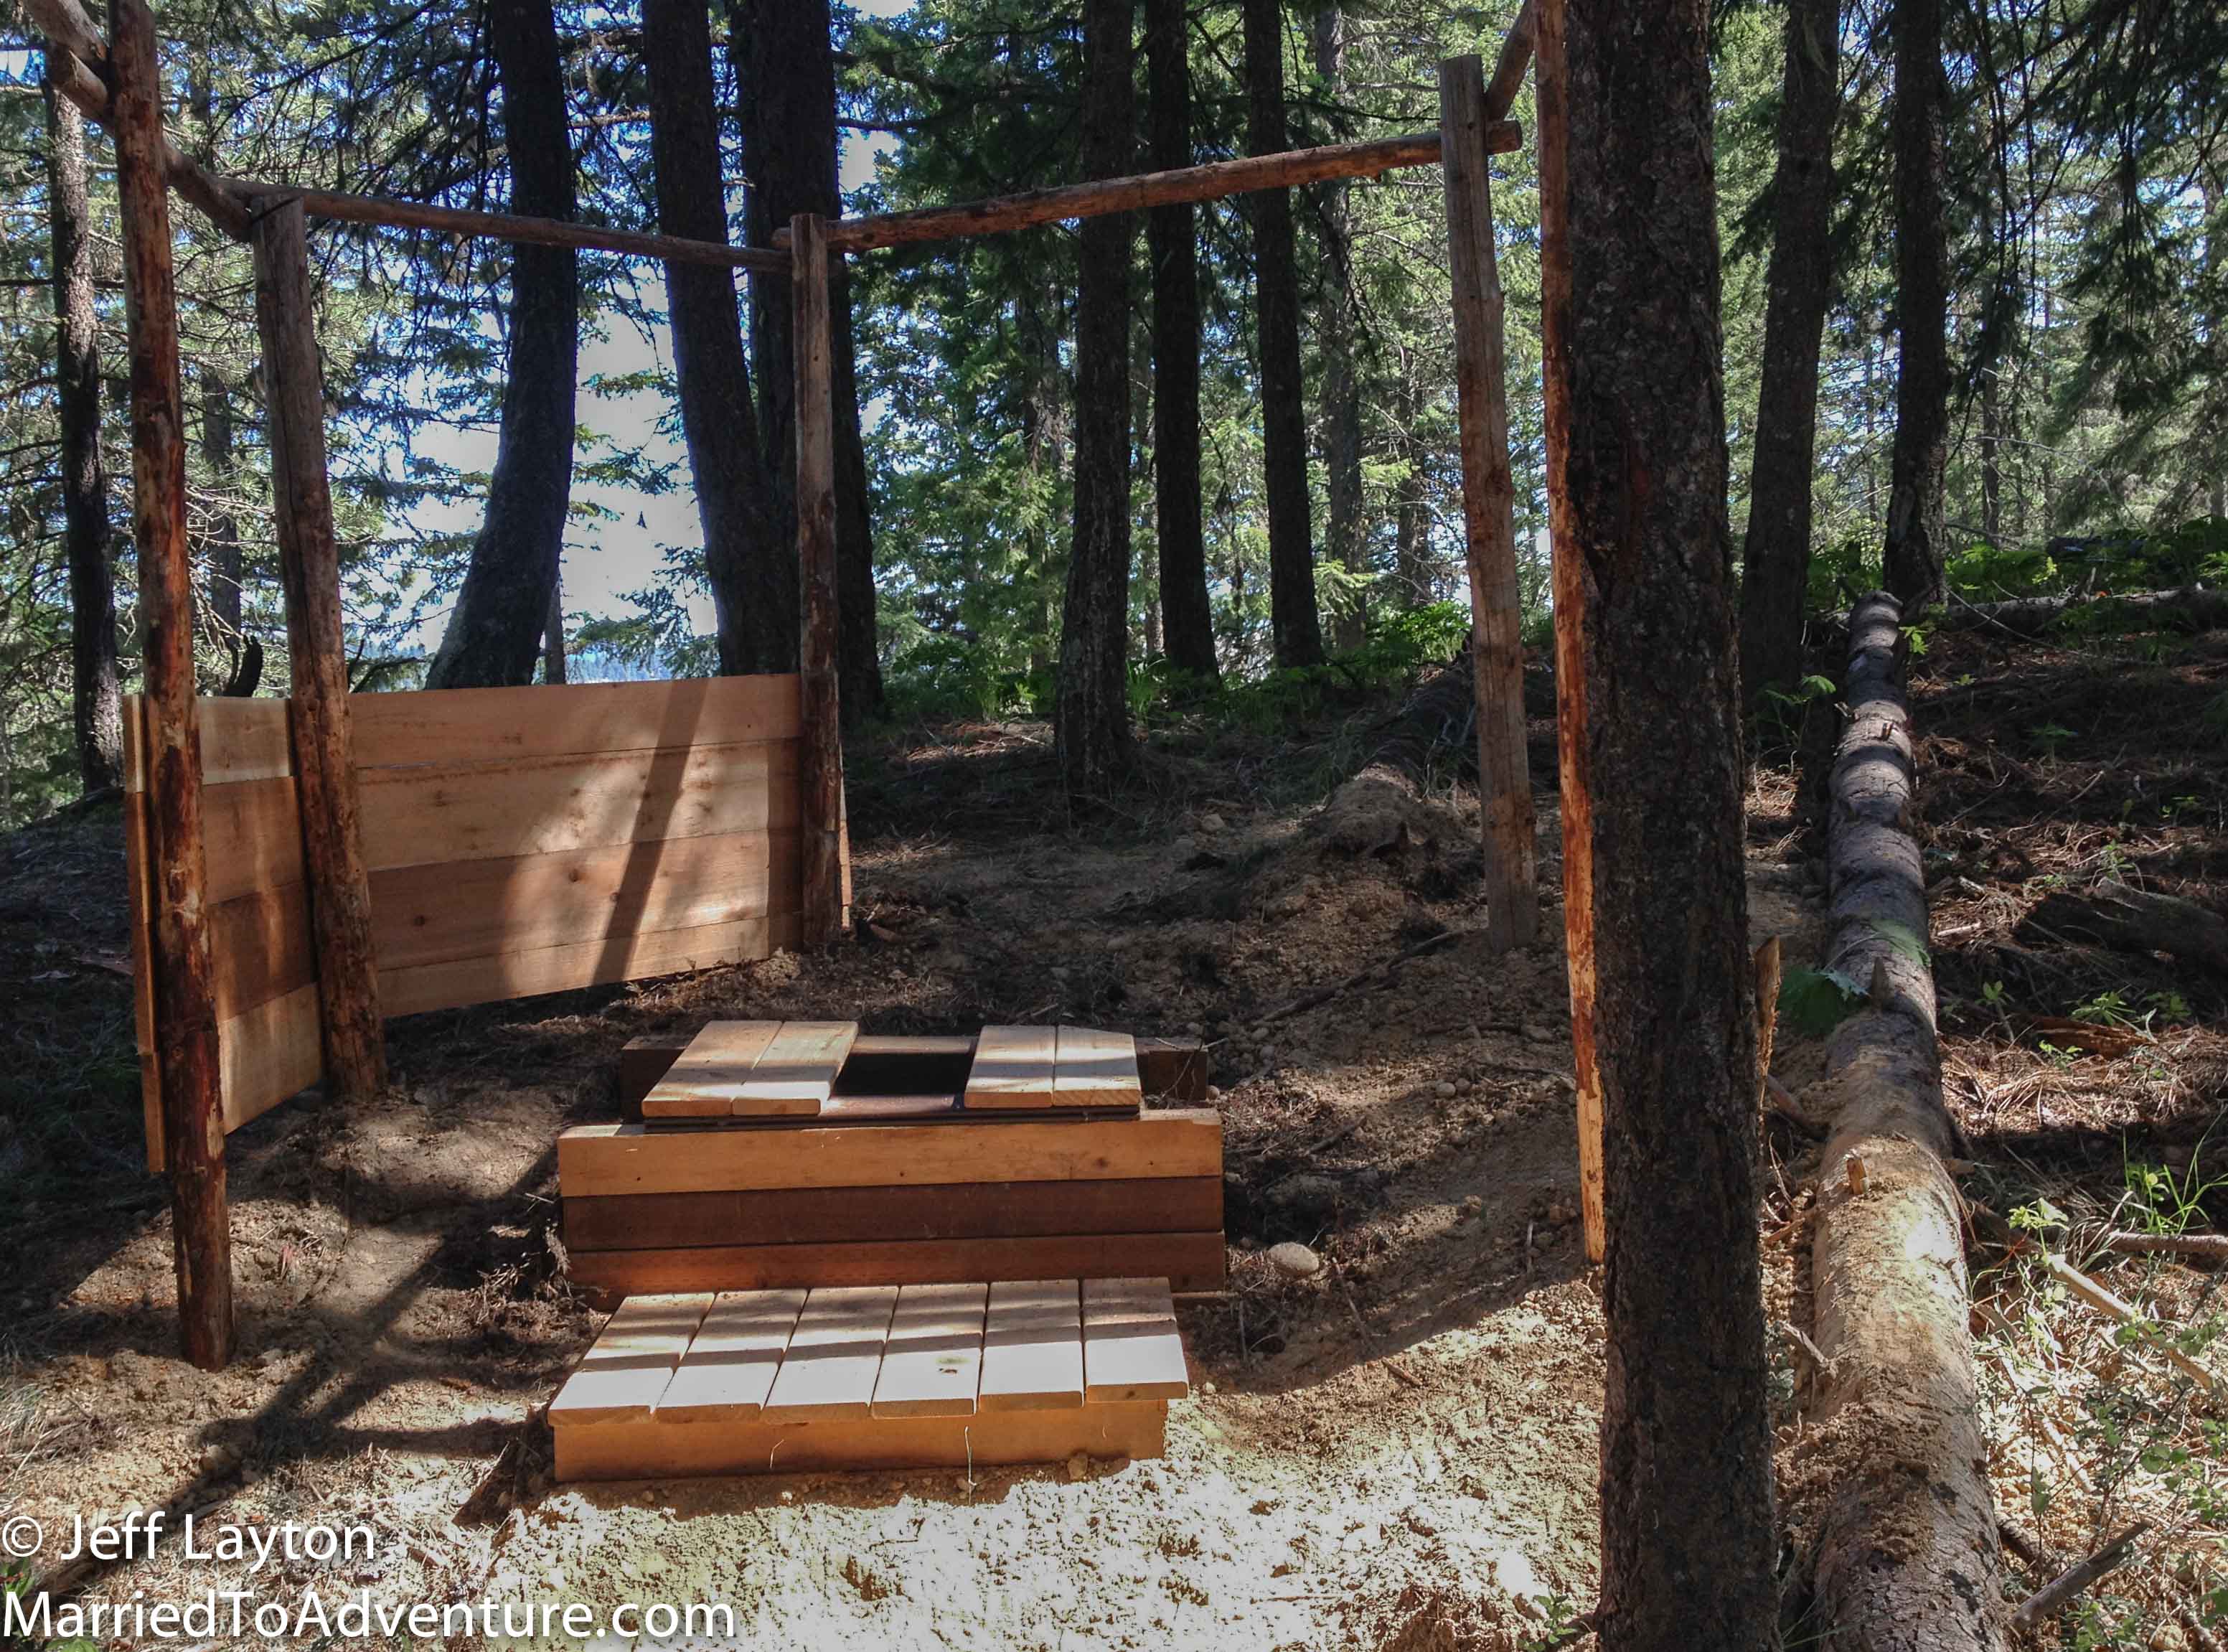
When the hole was finally done, it was onto the seat. I decided to take advantage of the natural slope and built the seat directly on the ground with a little foot rest – using pressure treated lumber where there was ground contact, and scrap cedar for the rest. I drilled holes through the footers and pounded 3′ long rebar into the soil to hold the thing in position, because I thought it would suck if your seat started to slide downhill like a sled while you were sitting there with your pants around your ankles.
Once the box was constructed, we took it for a few, ahem, test runs, and we discovered that cedar was probably not the ideal choice of materials, since it absorbs liquids. So I began swapping out the… target areas with pieces of scrap composite decking. Since it’s made of PVC (the same stuff that’s used in plumbing pipes) I figured, it wouldn’t damage or stain when it got a little damp from time to time. Now all that’s left is to source a free toilet seat.
Since the structure is going to be open air (for now) I’m not worried about ventilation, but if I end up enclosing the room like a traditional outhouse, I’ll run a black pipe from the hole through the top of the ceiling. The idea being that the sun warms the black pipe and draws out all the odor.
The Eastern side of the Cascade Mountains doesn’t see a lot or rain, but snow is a different story. Since I want to use our pit toilet it in all seasons, I have to consider some kind of cover, and it has to withstand the 3 feet of snow Plain can have on the ground during the winter months.
I was trying to decide what to use for the framing when I went for a walk in the National Forest behind the property. And what did I find? Hundreds of thick branches 4 to 6” in diameter – all straight, limbed and neatly piled every 40 yards by our friendly neighborhood Forest Service.
Some years ago, they thinned the dell behind our property, and what they couldn’t use for board timber, they left behind for…? No idea.
There’s so much quality wood back there, that I’m going to spend years scrounging lumber for building projects. Unless a forest fire gets it first.
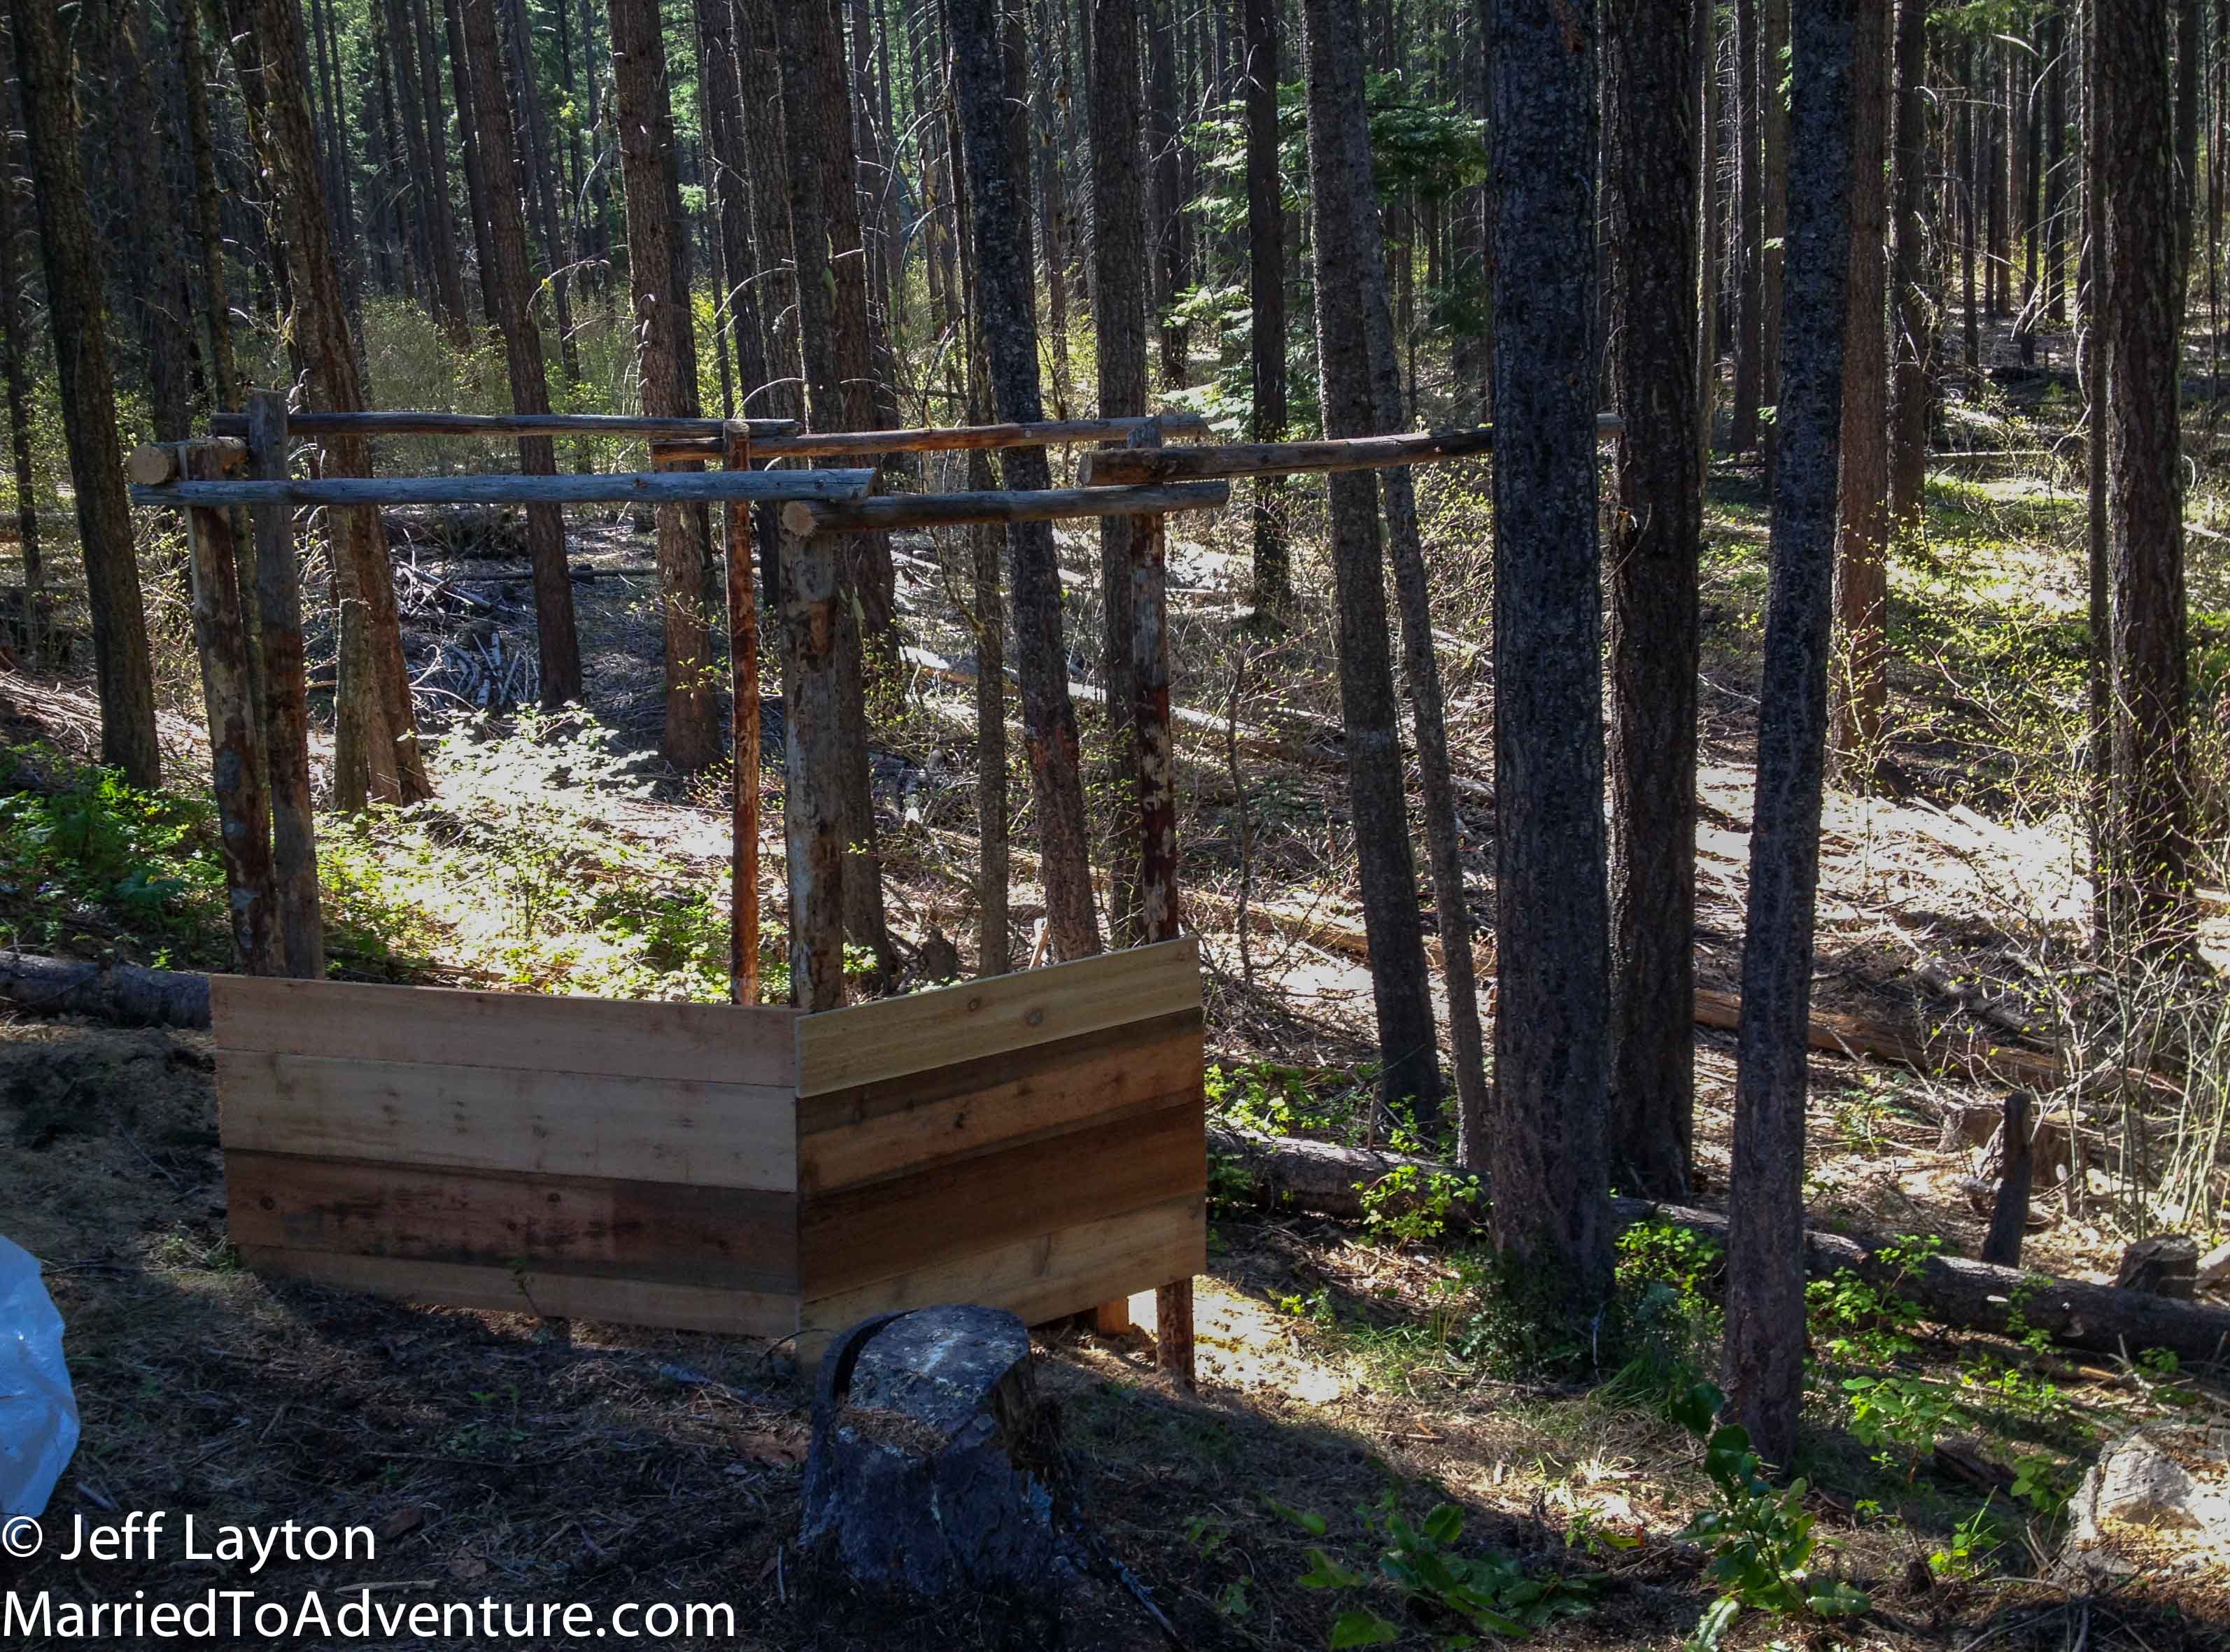
With a few swipes of the machete, the bark comes flying off, and viola! Instant posts, clean and smooth, which is really the theme you want for your outhouse.
I buried the posts in about two feet of soil, and added a few pieces of scrap wood for a well-positioned privacy screen, so we can avoid uncomfortable encounters when someone comes walking down the trail. And with that, we’re calling it done.
This fall I’ll add some kind of vaulted ceiling with more scrounged timber, and I still have to figure out what to use for the walls and roofing, but for the time being, we have a serviceable john with a million dollar view!
The only thing left to do is install a creative little toilet roll holder and buy a small metal trash can that we plan to fill with ashes from our burn piles. In theory, this will help cut down the odor and help the contents compost We’ve also seen wood shavings used for this purpose, so we may pick up a bag of sawdust from the nearest mill.
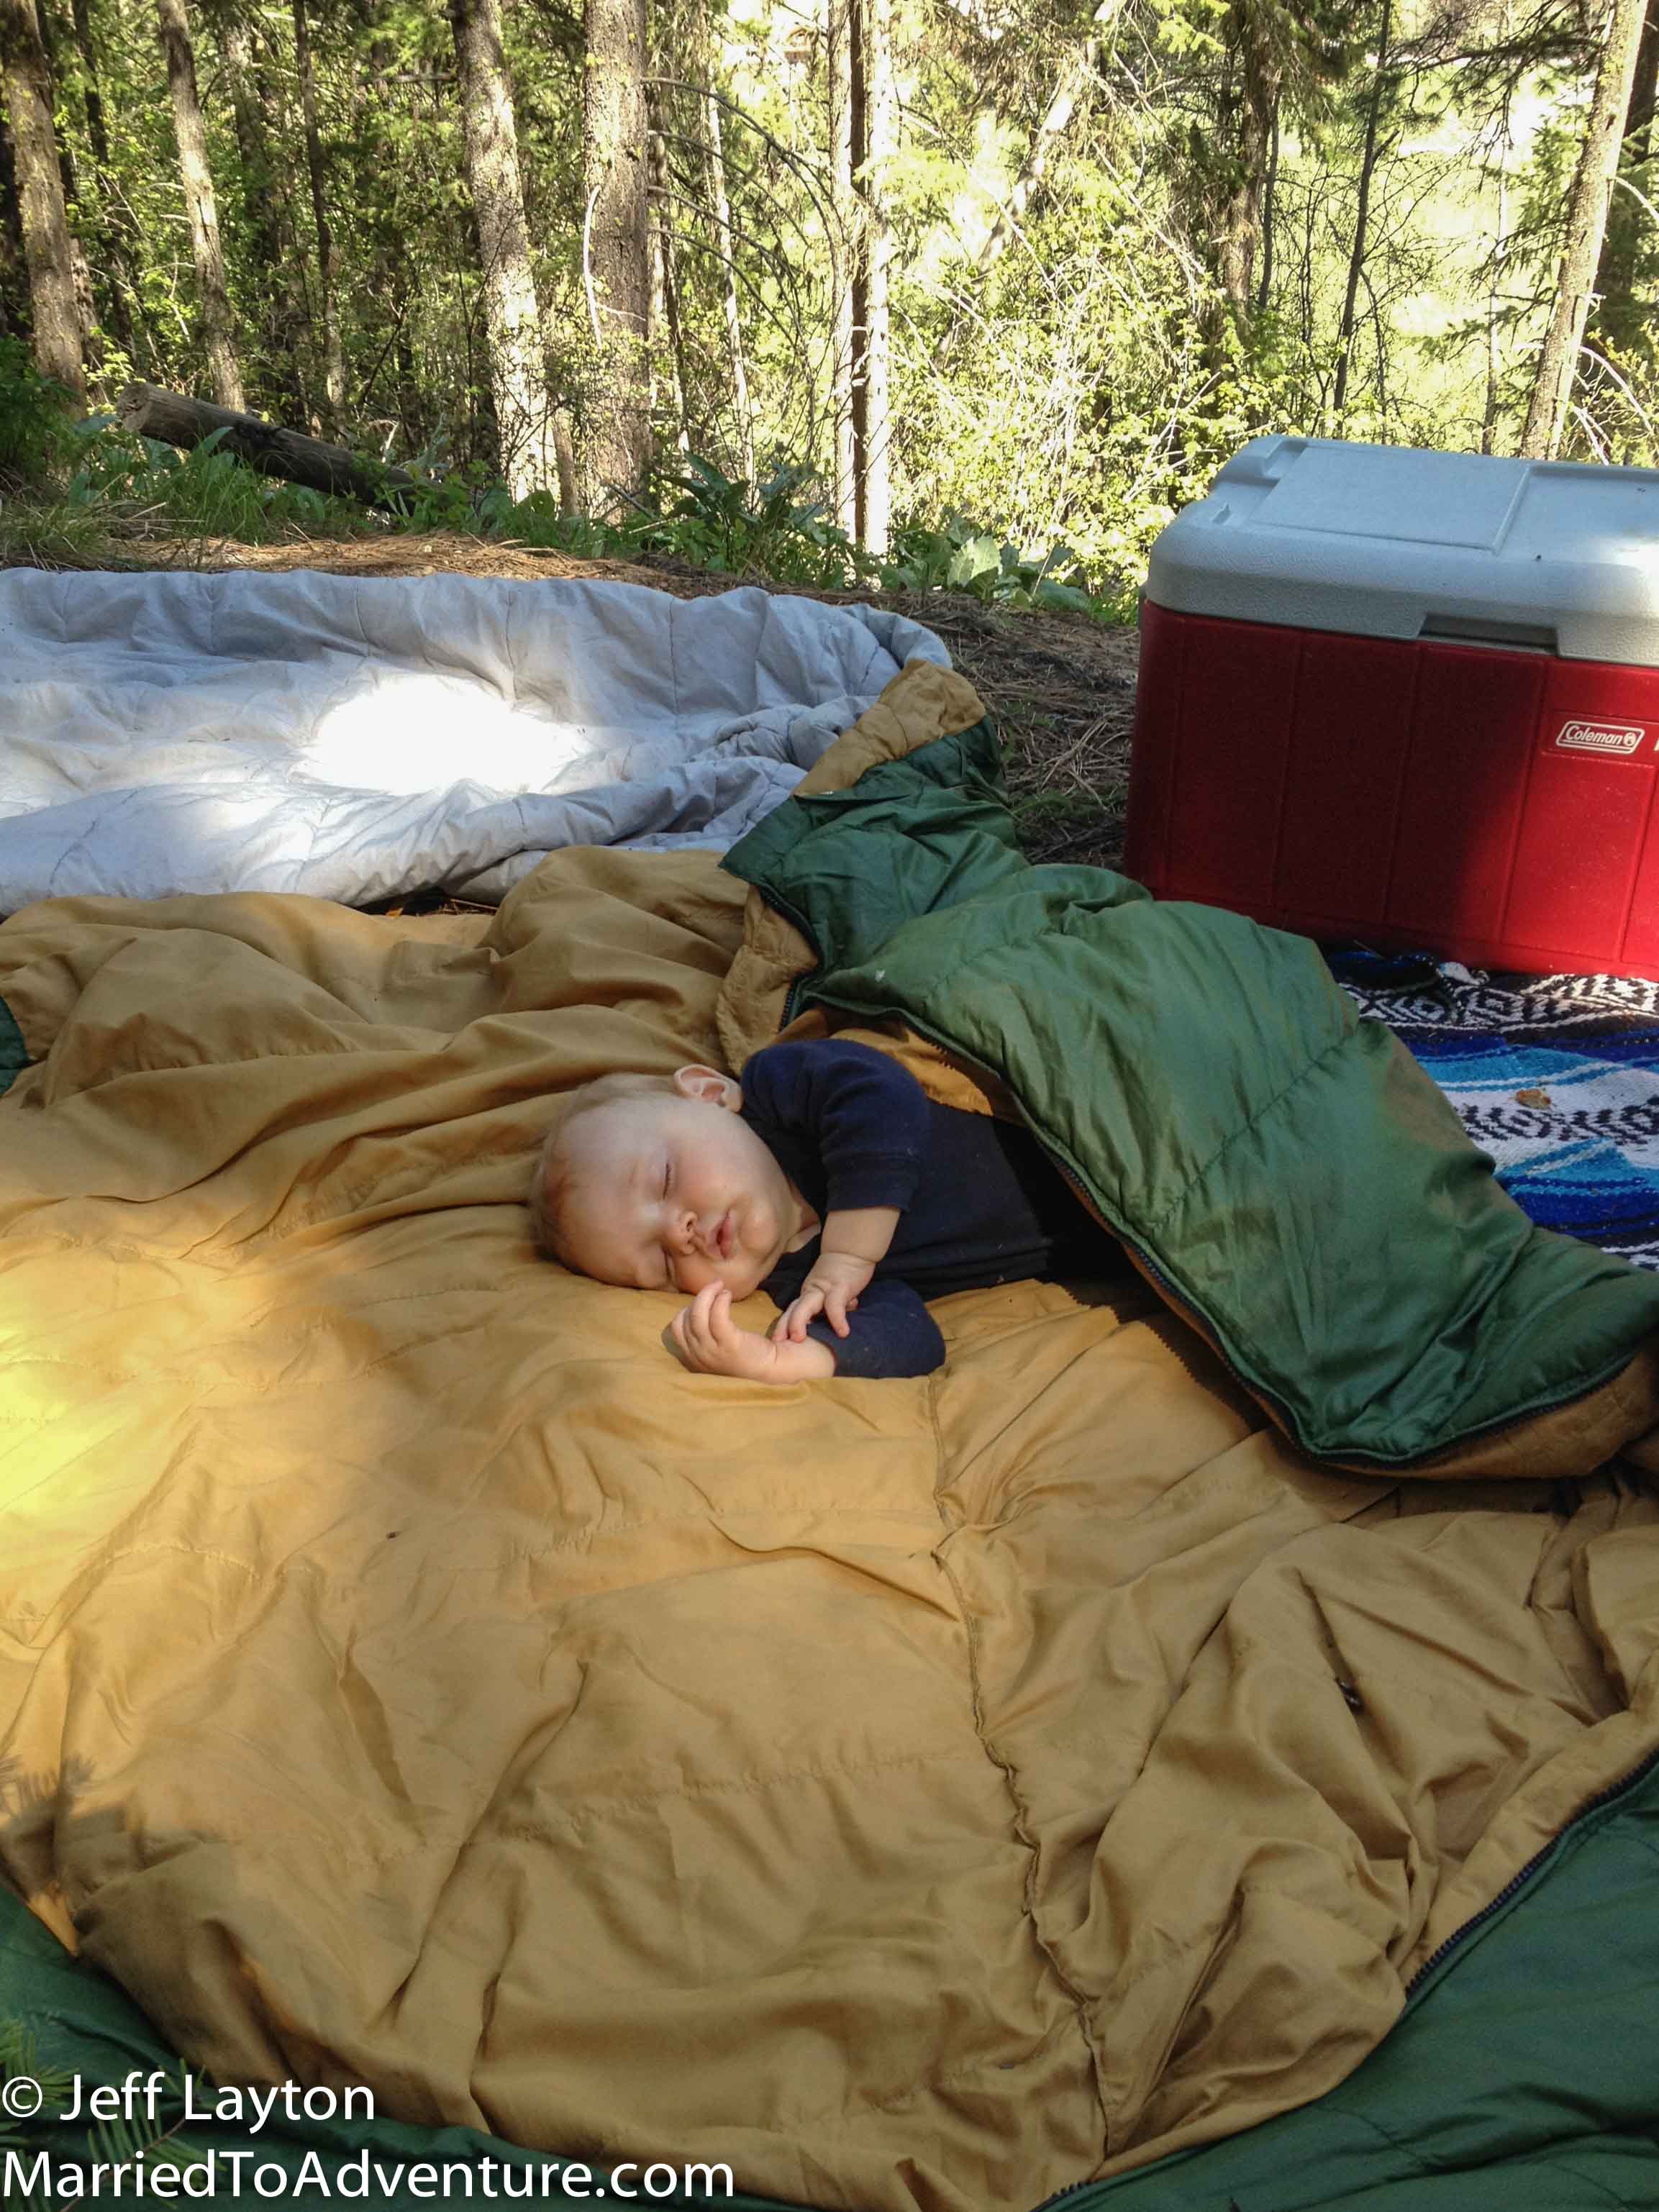
Ian is “pooped” after all his hard work