 It’s been nine months since we broke ground at Osprey Acres in Plain, WA and we are down to the final 2 weeks before we can move in. OK, in truth our house won’t be anywhere near finished when we move, so if anyone from the government asks, we are, “just storing some stuff into our house while we finish.” And by stuff we mean us.
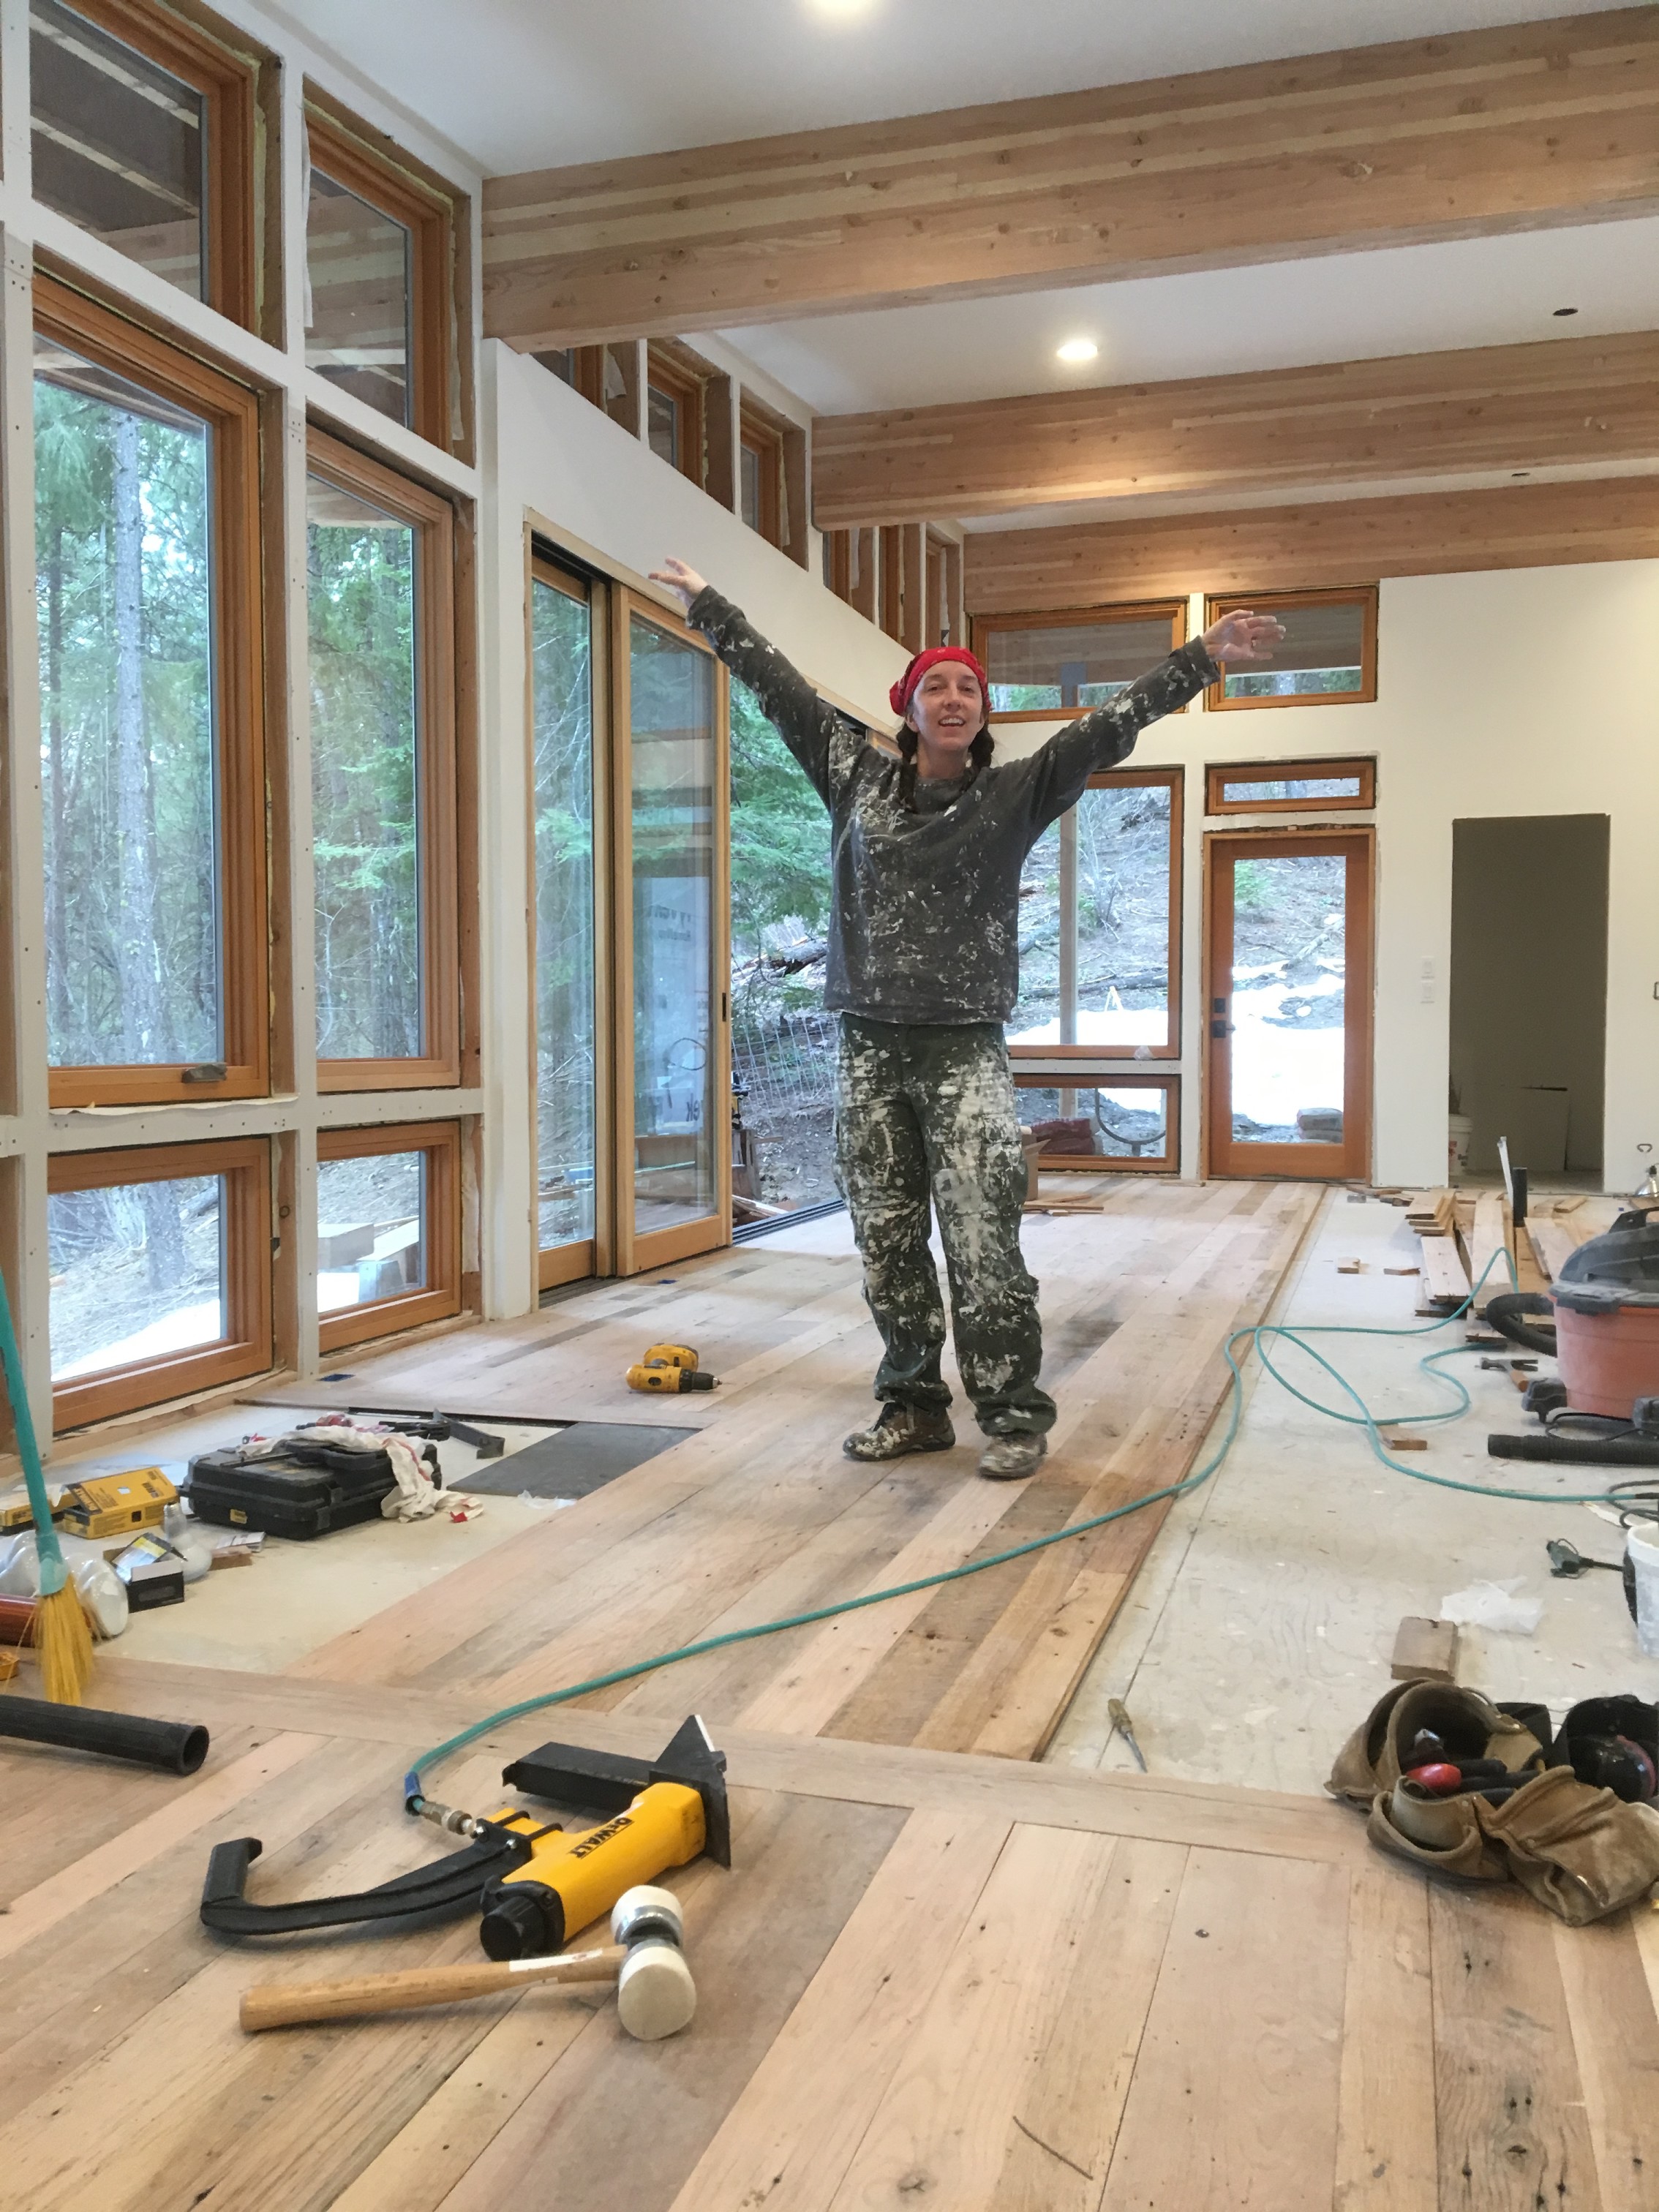
Before we can pack the moving truck however, there’s one big project that needs to be wrapped up: our hardwood floors.
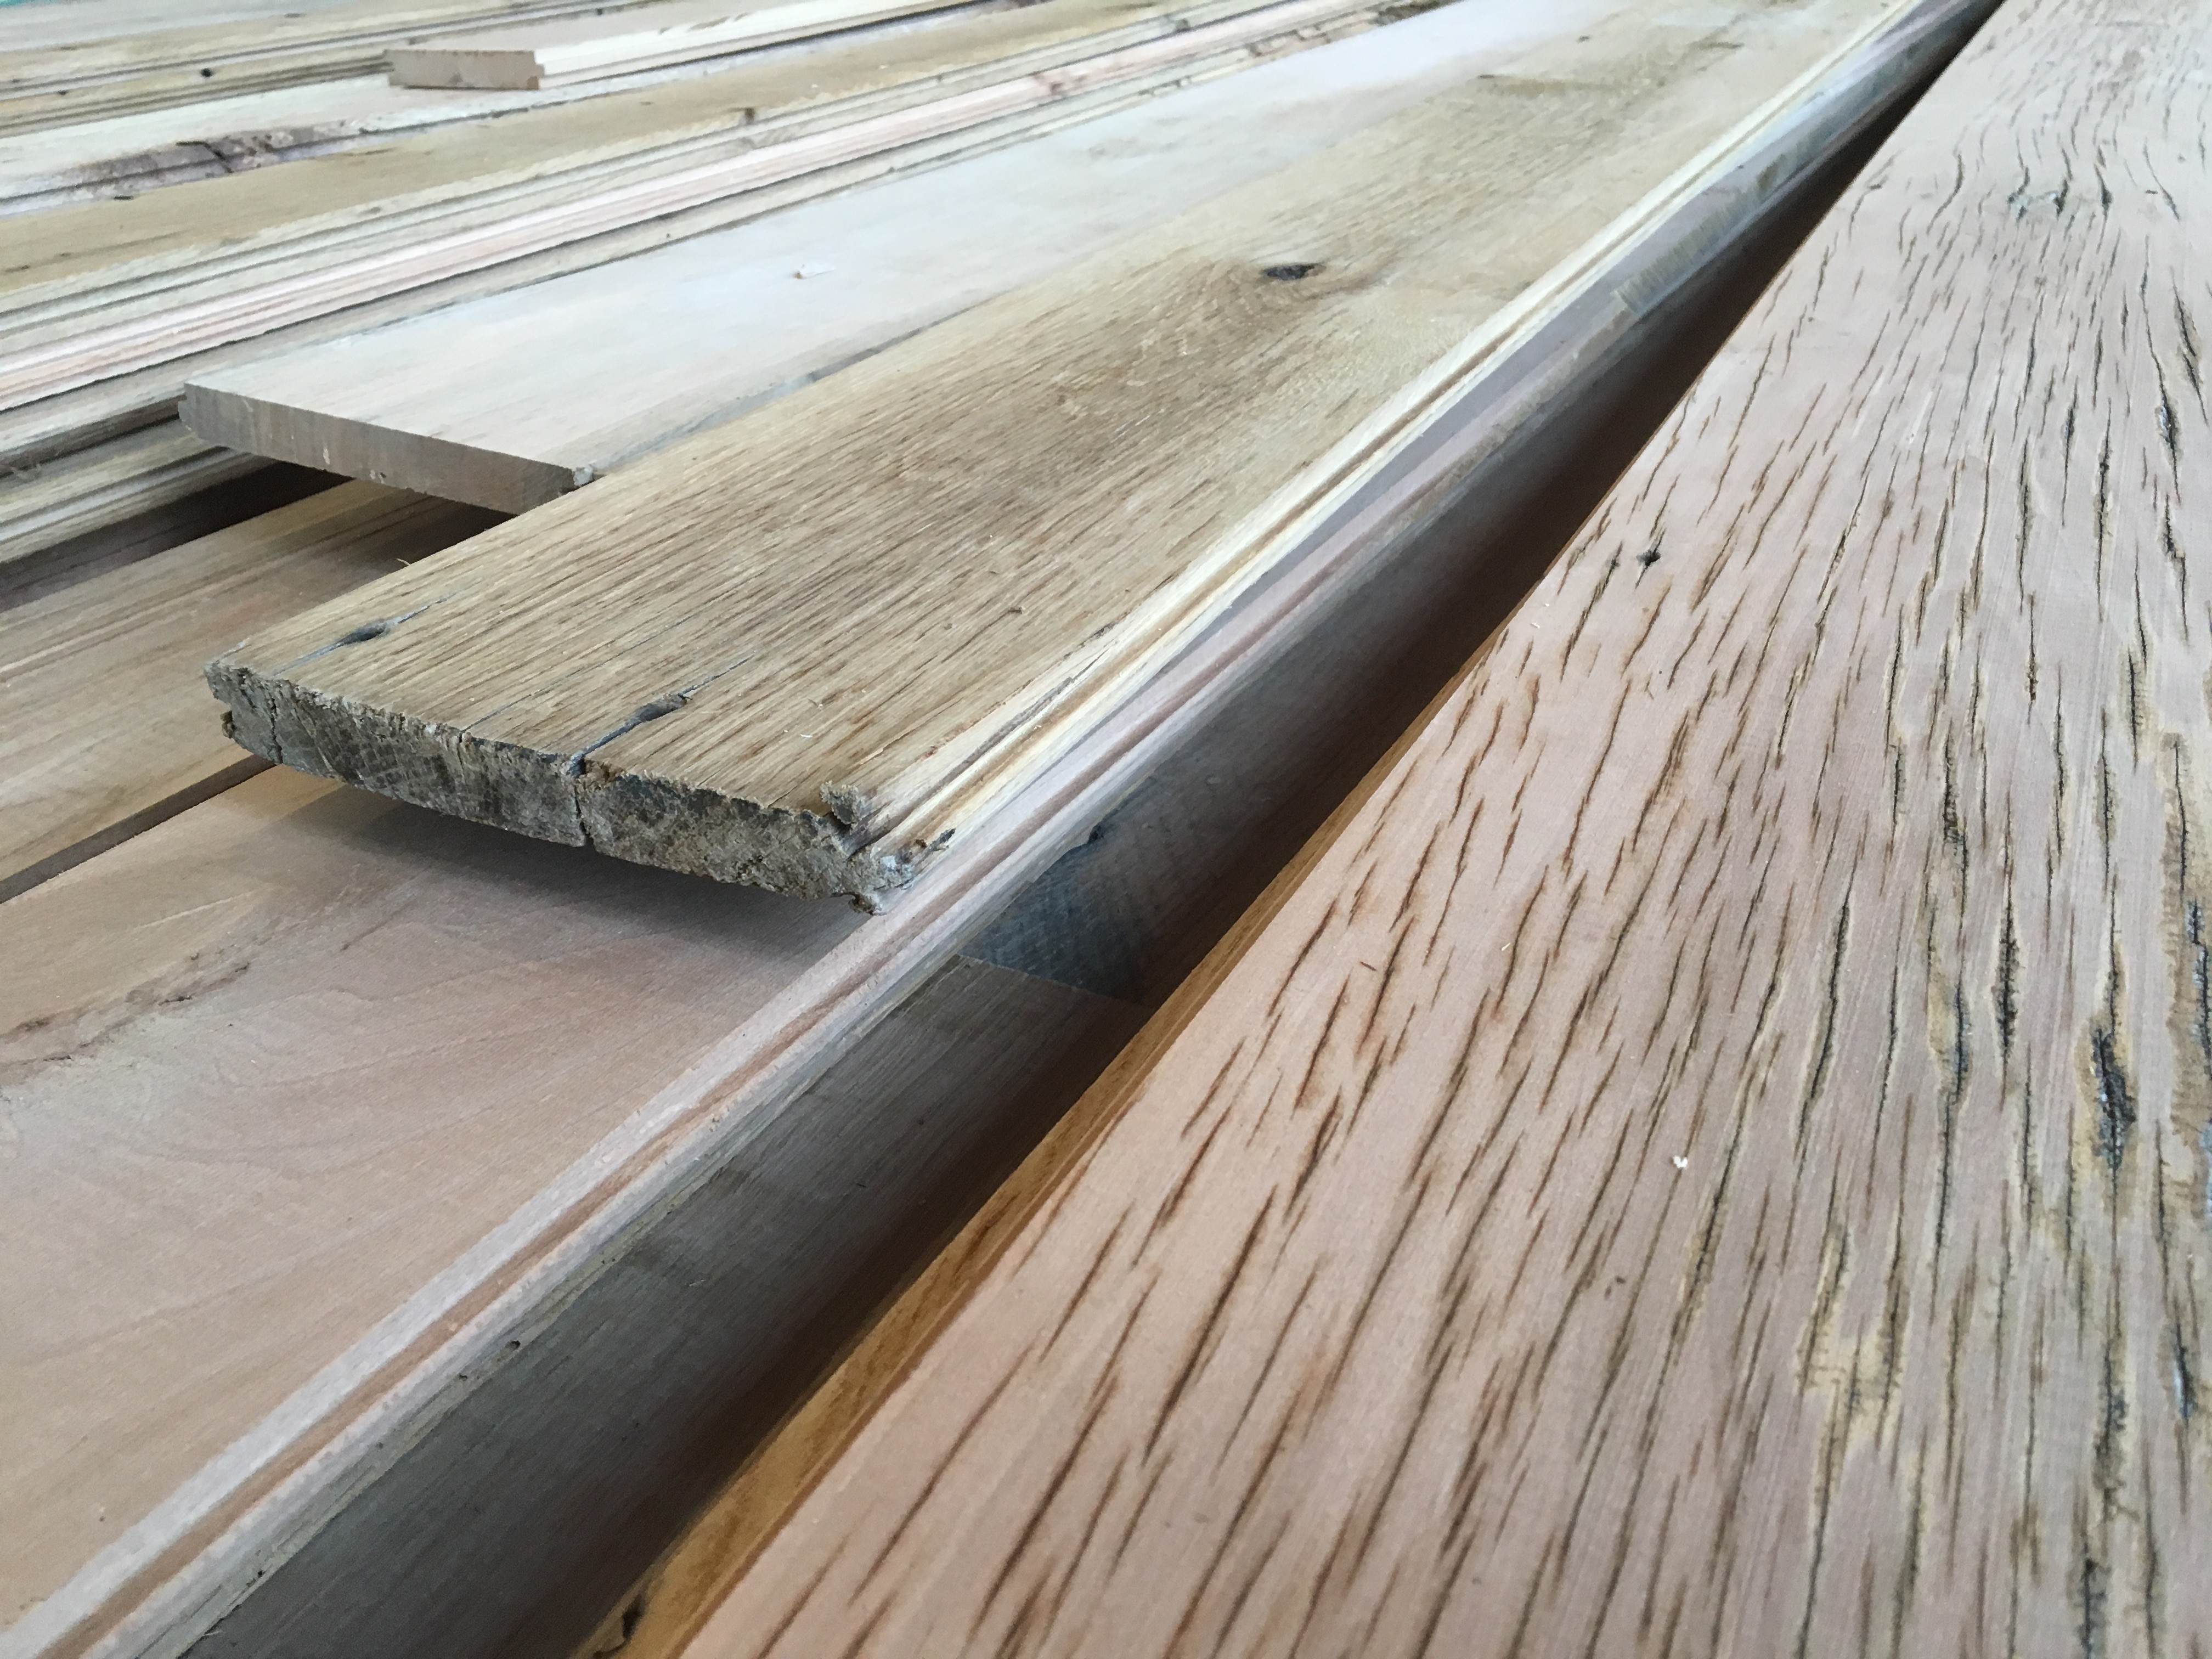
Just a few of the white oak boards lined up for trimming
Back in September we wrote about how we tore down the old family barn in Mississippi and transported the hardwood to the Pacific Northwest. Since then, it’s been sitting in our garage waiting for installation. And we’ve been blown away by the results.
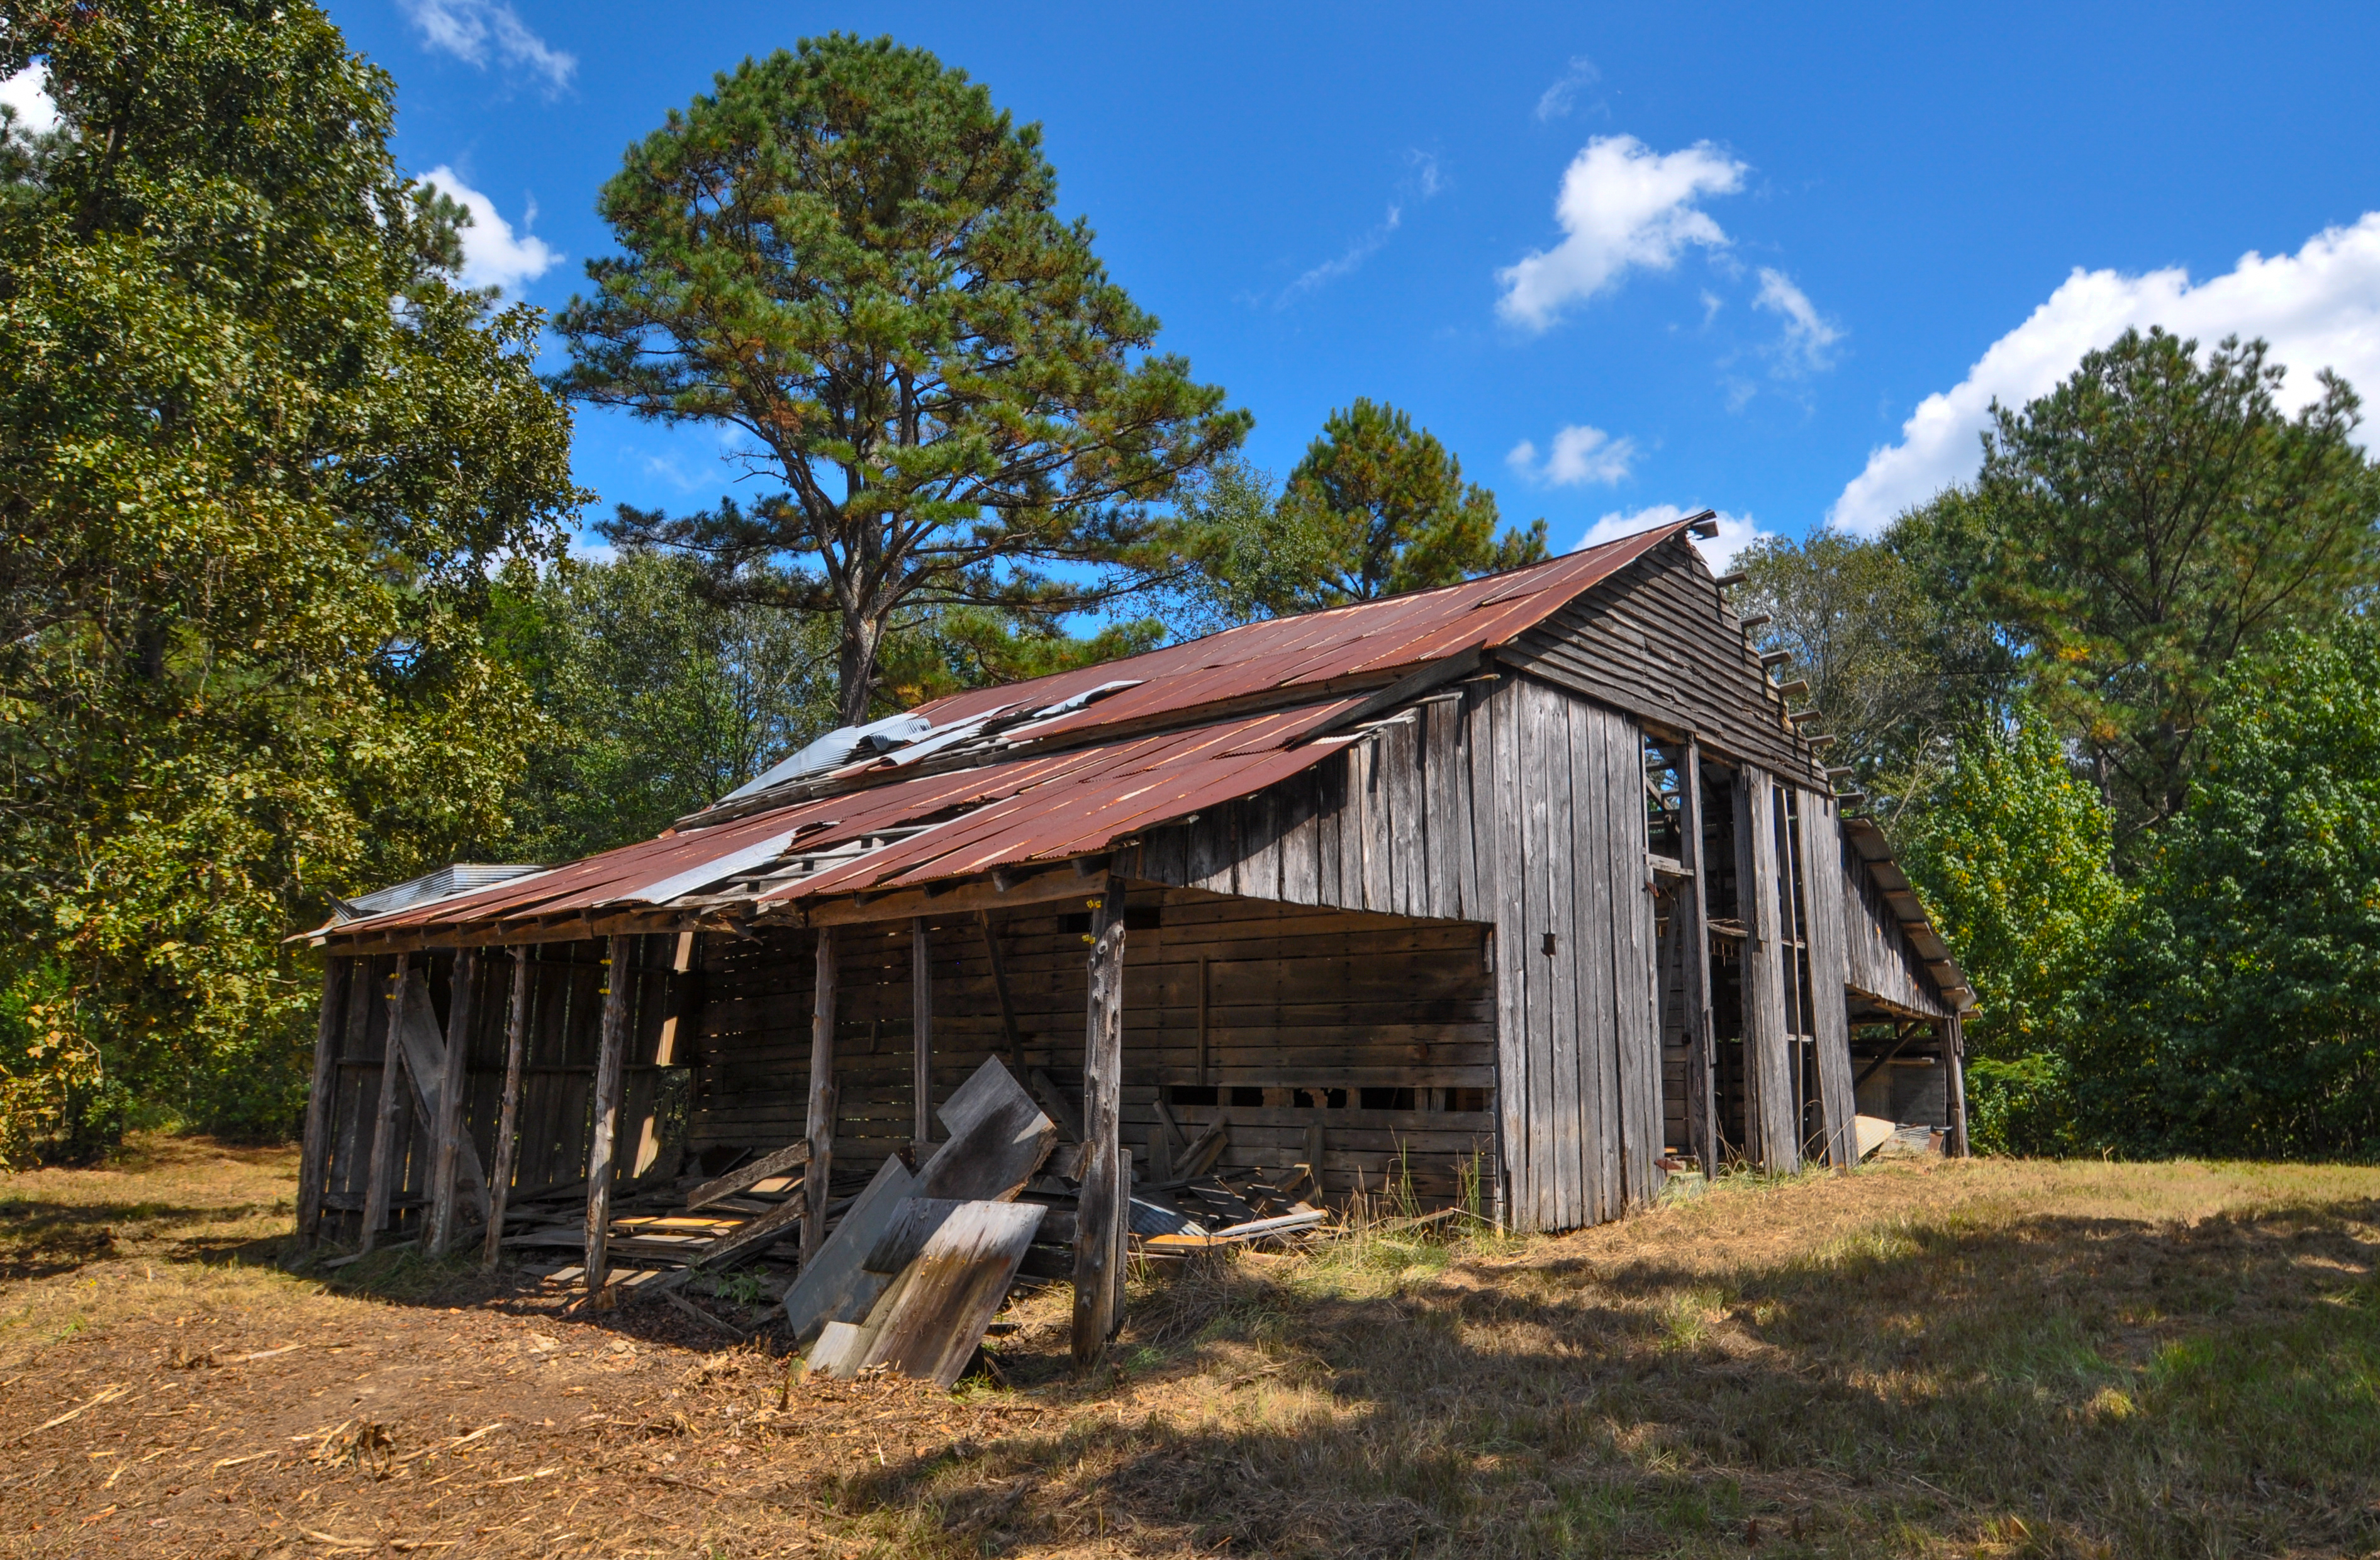
The old barn in French Camp, Mississippi had seen it’s better days.

Loading up the Penske for the long drive to Washington State
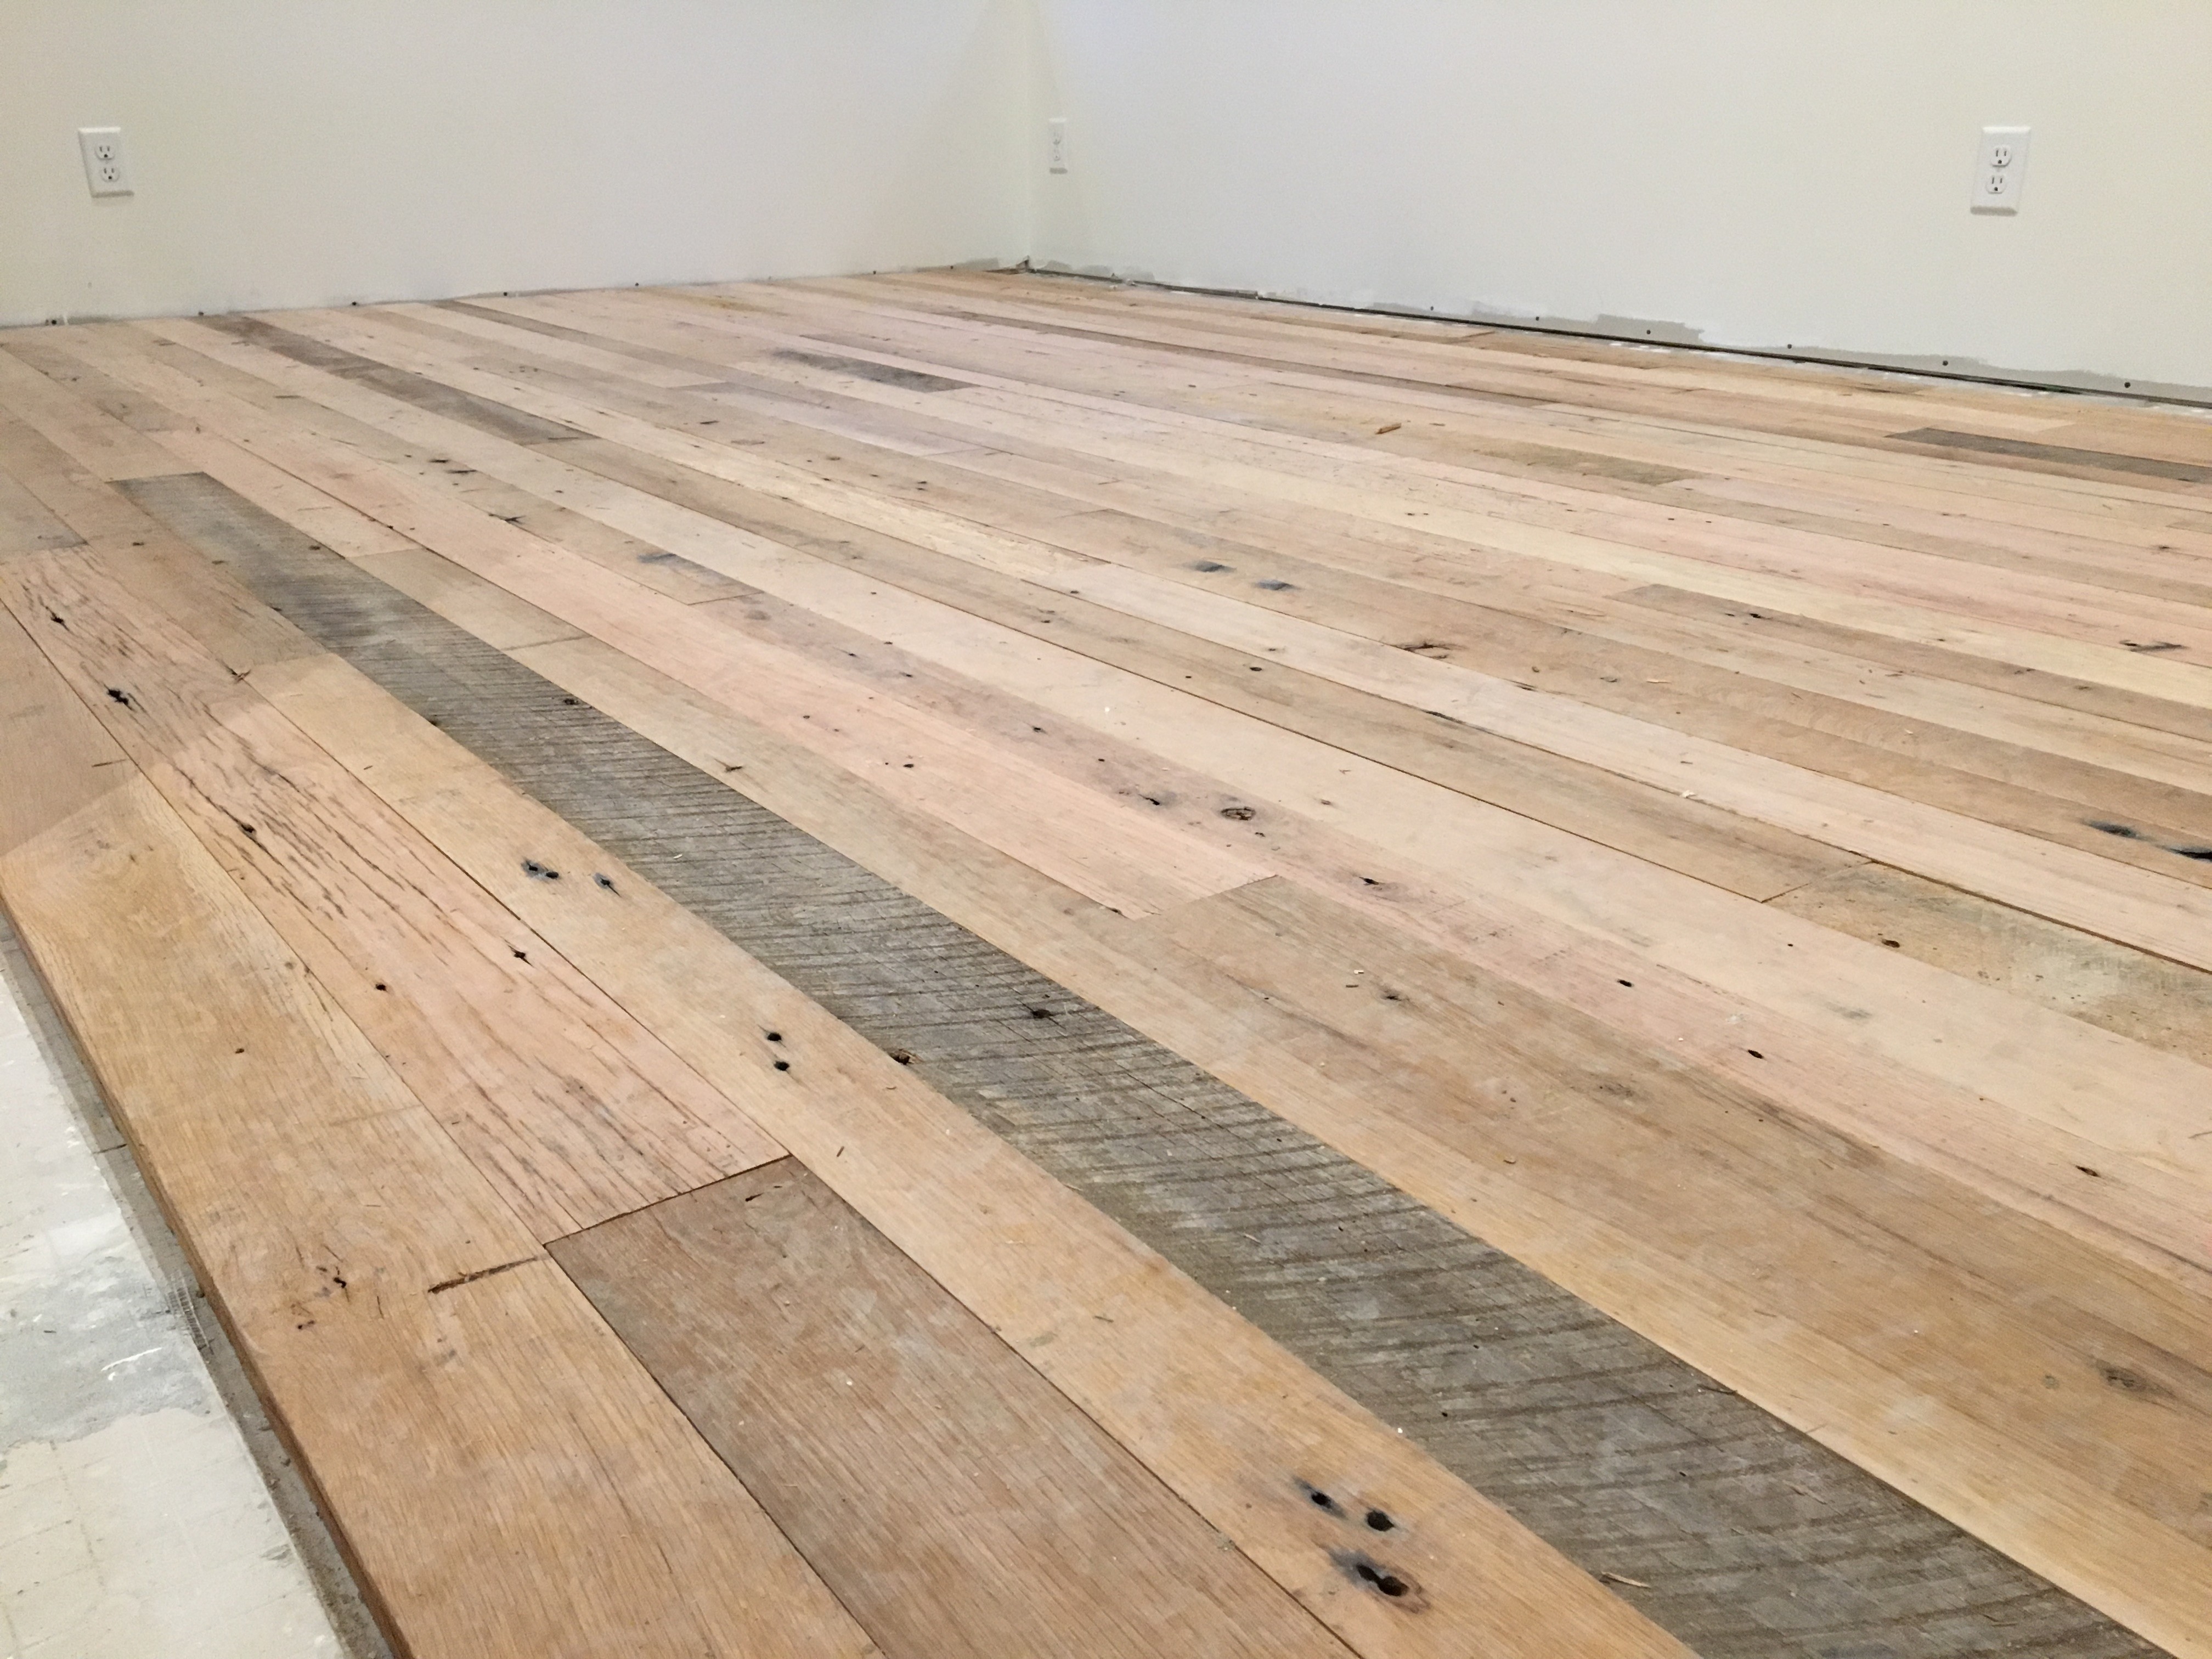
When milled into flooring, old barns can turn into this
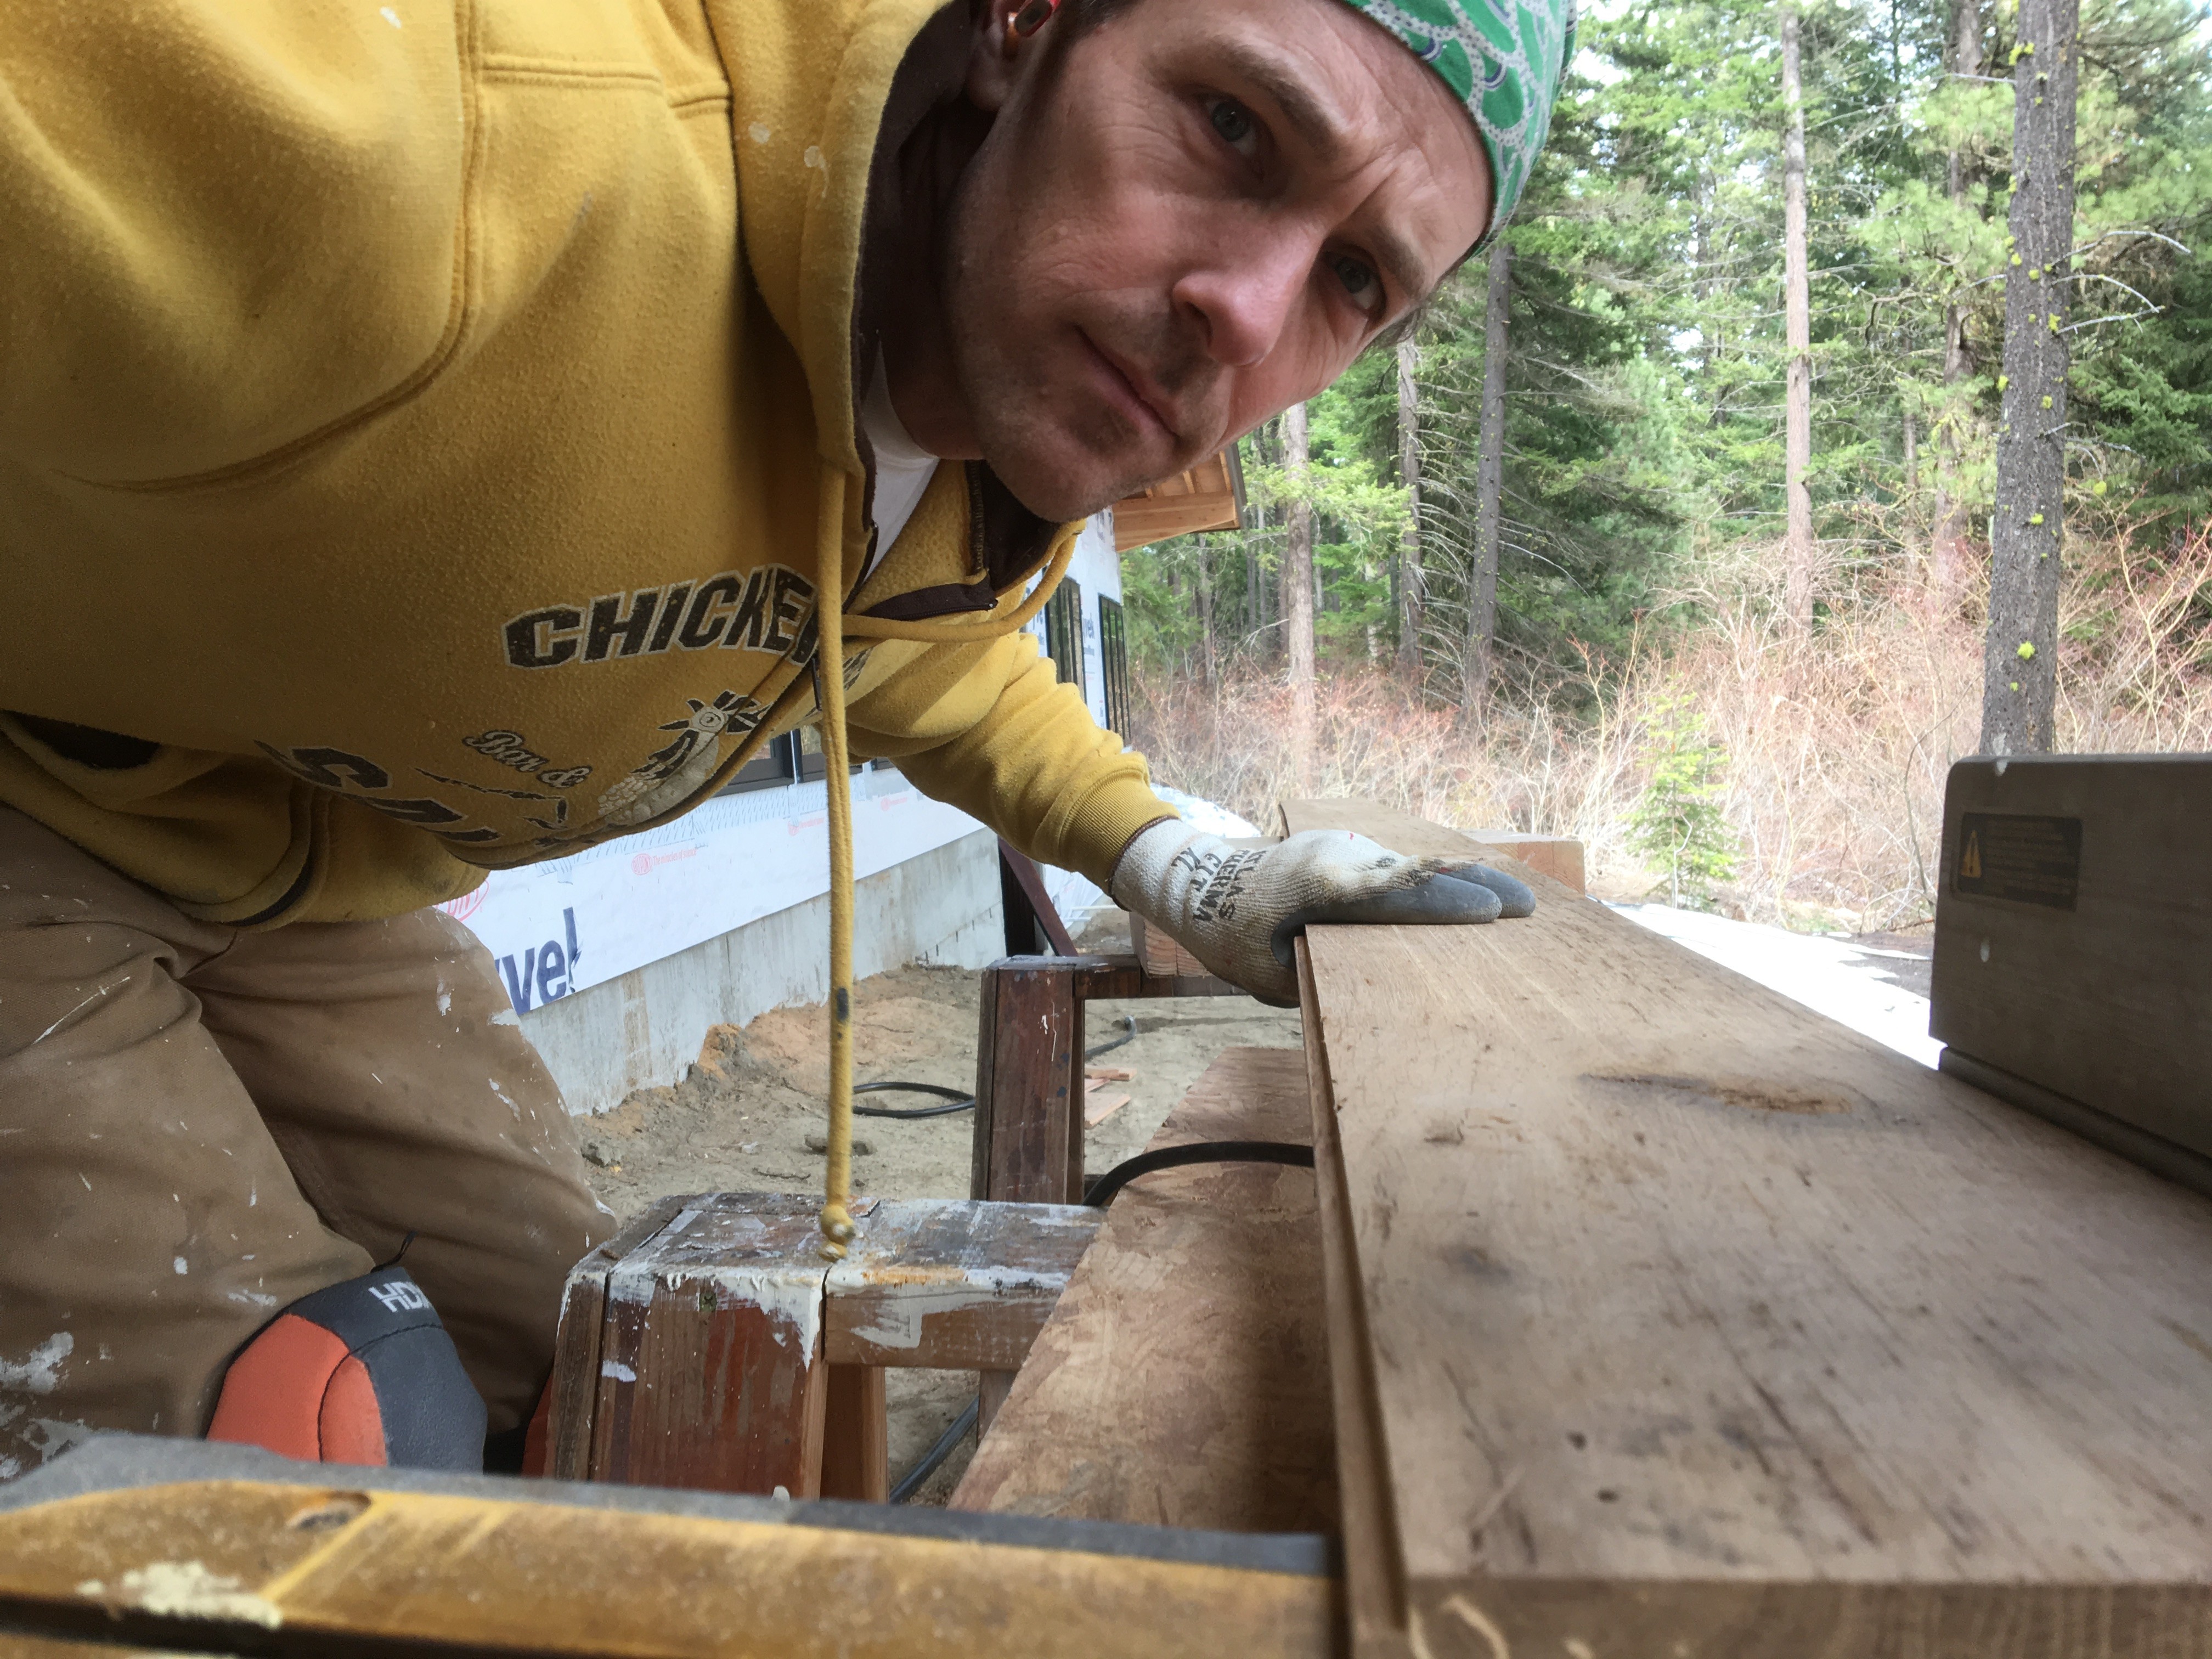
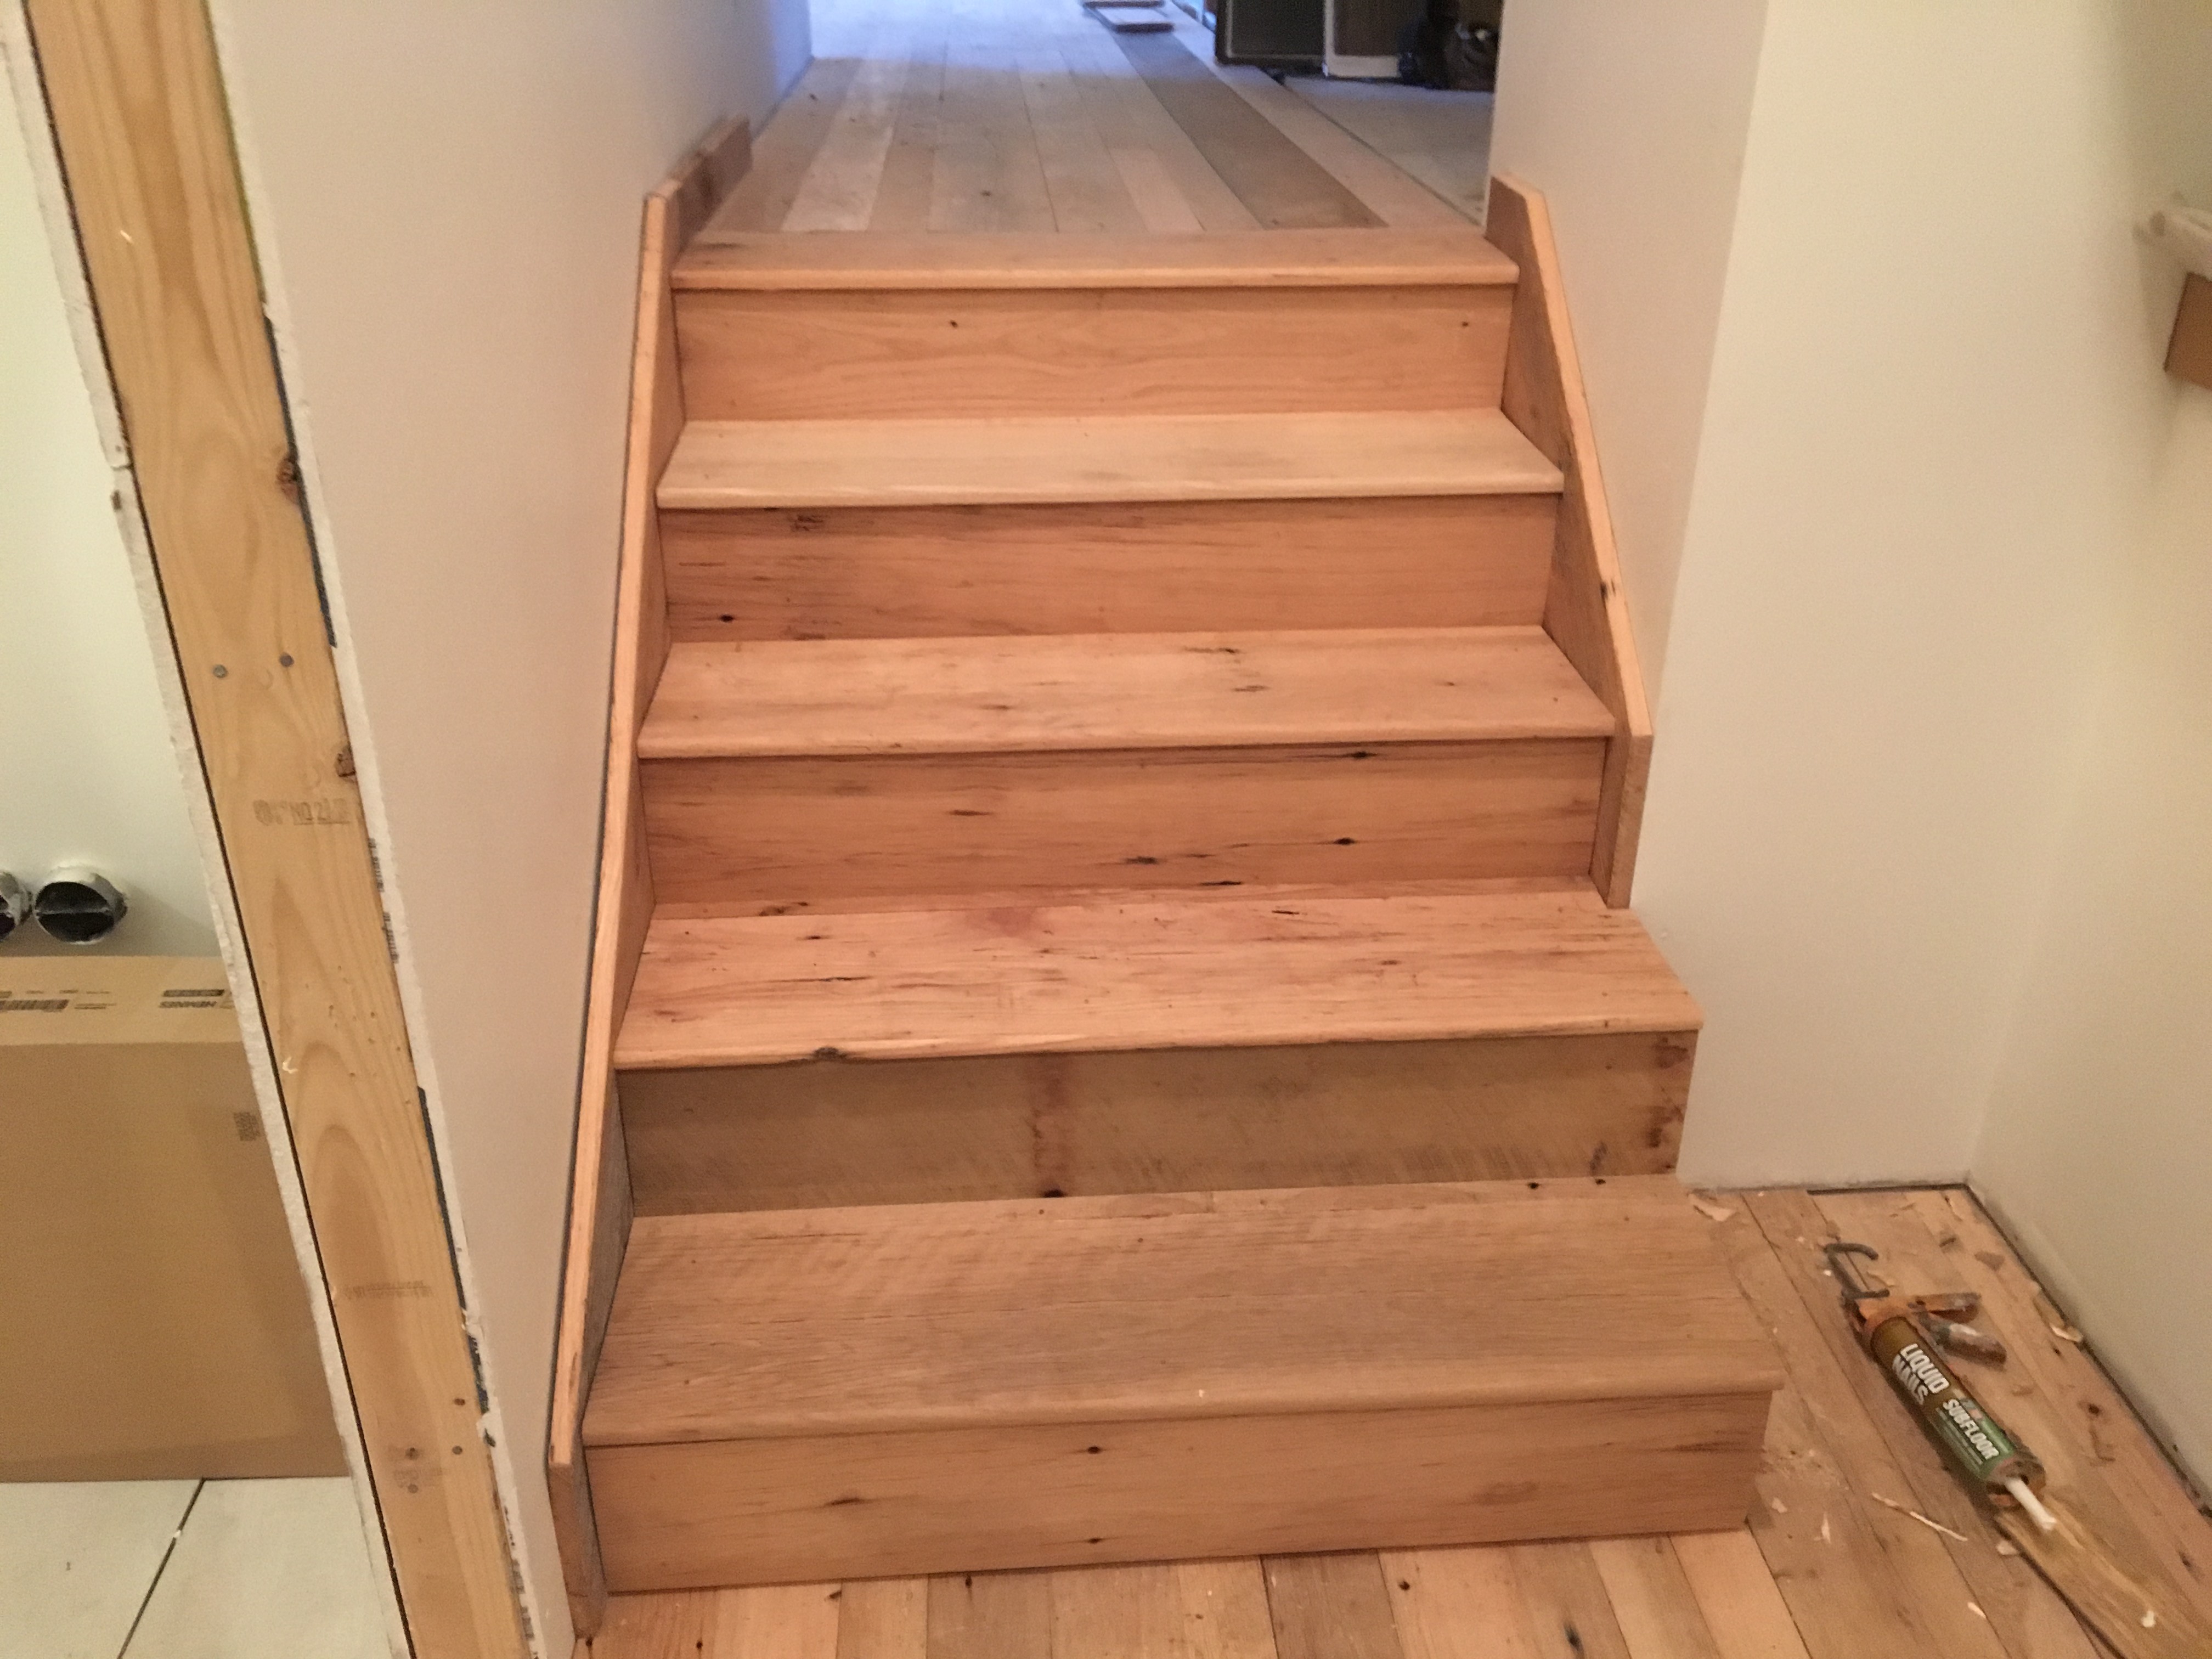
Working 12 hour days for almost two weeks, Jeff managed to lay down the brand new wood in our great room, hallway, TV room, guest suite bedroom and living room plus two sections of stairs and even a couple small loft areas.
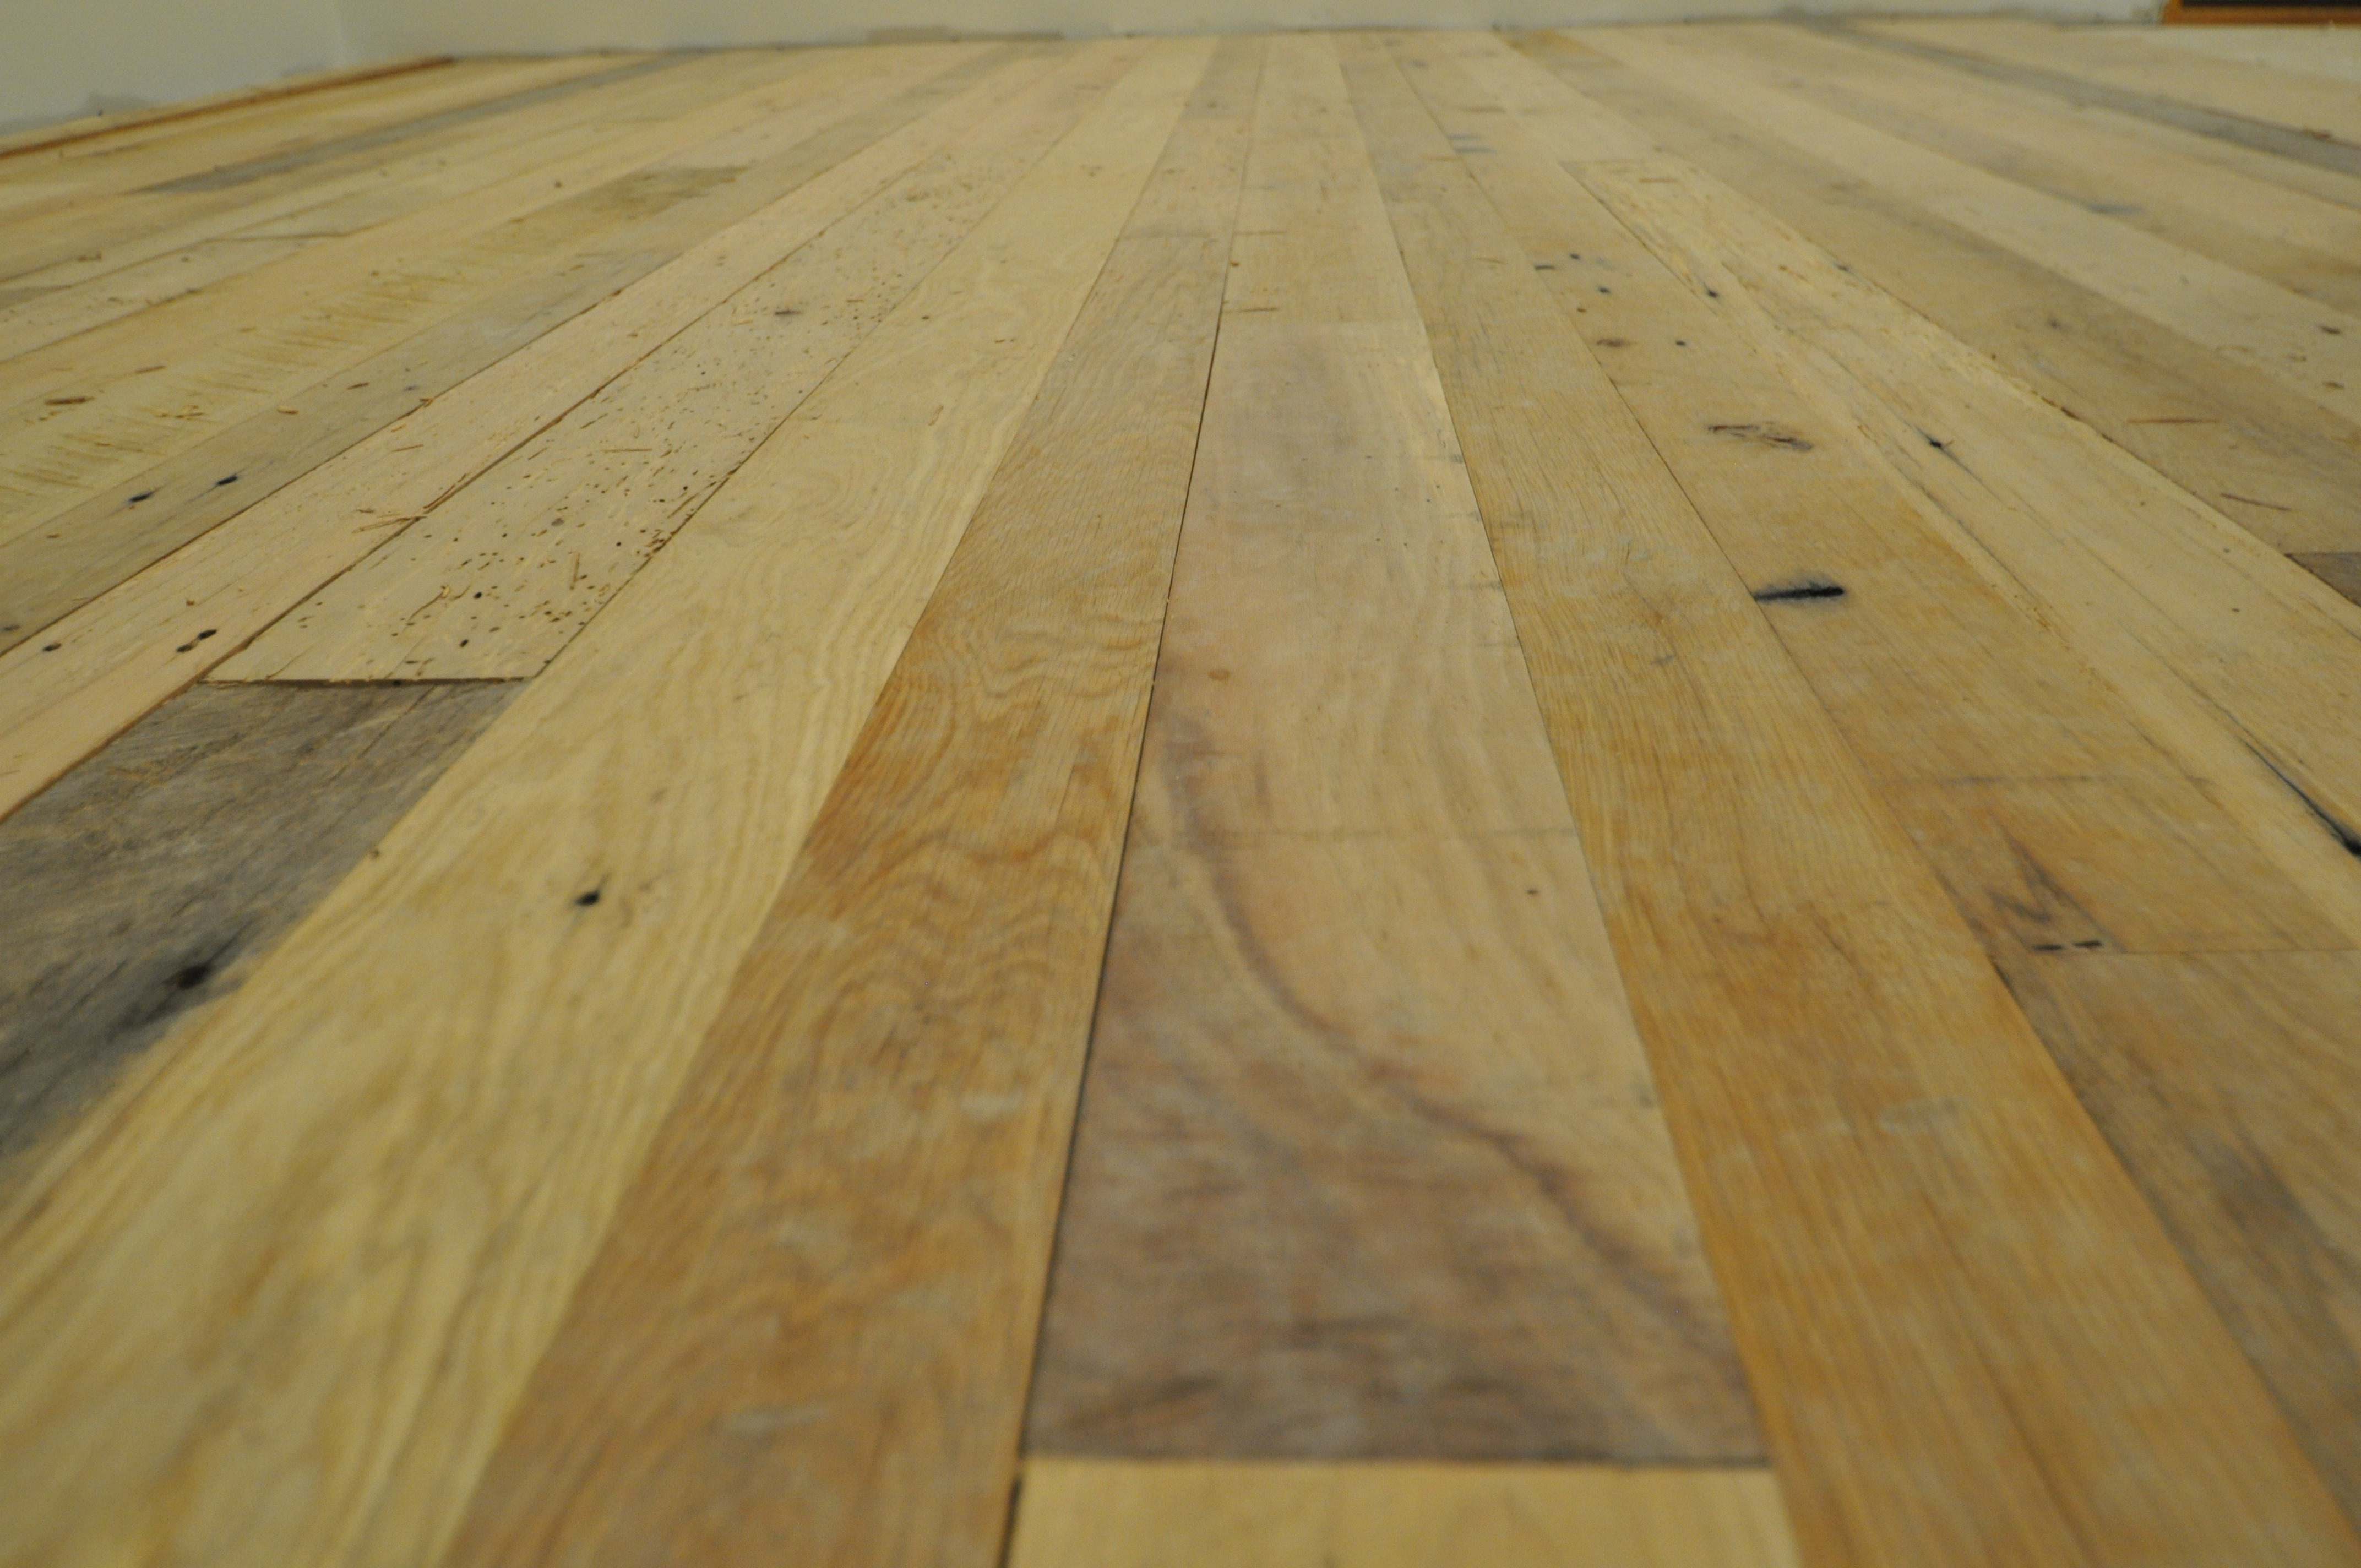
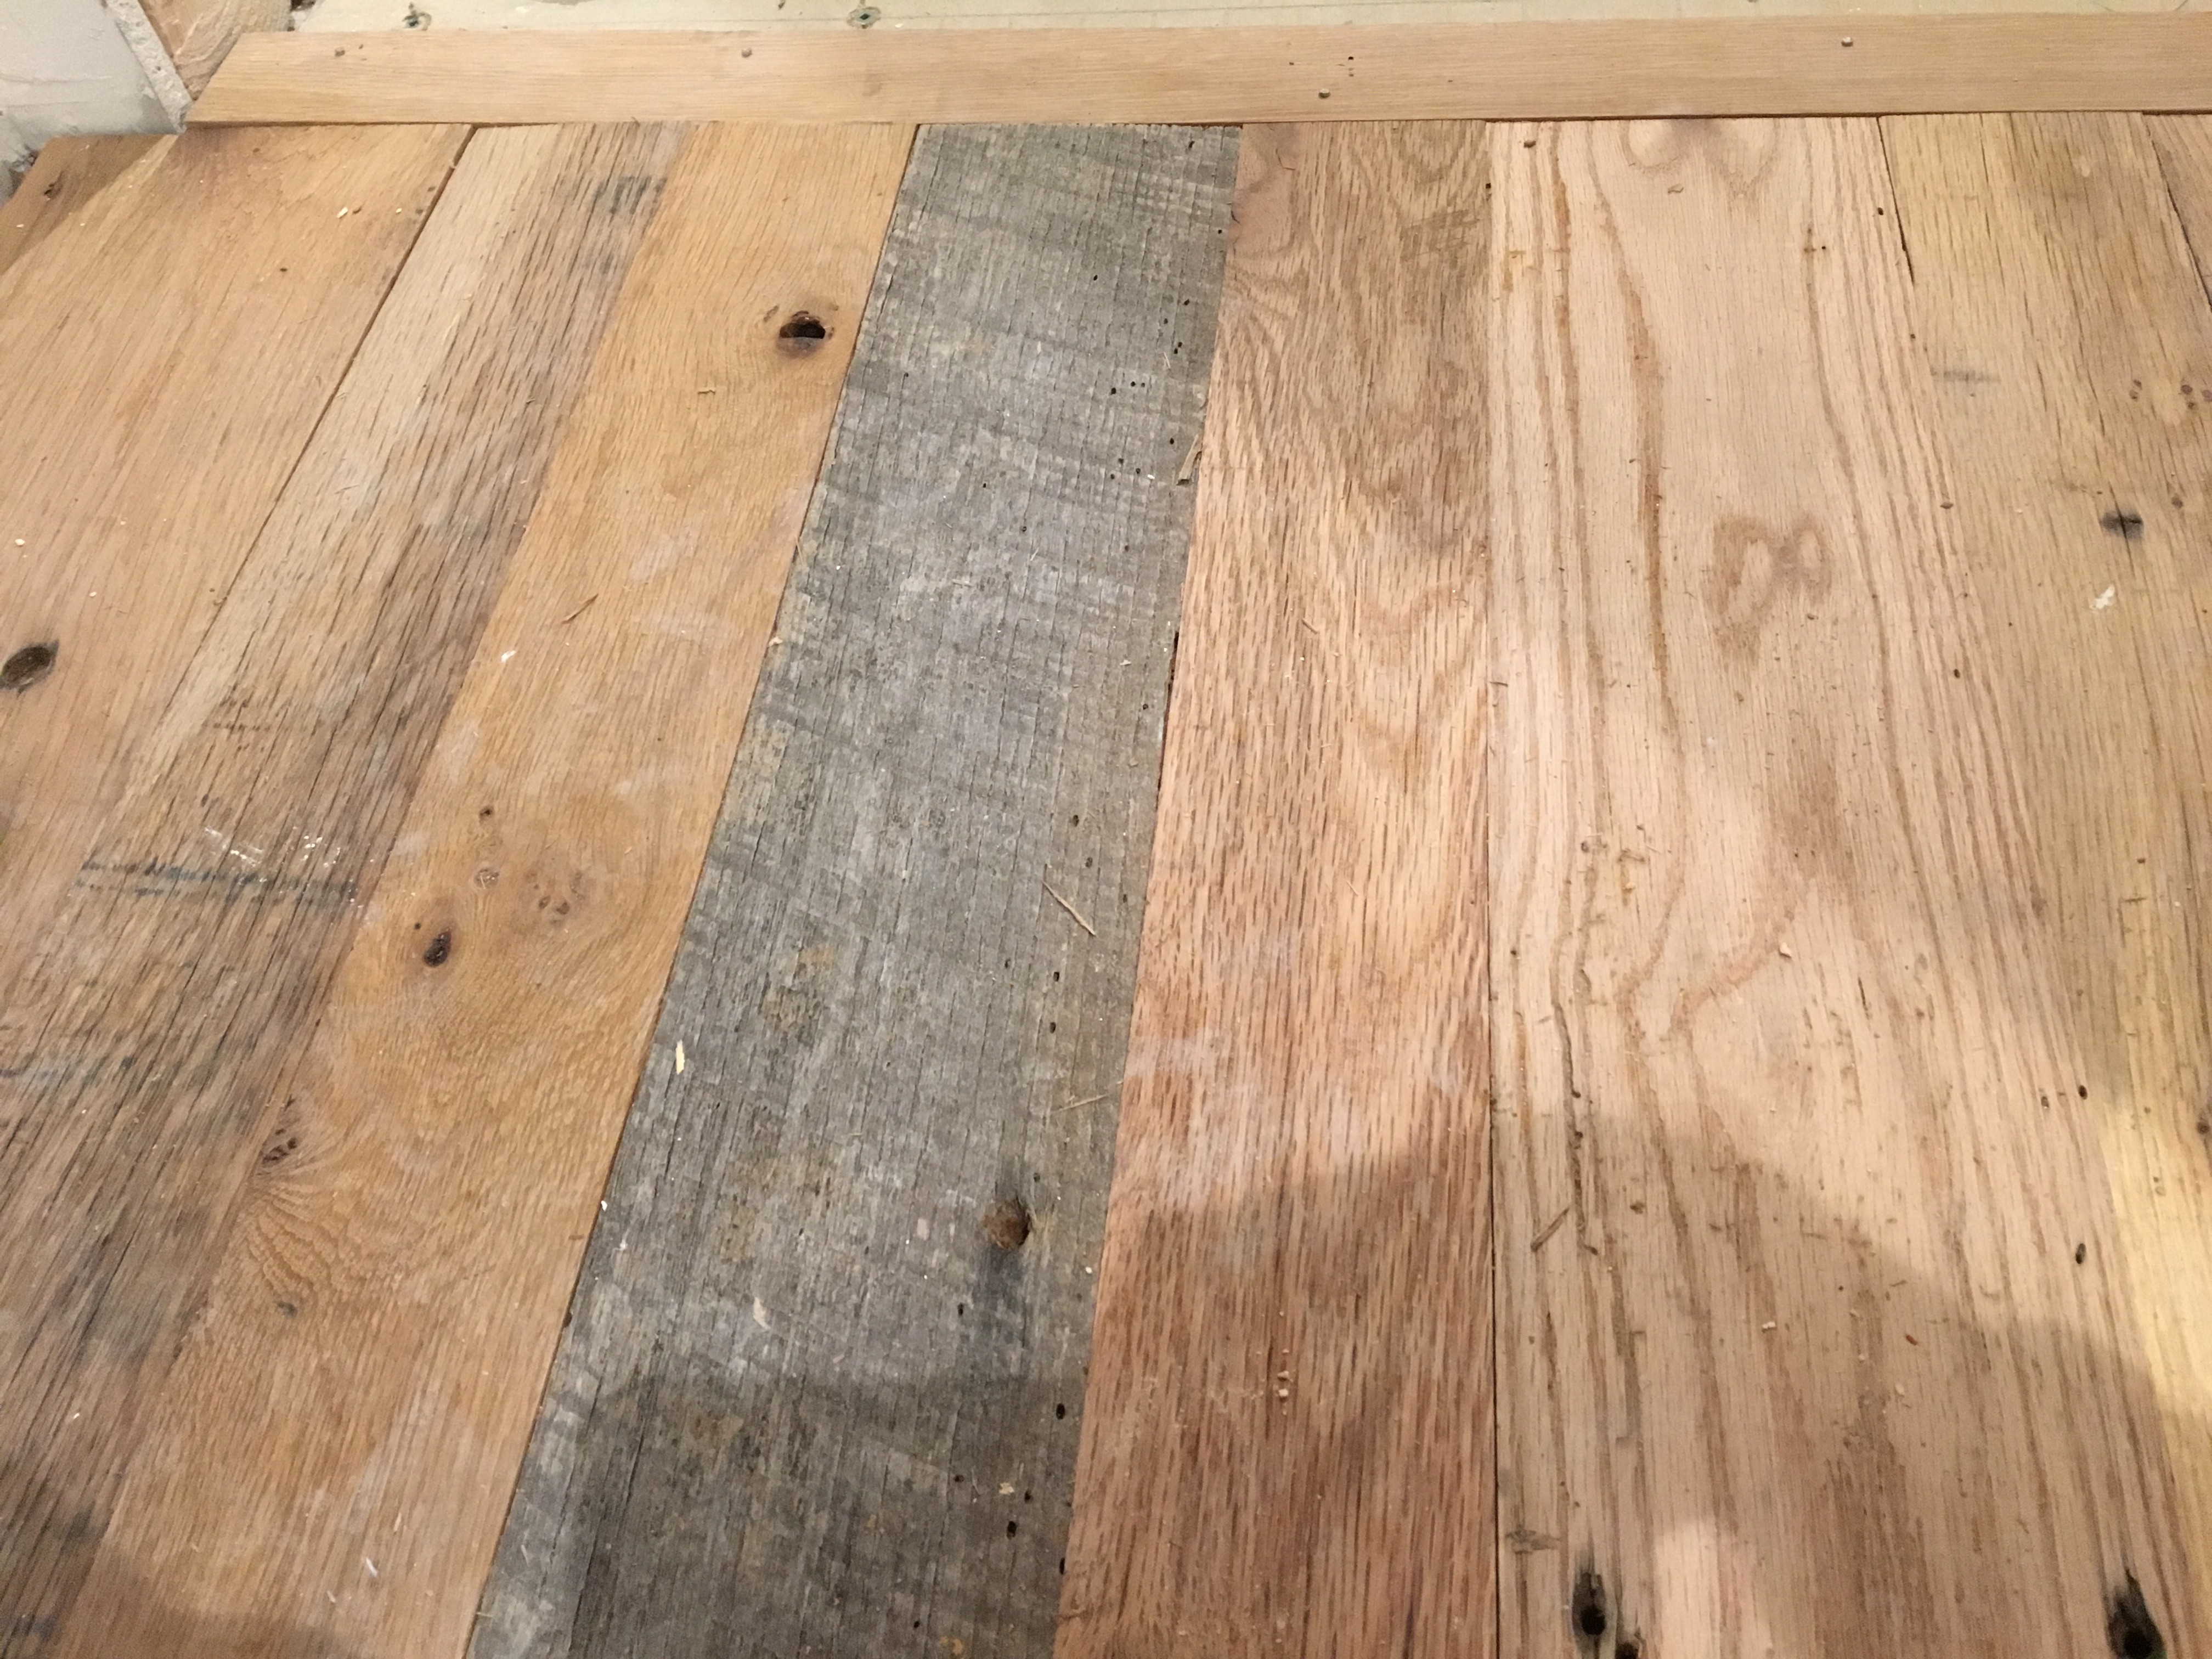
Ninety percent of the barn was built using white oak, and the rest was a mixture of hard-to-identify southern hardwoods. Much of it was over 100 years old (we know this because we pulled hand-forged square nails out of the barn wood which haven’t been used in over a century).
When the wood was milled down to ¾ inch tongue and groove planks, we ended up with 5 different board widths. We decided to not only mix board widths on our floor, but also wood species. That idea could backfire if some of the wood expands and contracts at different rates, but it looks fantastic so we decided to risk it.
Using a mixture of woods was risky but the look was too good to pass up
If you randomly found this blog while searching for how to install reclaimed hardwood floors, here are some of the lessons we’ve learned along the way. Hopefully it will allow you to skip some of the mistakes we made.
- Rent a Banger When Jeff went to Home Depot and asked for the pneumonic floor nailer, the guy stared blankly and then said, “Oh you mean a banger?” This is a sweet device that makes the install go super fast. Hook it up to your air compressor and hit it with a rubber mallet, and it drives staples through the tongue edge of the board. After a few practice smacks Jeff felt like an expert.
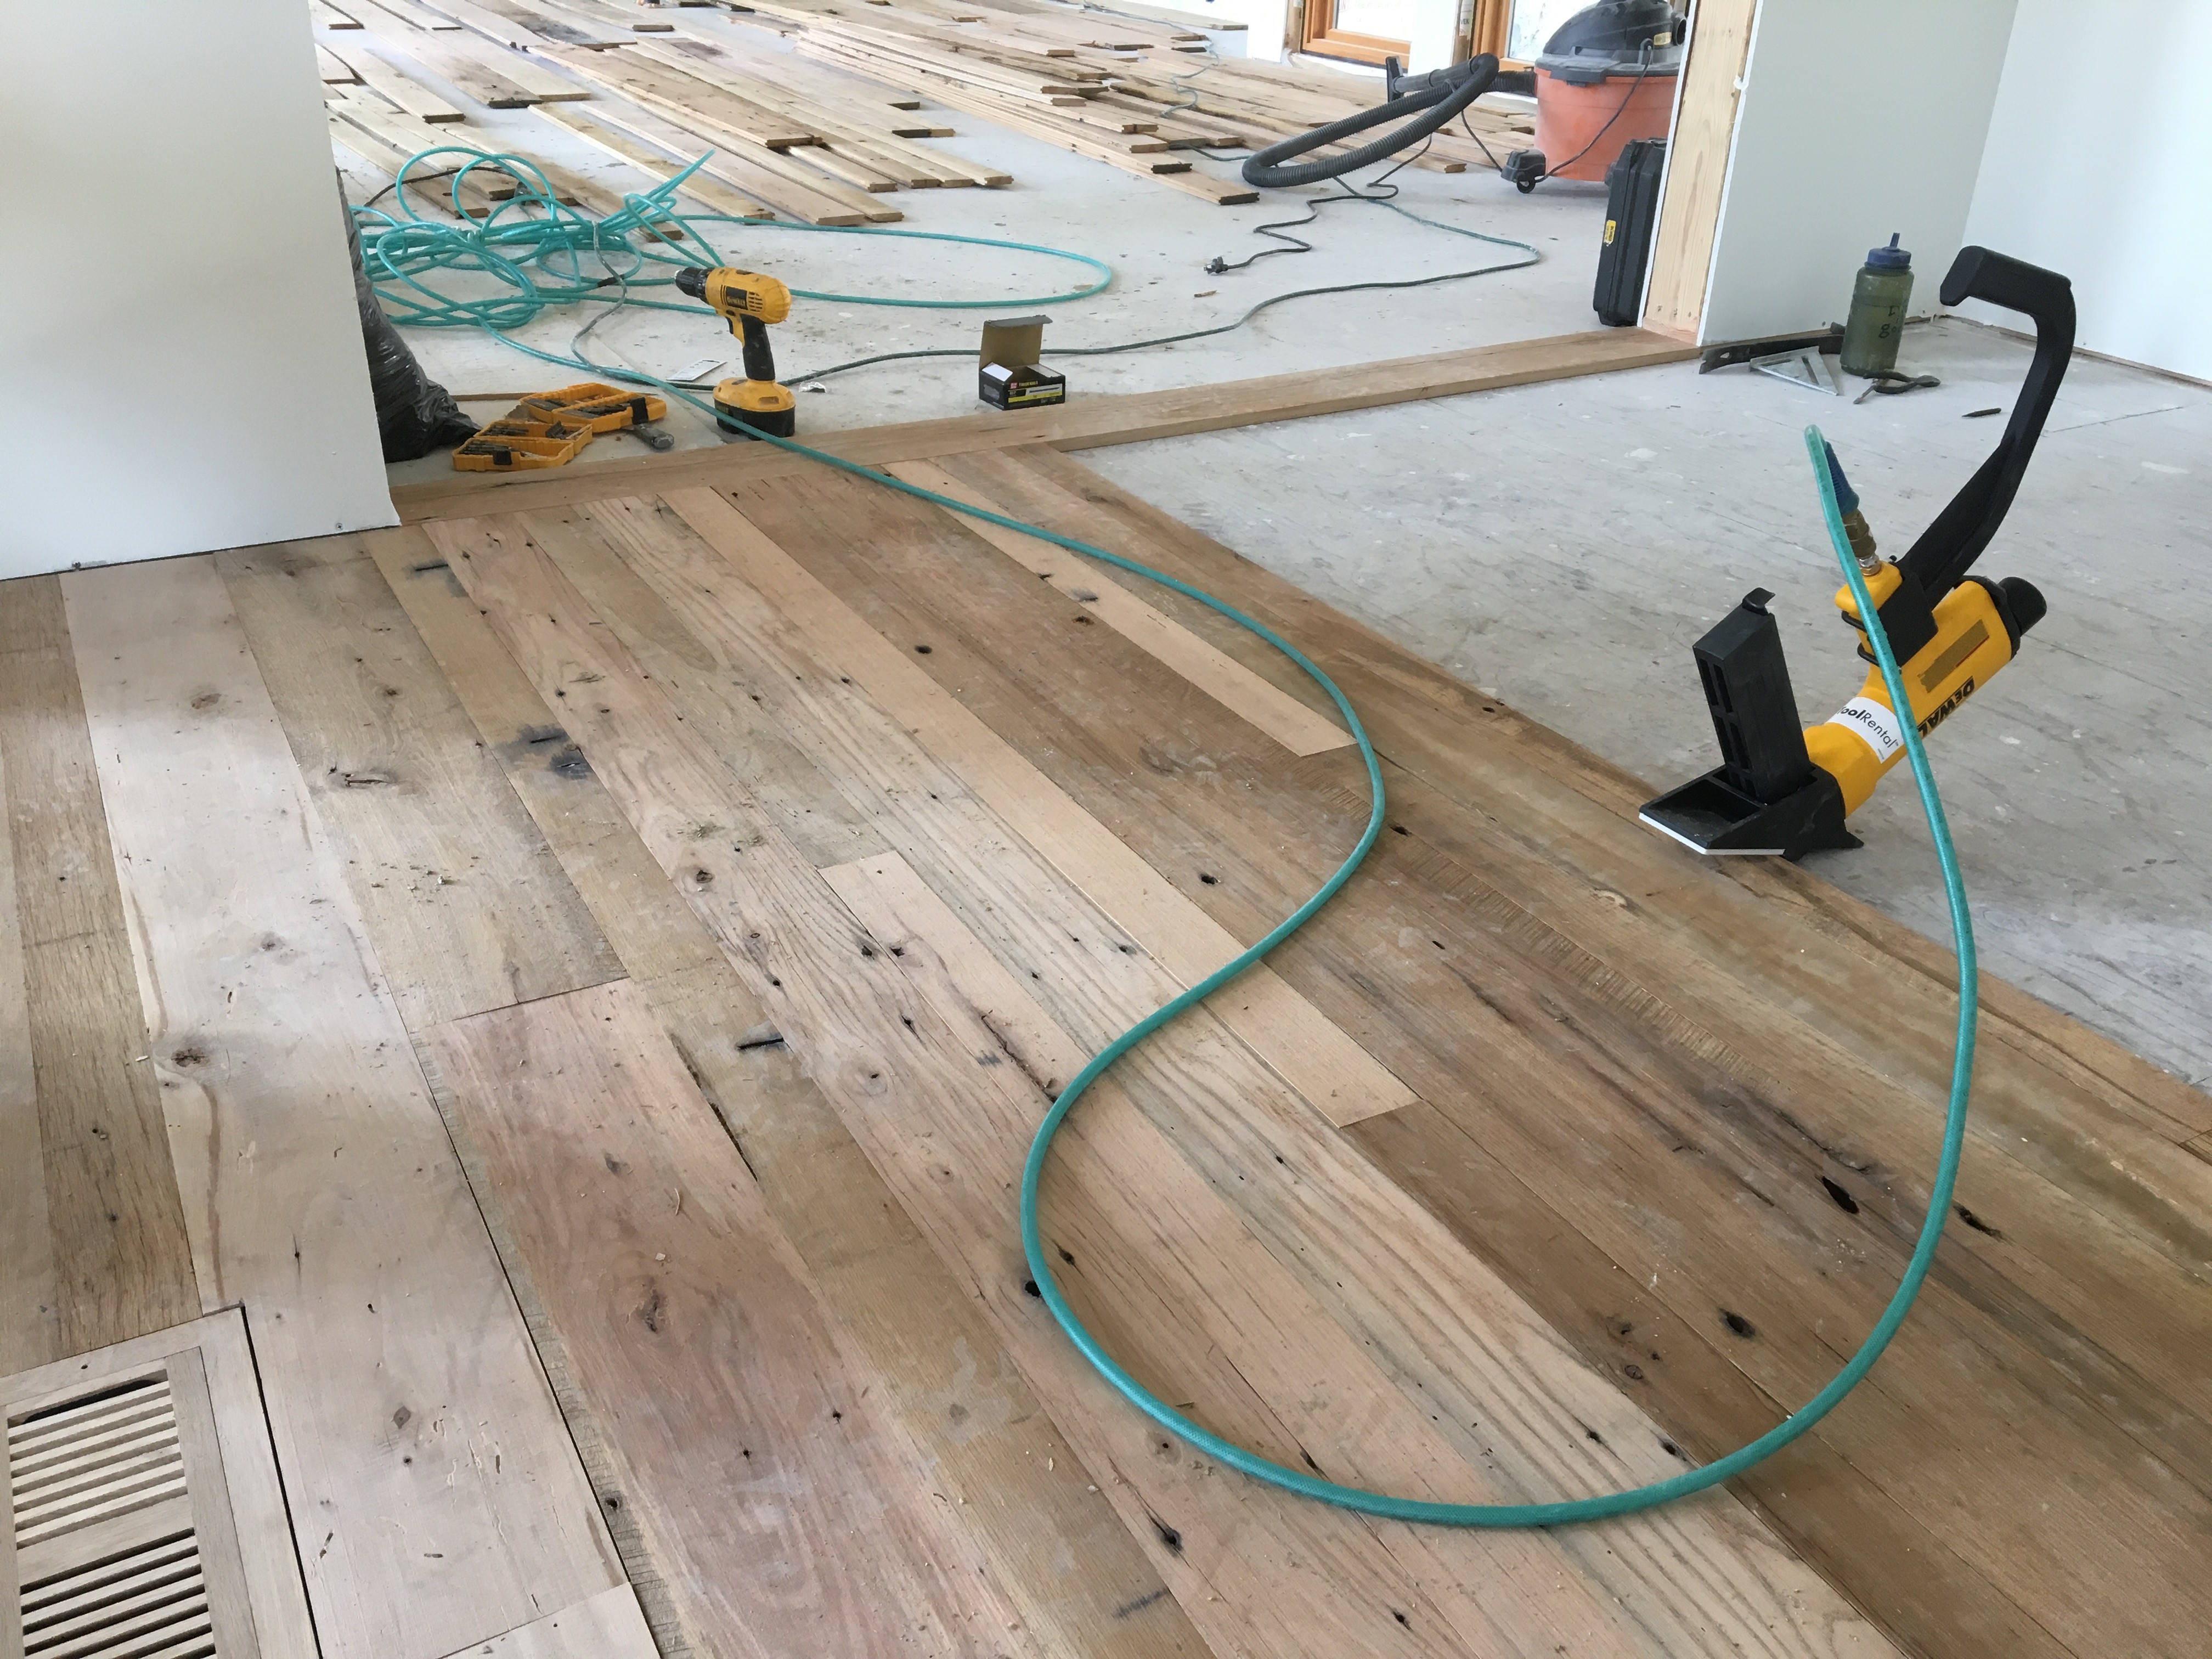
- Lay Out Your Next Row Jeff quickly learned to trim the ends and bad spots on several boards and then play around with how they line up with the earlier rows. You don’t want your breaks to happen at the same place on subsequent rows. When you start a row make sure you have enough material to finish that row. This was especially true on the 10-inch wide boards that were subject to cracks and knots.
Trimming the bad spots first made laying out the rows much faster
- But Don’t Think Too Hard About It The key to mixing and matching a reclaimed floor is to make it look random. Different colors, grains and even the direction of old saw marks look cool when in proximity to one another. In a way, it was helpful to just grab the next boards in the stack. But you also want to avoid having all your blonde pieces next to each other or having huge sections of mocha colored pieces in a group. So try pieces randomly, and then double check your work before nailing.
- Flip the Boards Over Amanda loved the boards with the old circular saw marks and weathered patina (as opposed to the fresh cut milled side of the wood). So every once in a while we used the rougher side of a board. We aren’t really sure how well this will turn out when we sand the floor, so we used them sparingly – more as accents or places for your eye to settle. What we found was that some of the best boards were even better when we flipped them over and checked the other side.
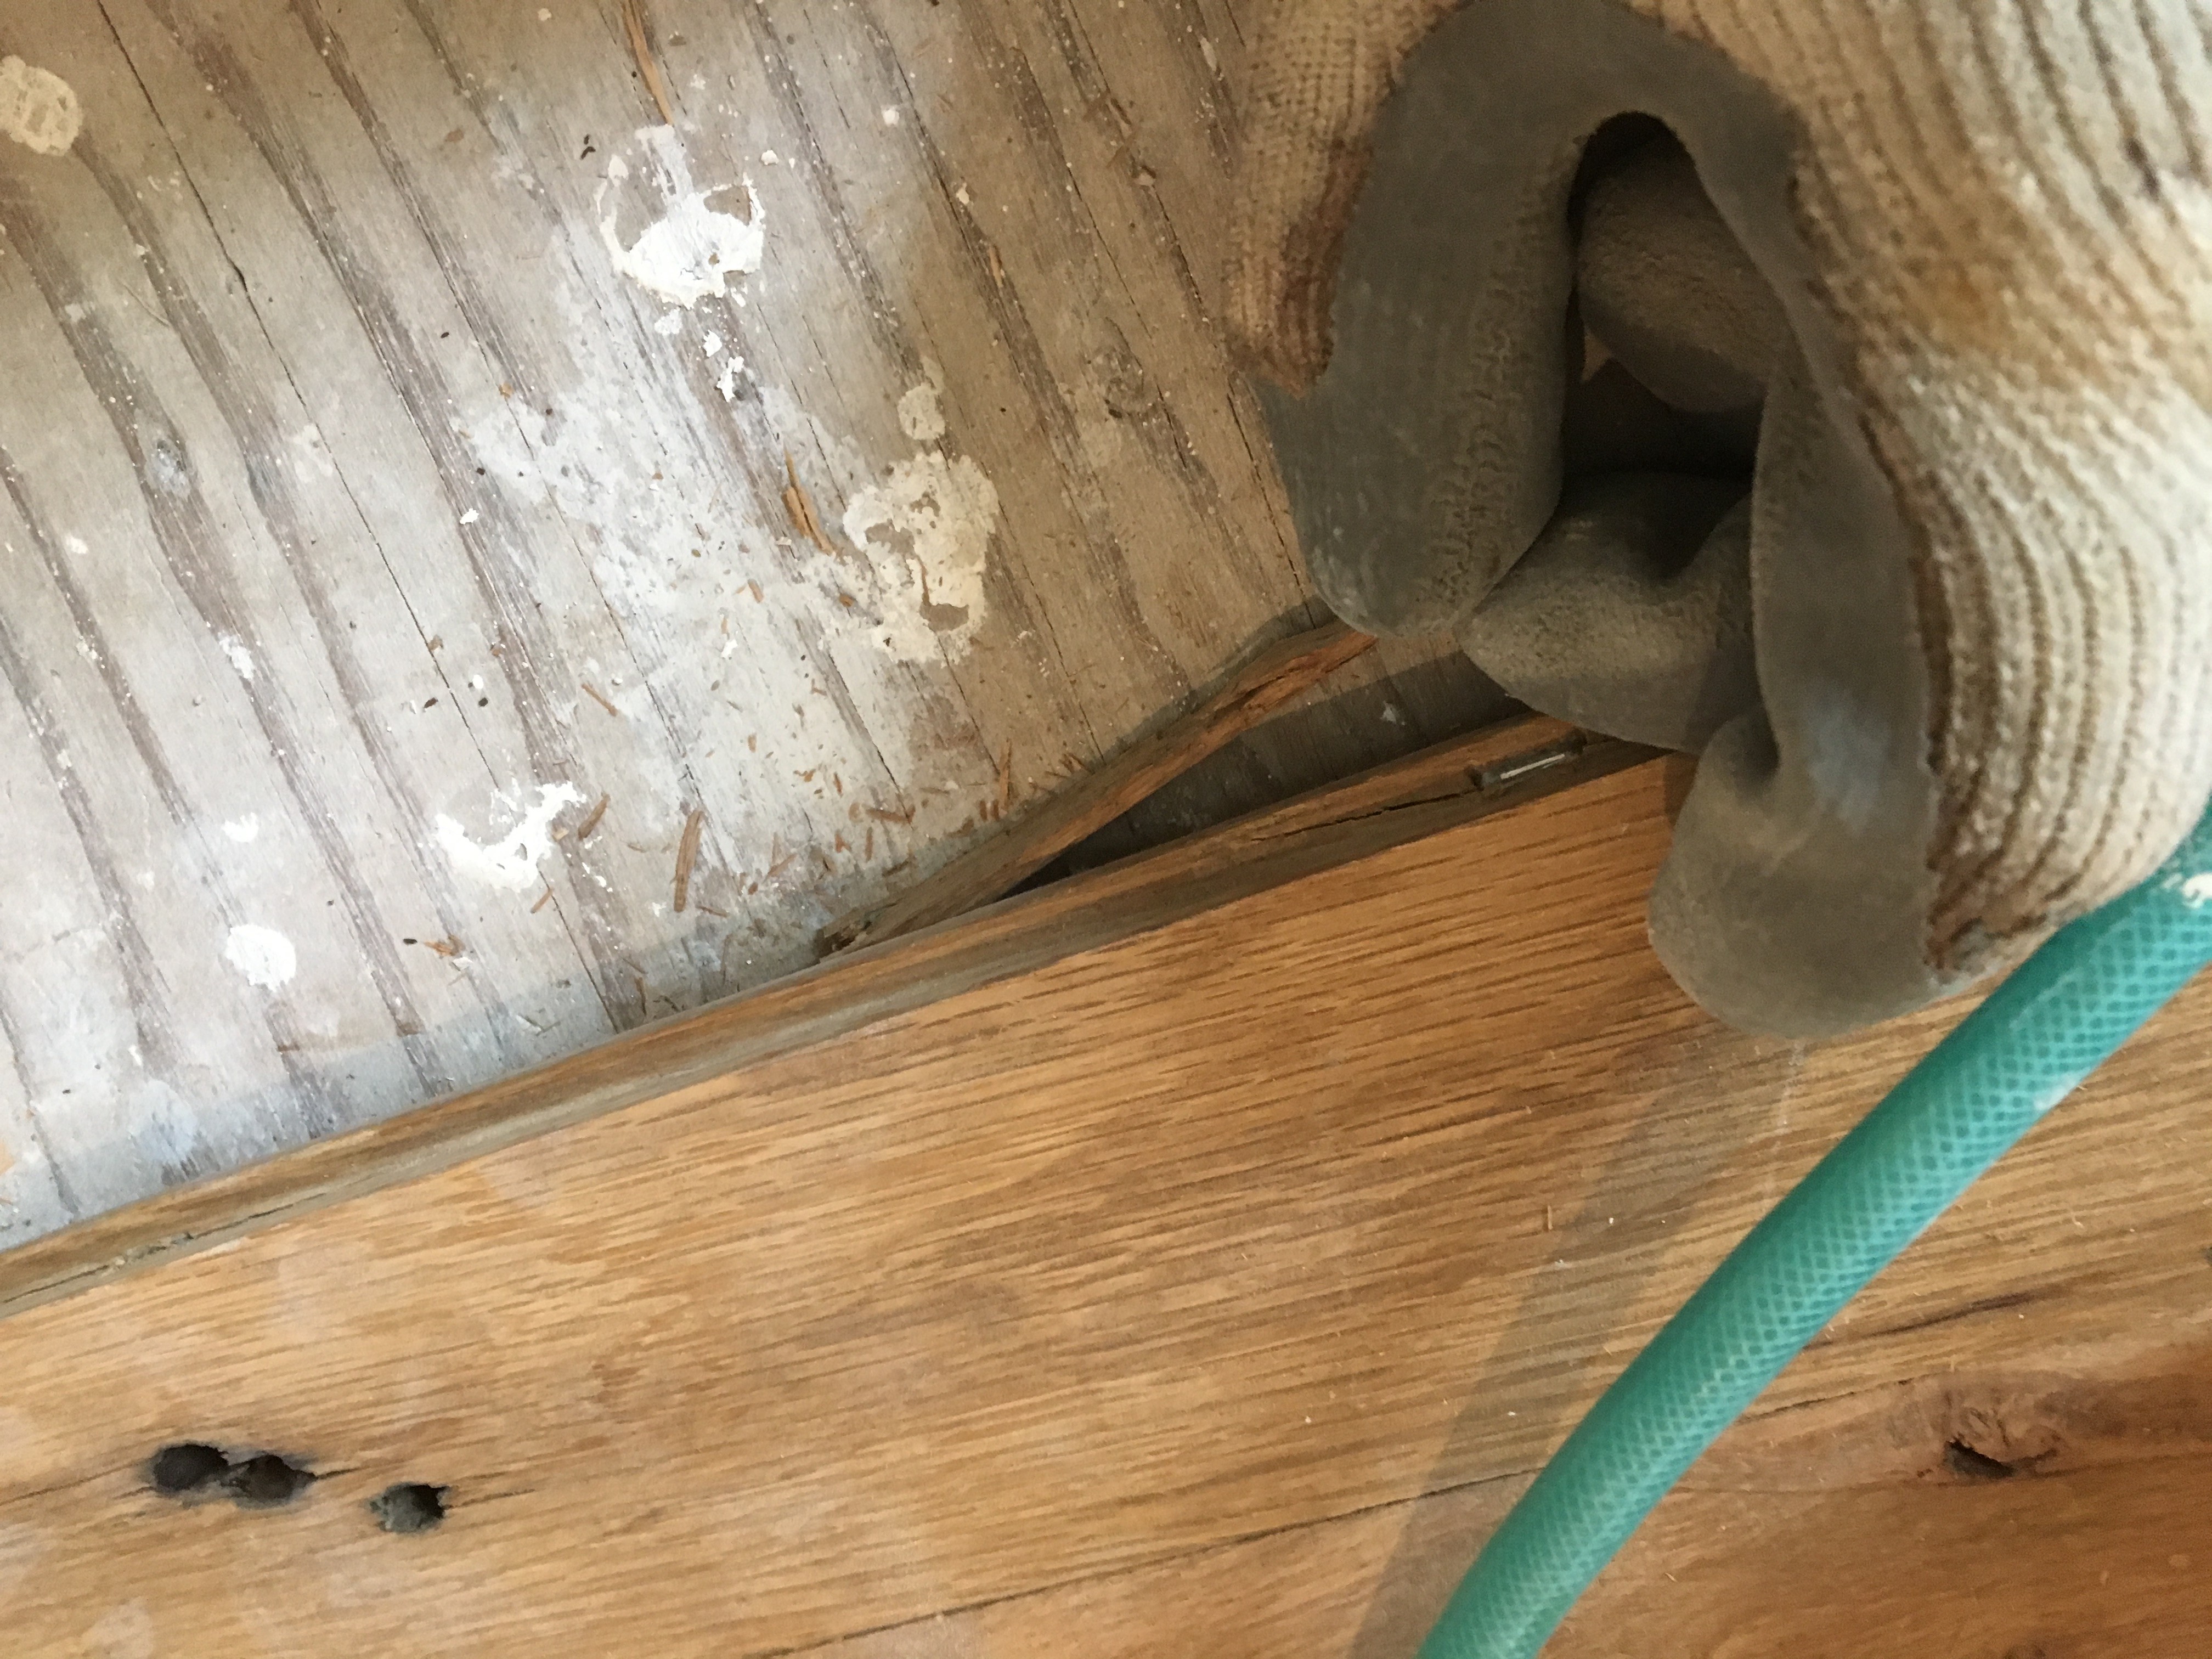
- It Sucks Putting in the Final Rows Getting rows to join involves smacking them hard with a hammer (being sure to use a scrap piece of wood!). Often bowed pieces could be forced in line when you hit them hard enough. The banger also does a decent job of driving pieces tightly together. But on those final rows that are against the wall, there isn’t enough room for the device to fit, so you have to fit them by hand. Online blogs tell you to use a pry bar against your wall (being sure to use a scrap piece of wood!) to force the rows together so Jeff did that only to put several large holes in our newly painted walls. After a while, we learned to rip off the tongue side of the final rows using a table saw and then top nailing them in place. The results were much tighter than trying to force them together.
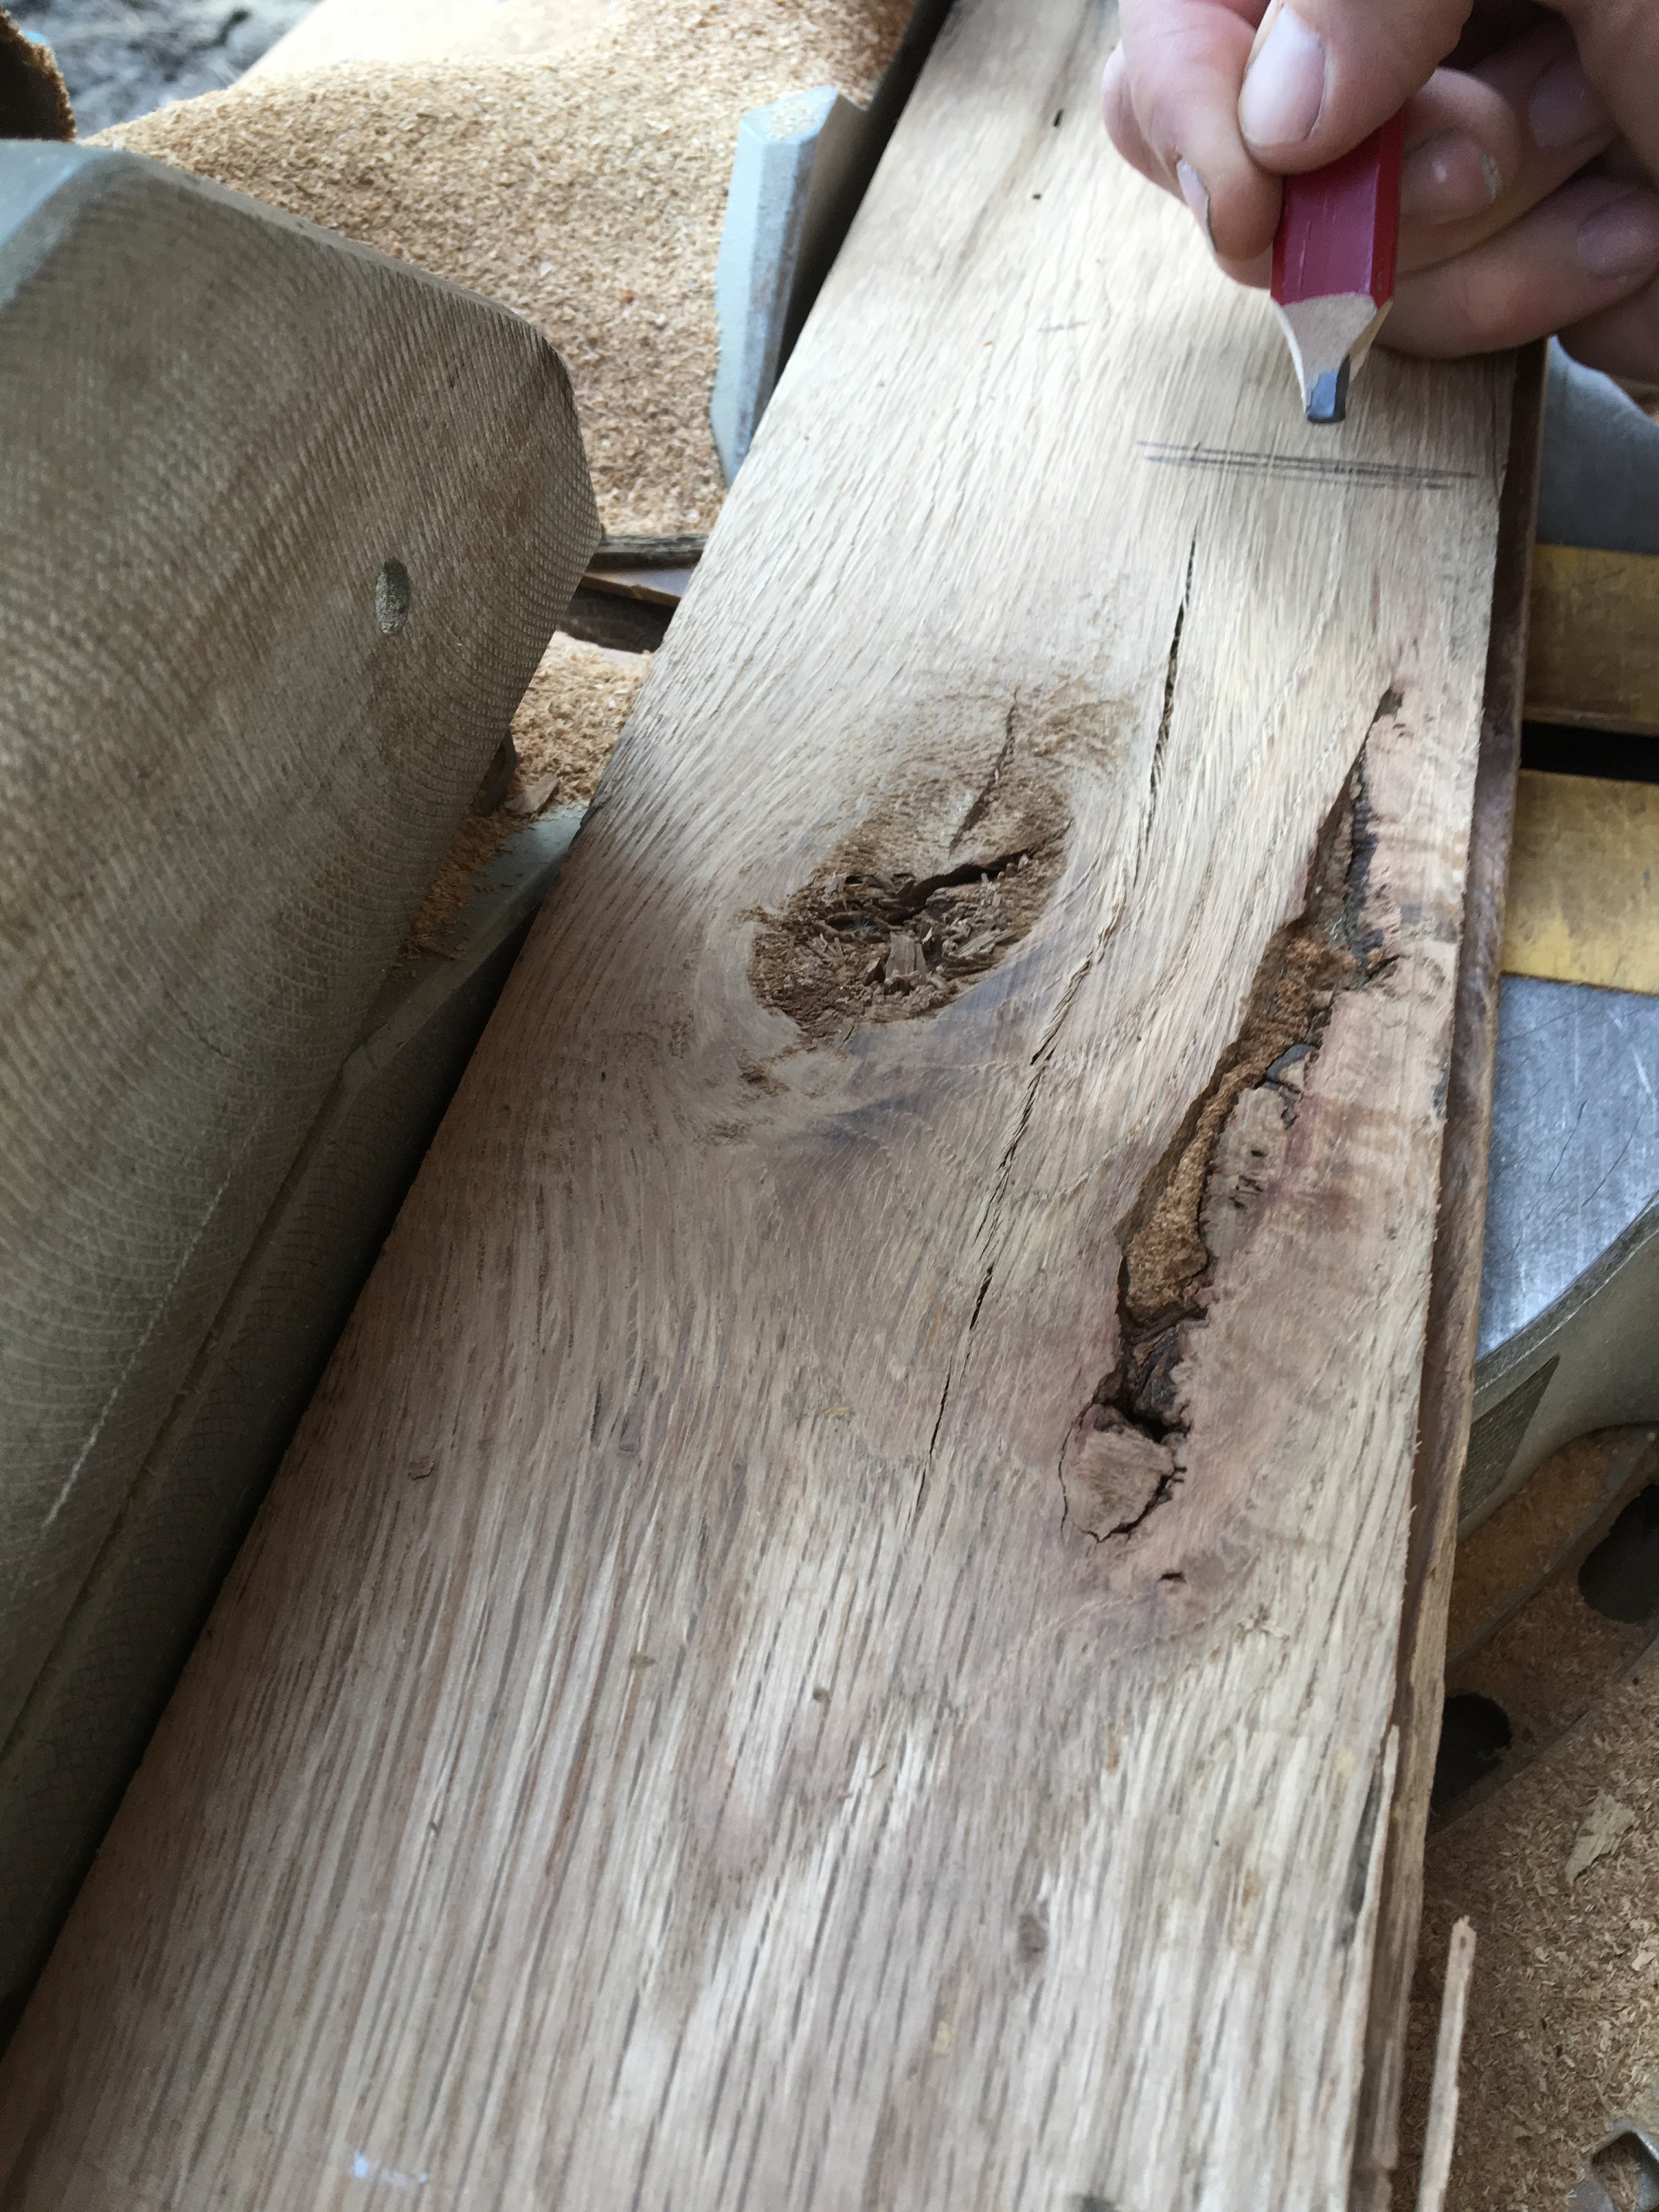
- Beware of Wonky Wood On his first room Jeff spent an hour on a single row trying to force them together. It was a beautiful wide section of boards so we really wanted to keep them. After a maddening experience, he figured out that on the very end of one of the boards, there was a subtle taper that made it slightly narrower than the rest of the wood (probably because the original wood was slightly bent). It was so slight you almost couldn’t see it, but it threw the subsequent sections out of alignment. After that, he got very good at checking and spotting pieces that weren’t square.
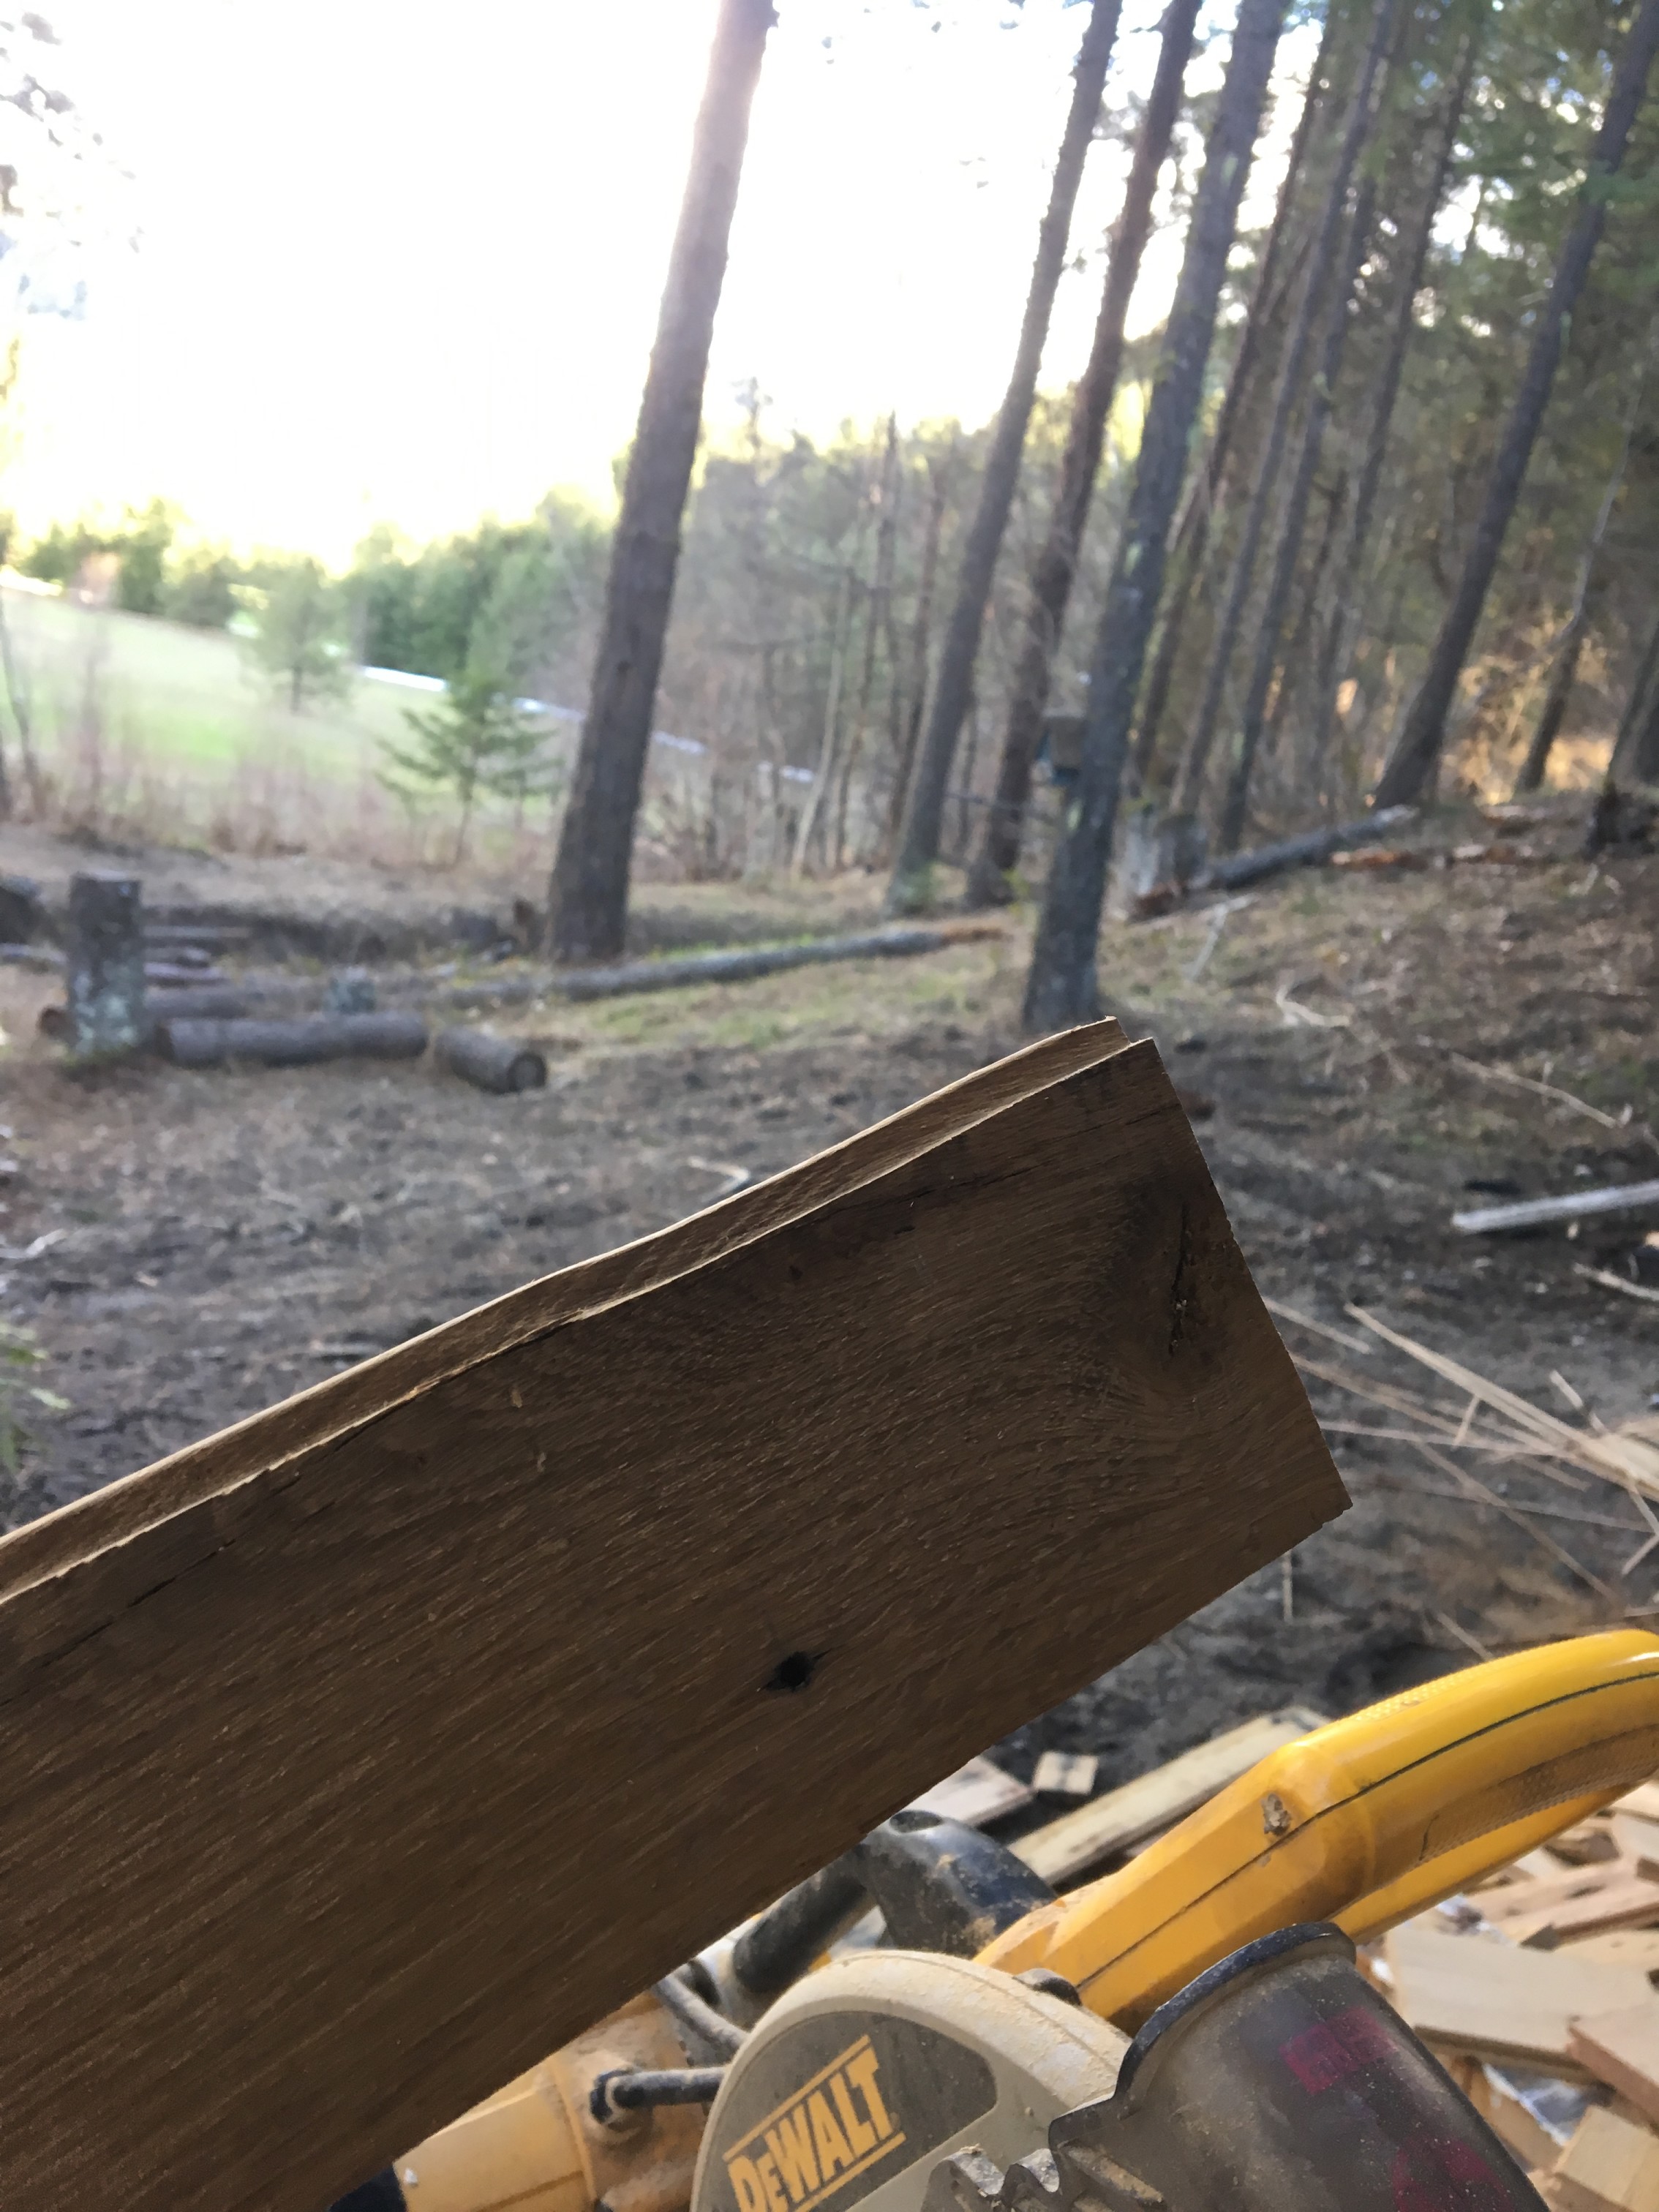
Little imperfections like this can throw a whole floor out of whack
- Beware of Splinters Another maddening experience was when the middle of a piece wouldn’t fit snugly with the previous row. No matter how hard you smash with a hammer, some pieces won’t fit. Usually this was because a tiny pebble or small piece of wood had broken off and was stuck between the tongue and groove. If the piece doesn’t fit, the row must acquit!
- Flush Vents are Simple Using flush wood vents covers are a breeze. We found ours on Amazon for $22. These are a standard ¾ inch with grooves that fit together with the tongues of your wood. They can even be sanded so they’re flush with the rest of your floor. And it’s way easier to put them in during install than to retrofit them later.
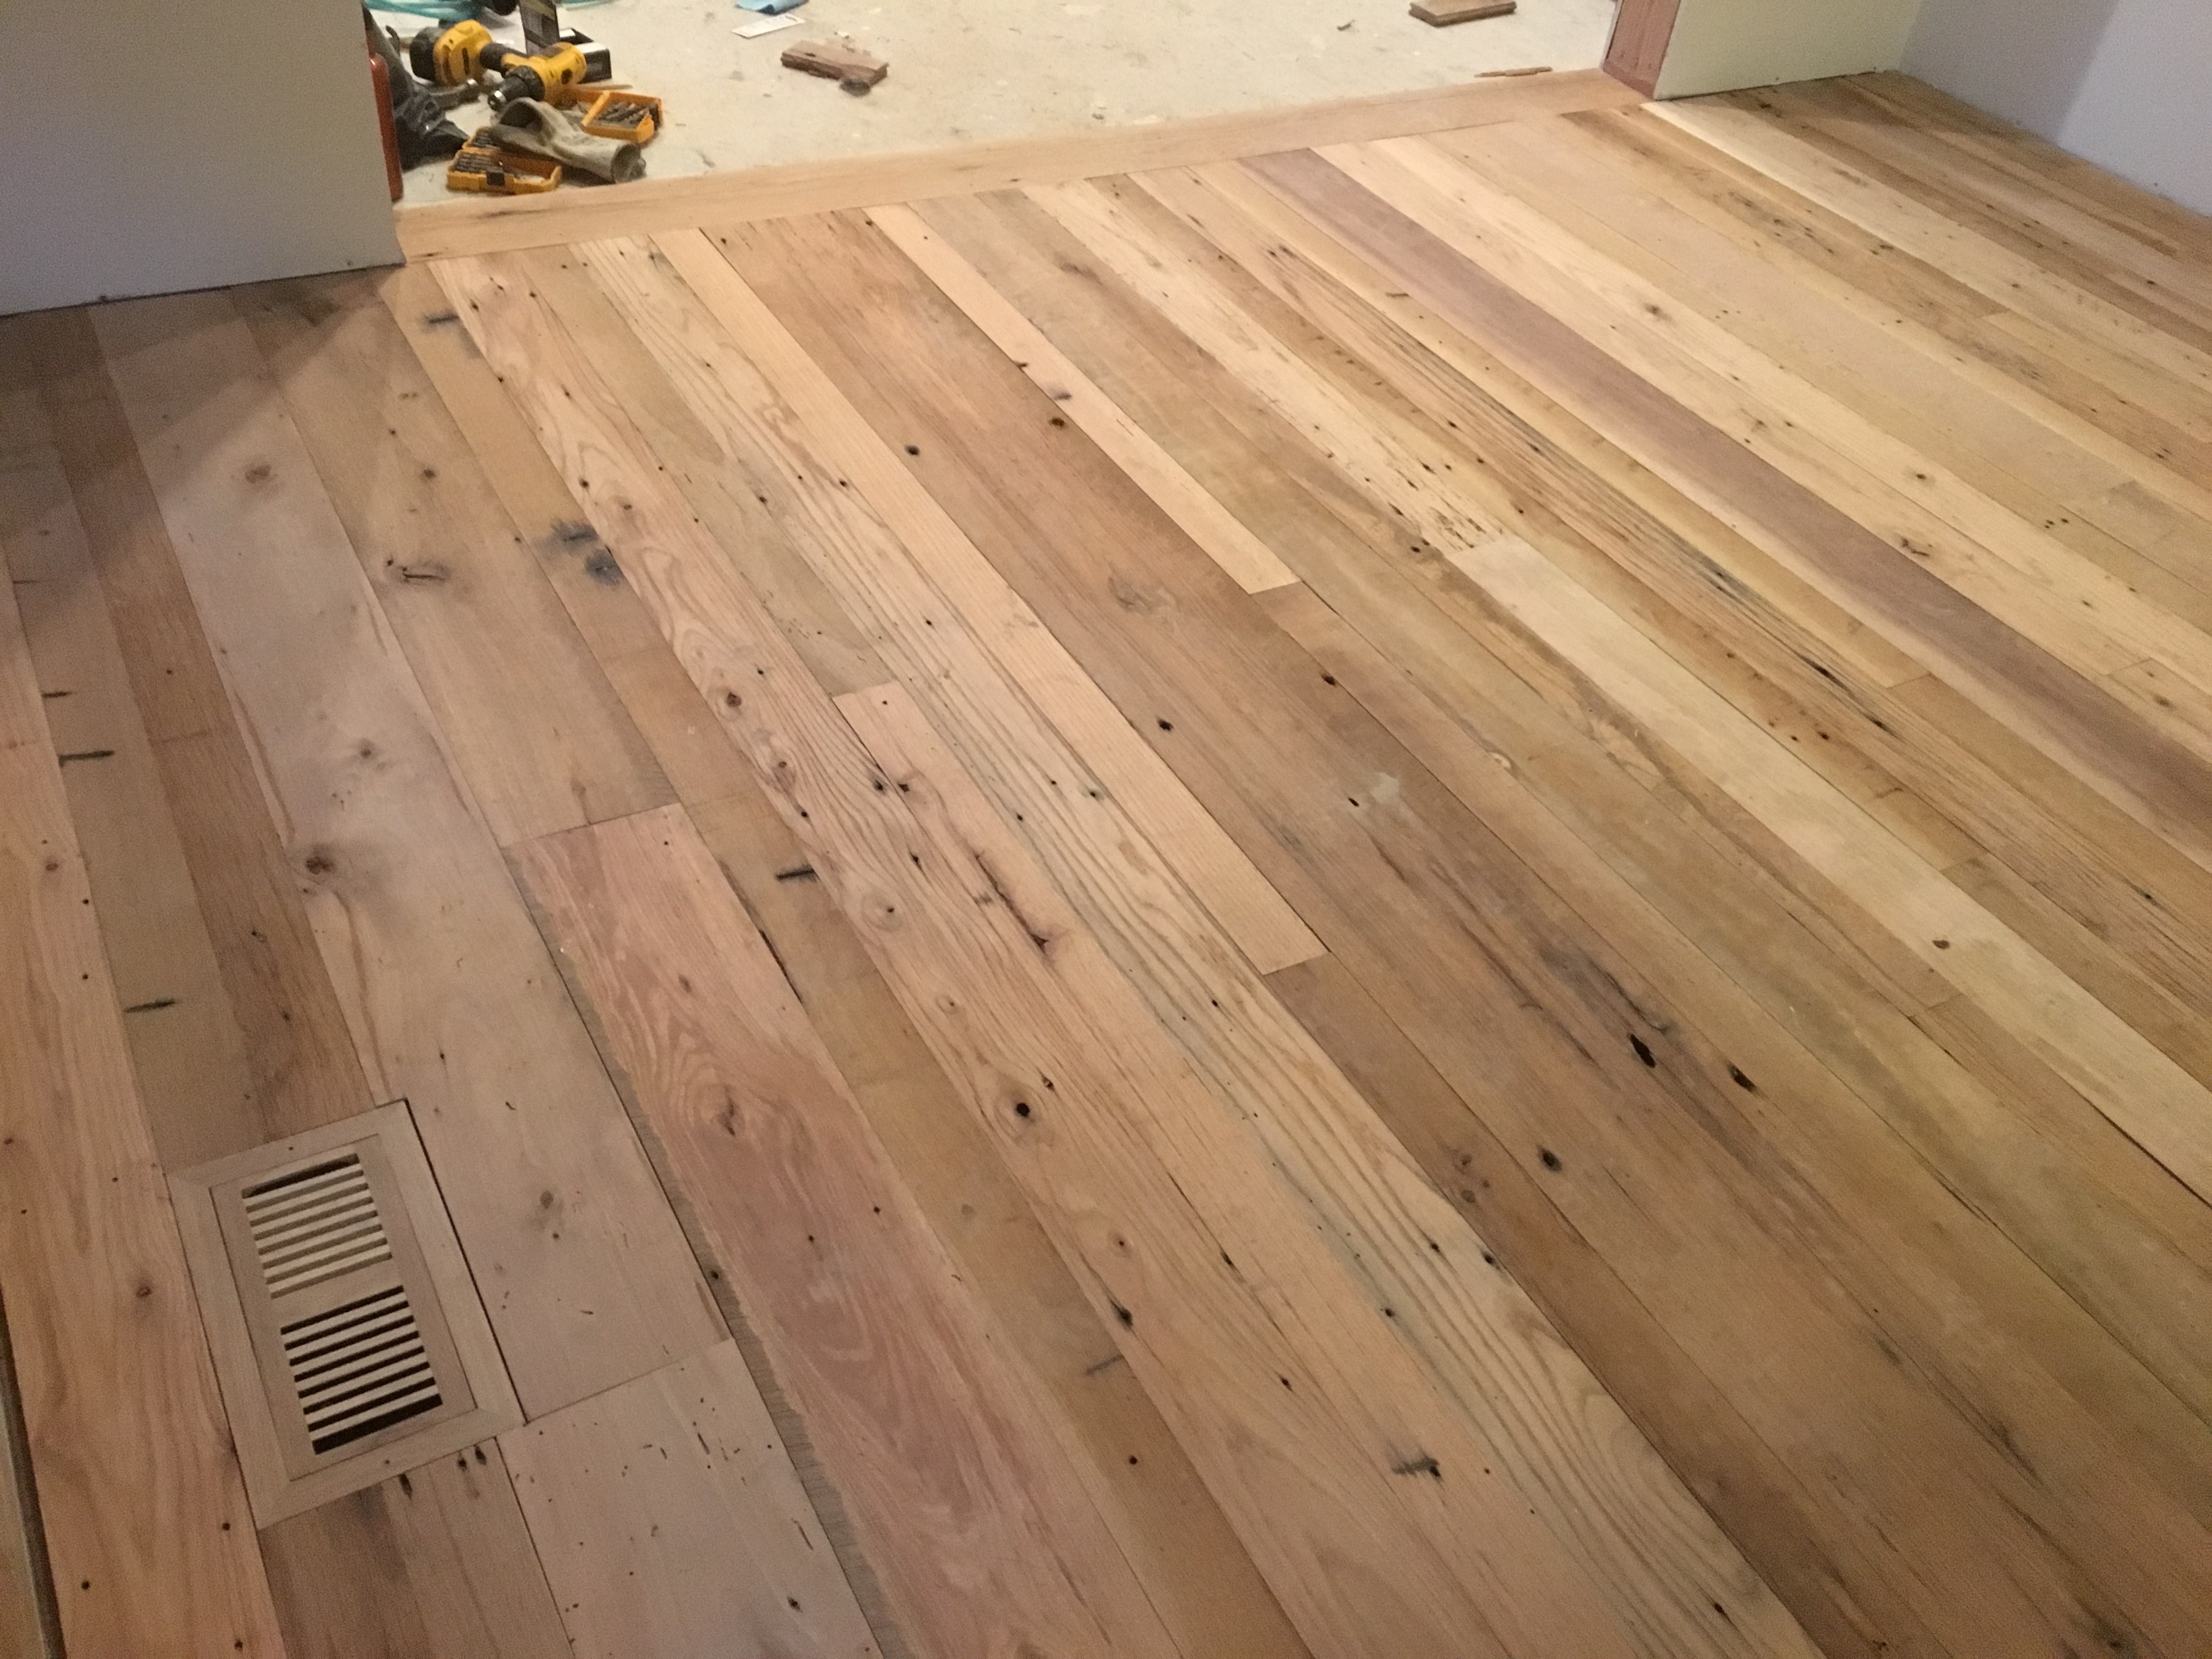
Almost done! Next step is sanding.
I don’t know about Washington, but here in New England, you can get in some serious economic pain if you try to “store yourselves” before getting that all important building inspector’s CO.
P.S. Went to State with Amanda’s dad and worked for him when he was editor of college paper.