Amanda and Ian spread hot coals over an in-ground oven
Over the Thanksgiving holiday, we carved out some time to try a new cooking adventure. Call it bonfire dining or a cooking like a caveman – baking big slabs of meat underground is something humans have been doing for a very long time.
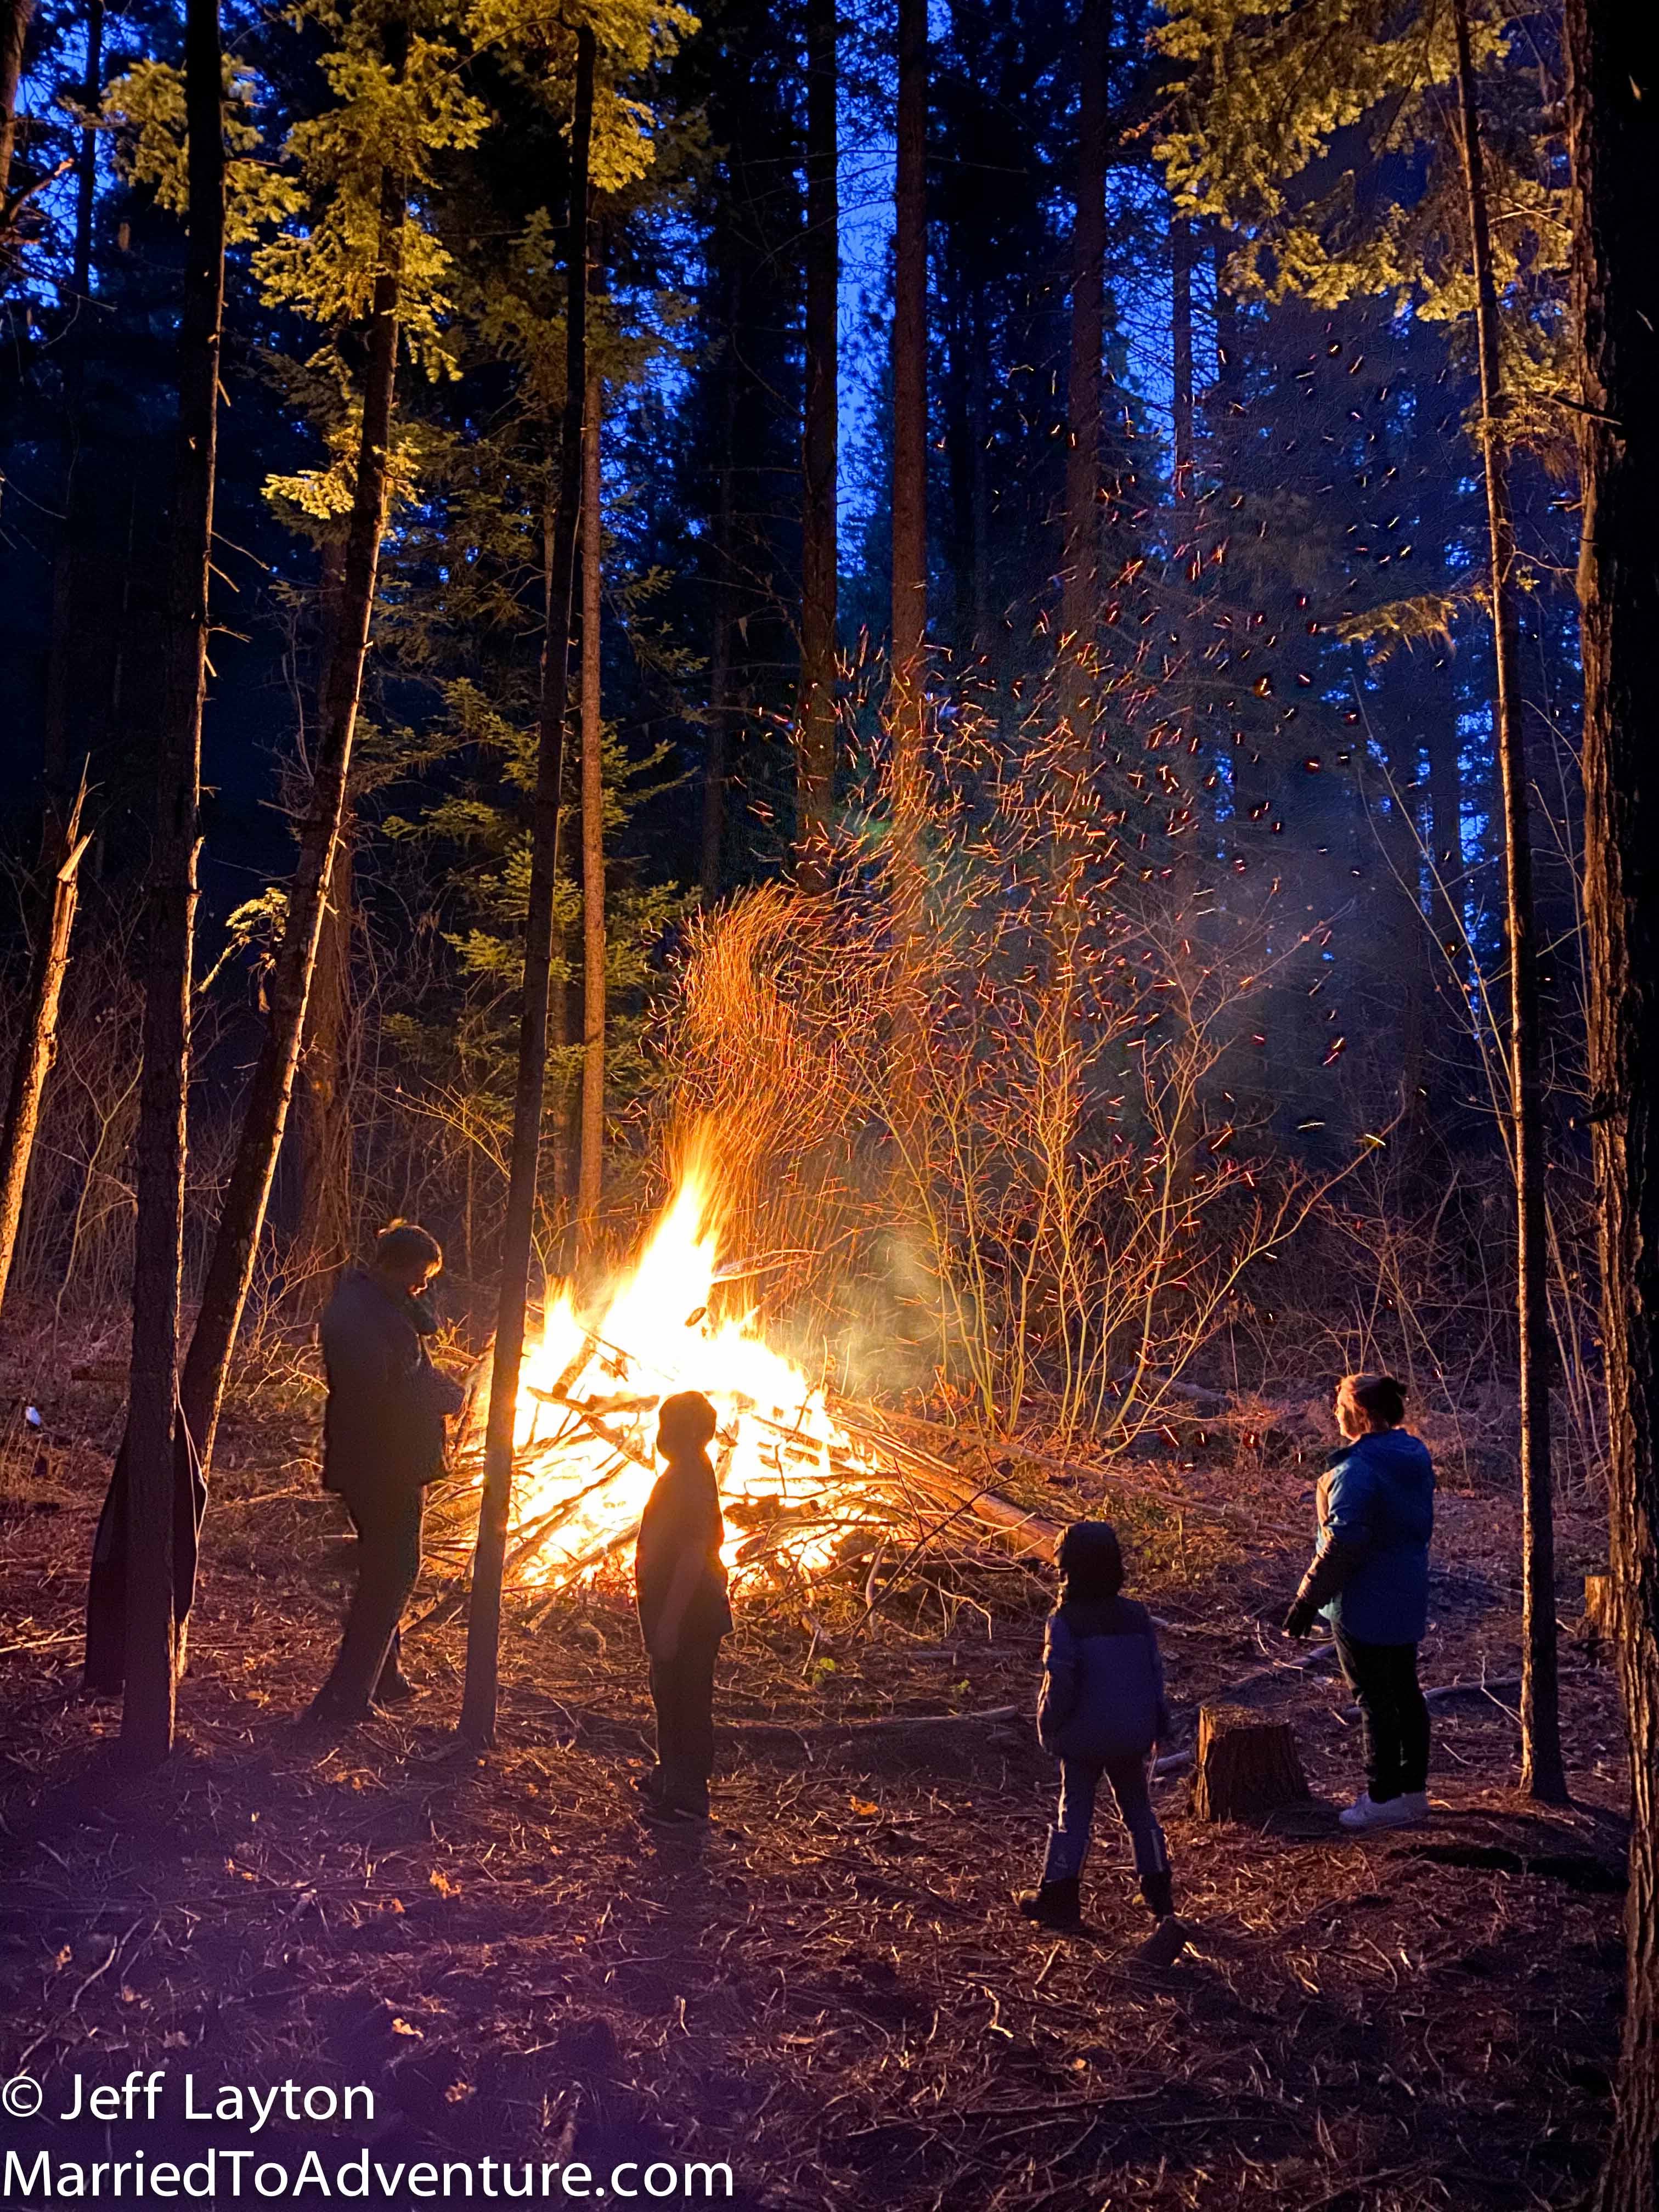
Ok let me back up a bit. When we bought Osprey Acres, our property plus the National Forest around us were littered with slash piles. (If you don’t live in timber country, a slash pile is a collection of the limbs and tree tops left over after a logging operation). When our forest was thinned, hundreds of these piles were left behind and they’ve been lying in the forest curing for years. Since they are prime fuel for wildfires, we wait until the conditions are right and have big bonfires and burn parties to remove them safely.
One of the hundreds of slash piles that surround our house. While they’re a wildfire hazard, they’re also great fun to burn
As you can imagine, after a full day of burning one of these piles there are a LOT of coals. And for years, we’ve talked about how to cook a dinner in a pile of coals. So after about 5 minutes of research on the internet, we concocted a plan and (spoiler alert) it was a smashing success!
Here’s how it went down.
Step #1 Buy Meat and Banana Leaves
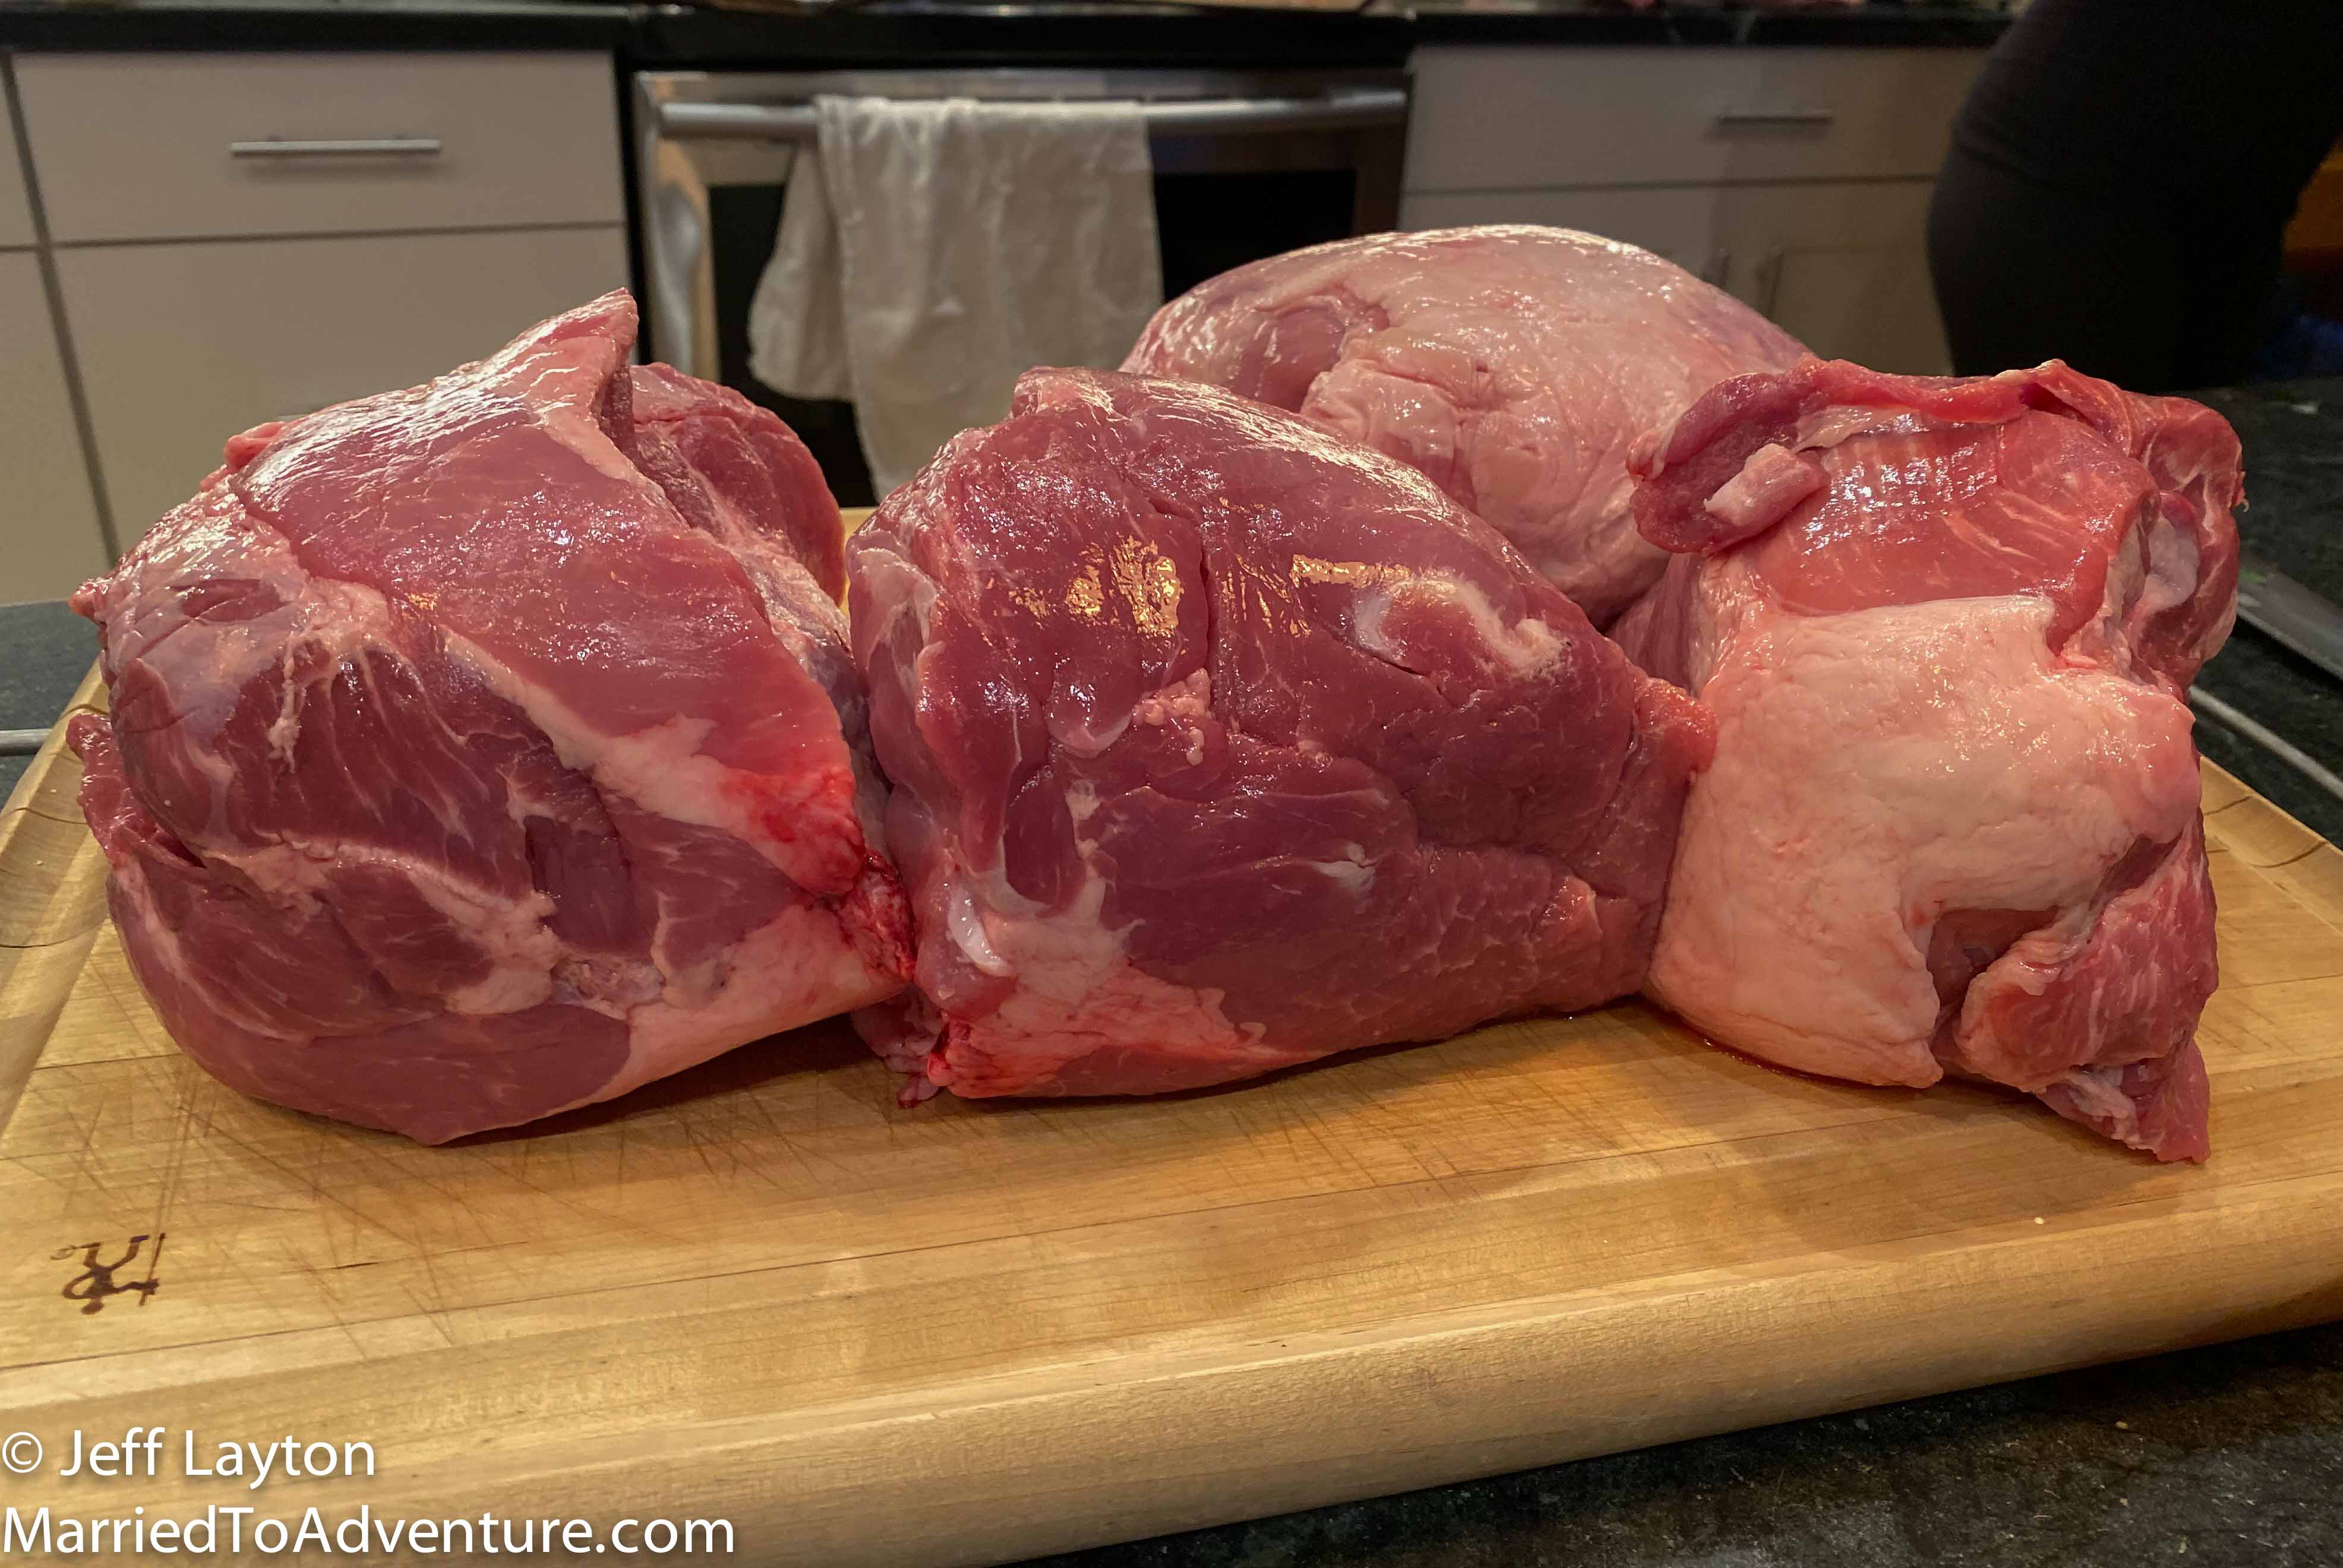
We knew from our international travels that many cultures cook underground using banana leaves to trap moisture during the cooking process. So we swung by our local Mexican grocery store and picked up four big slabs of pork shoulder for $35 and a package of leaves for about $5. Cooking with banana leaves is common in many cultures, so you could probably find them in other types of specialty grocery stores).
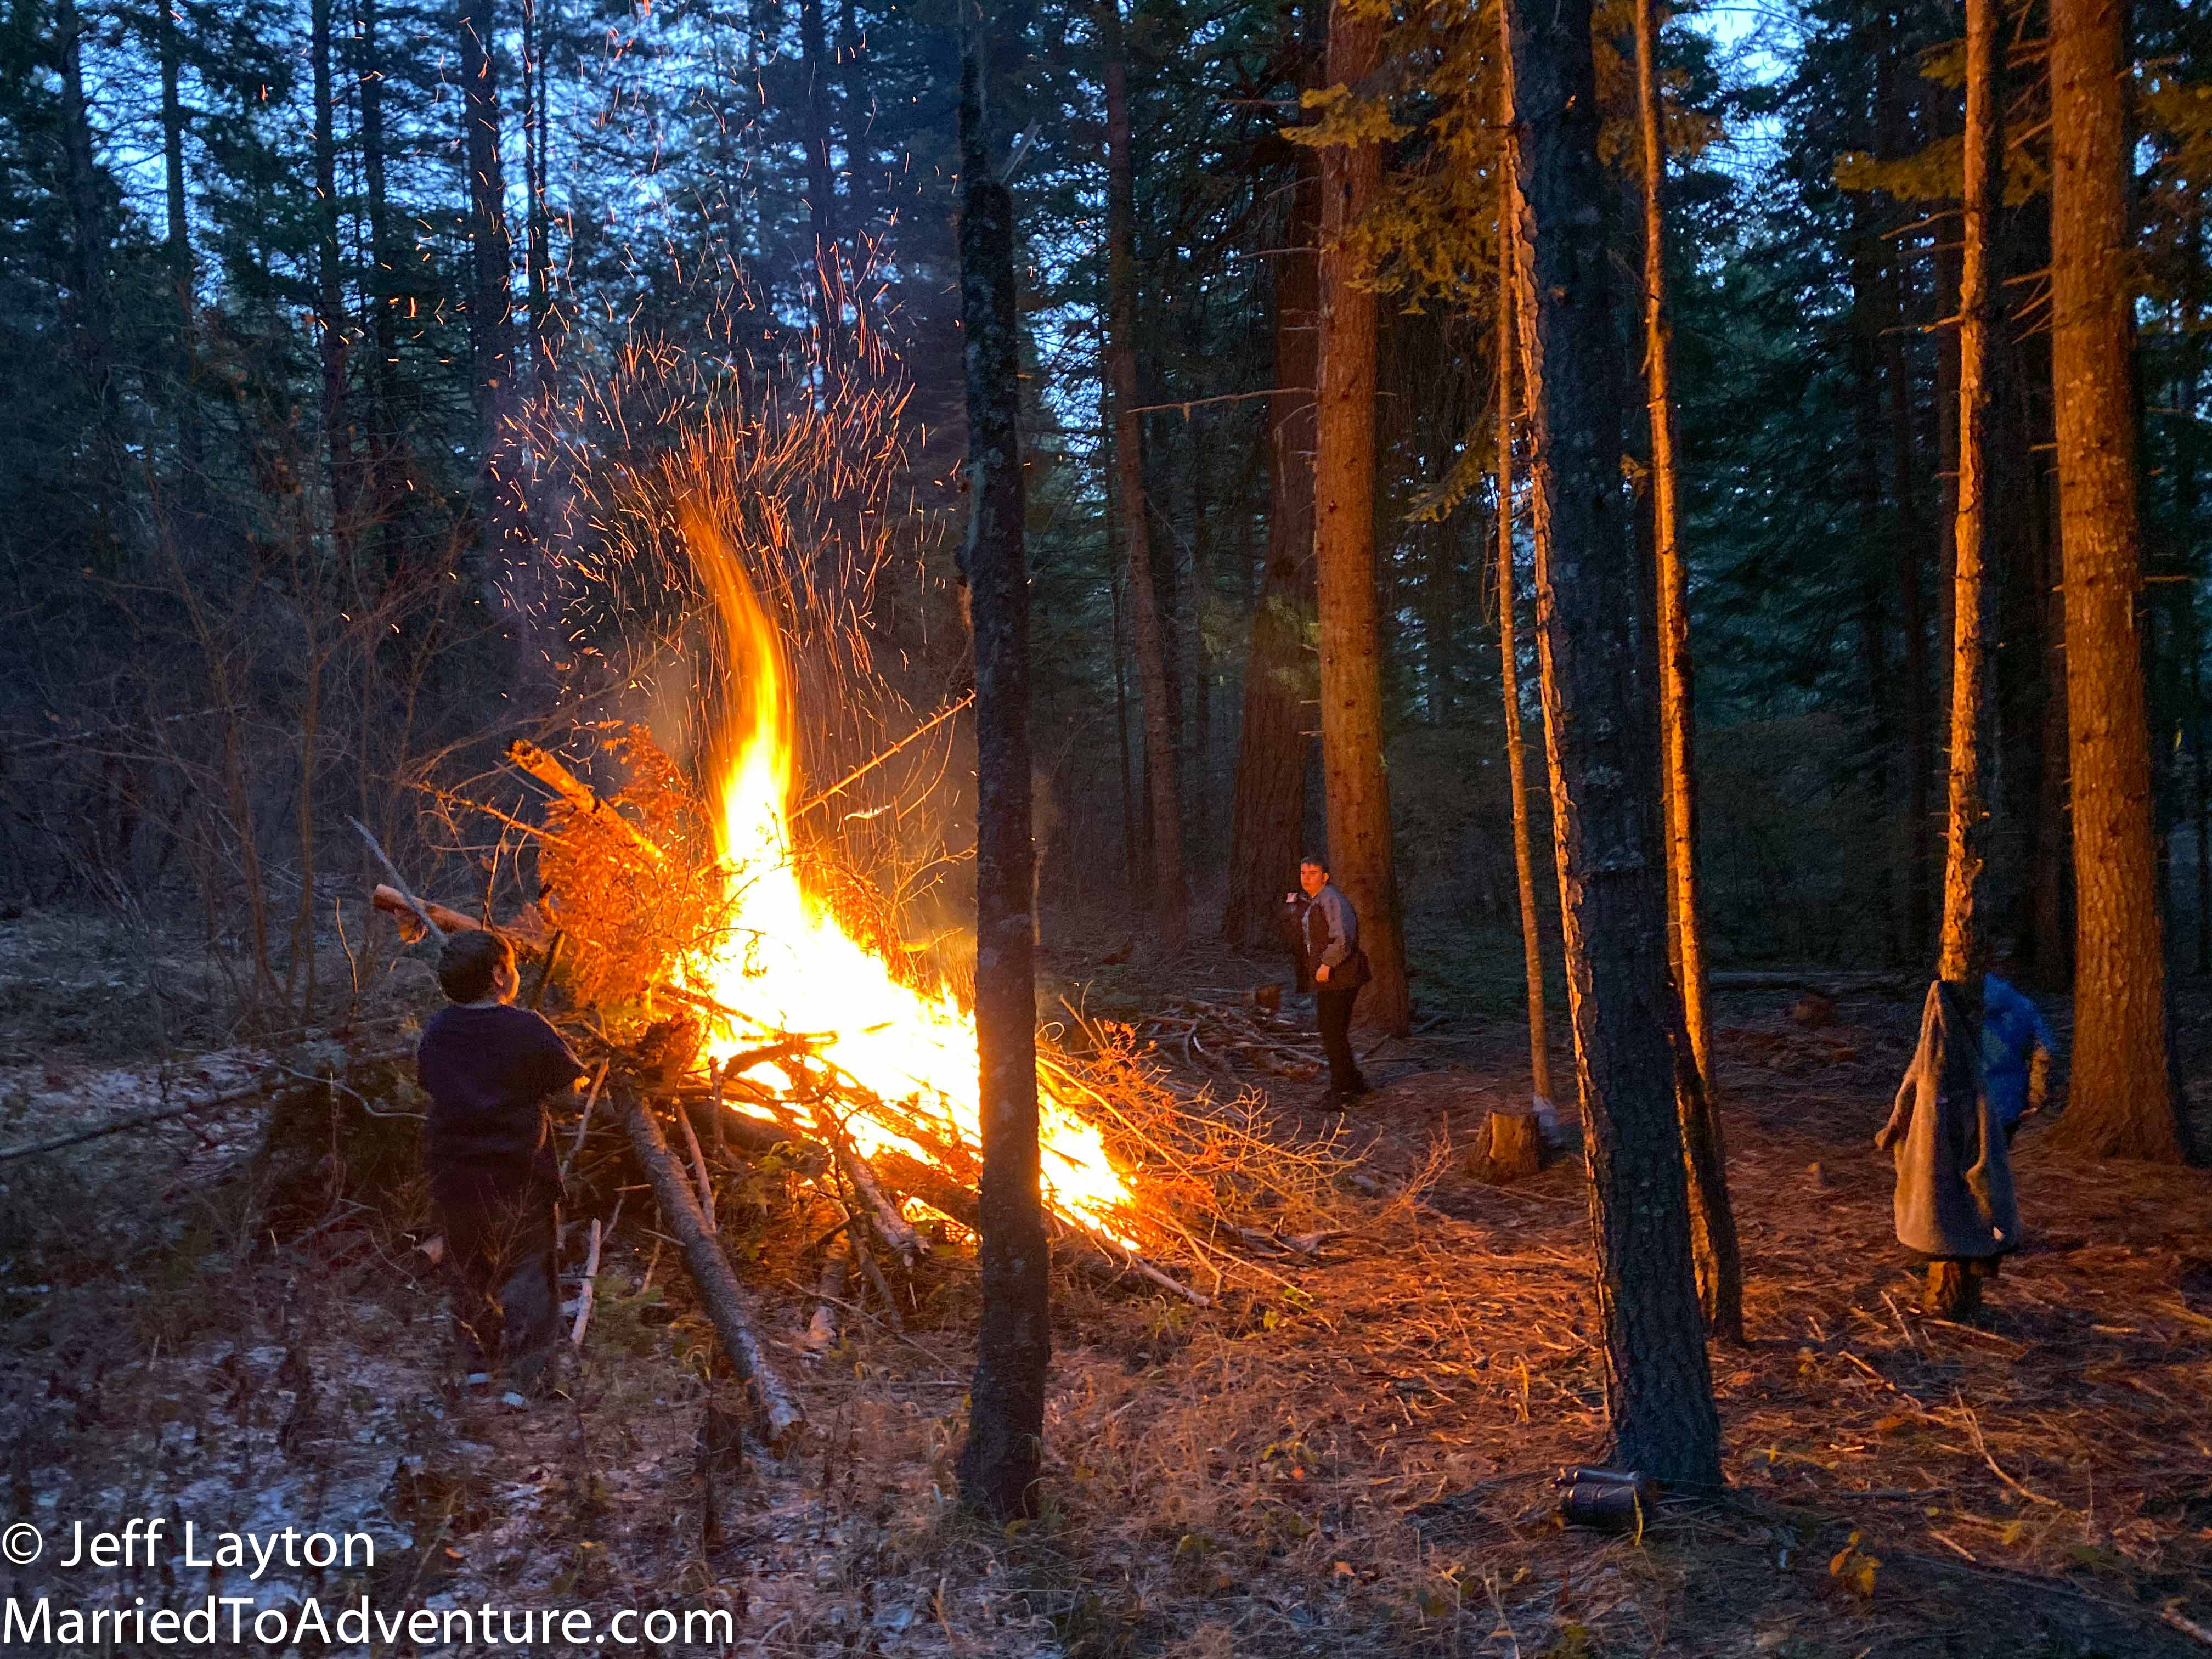
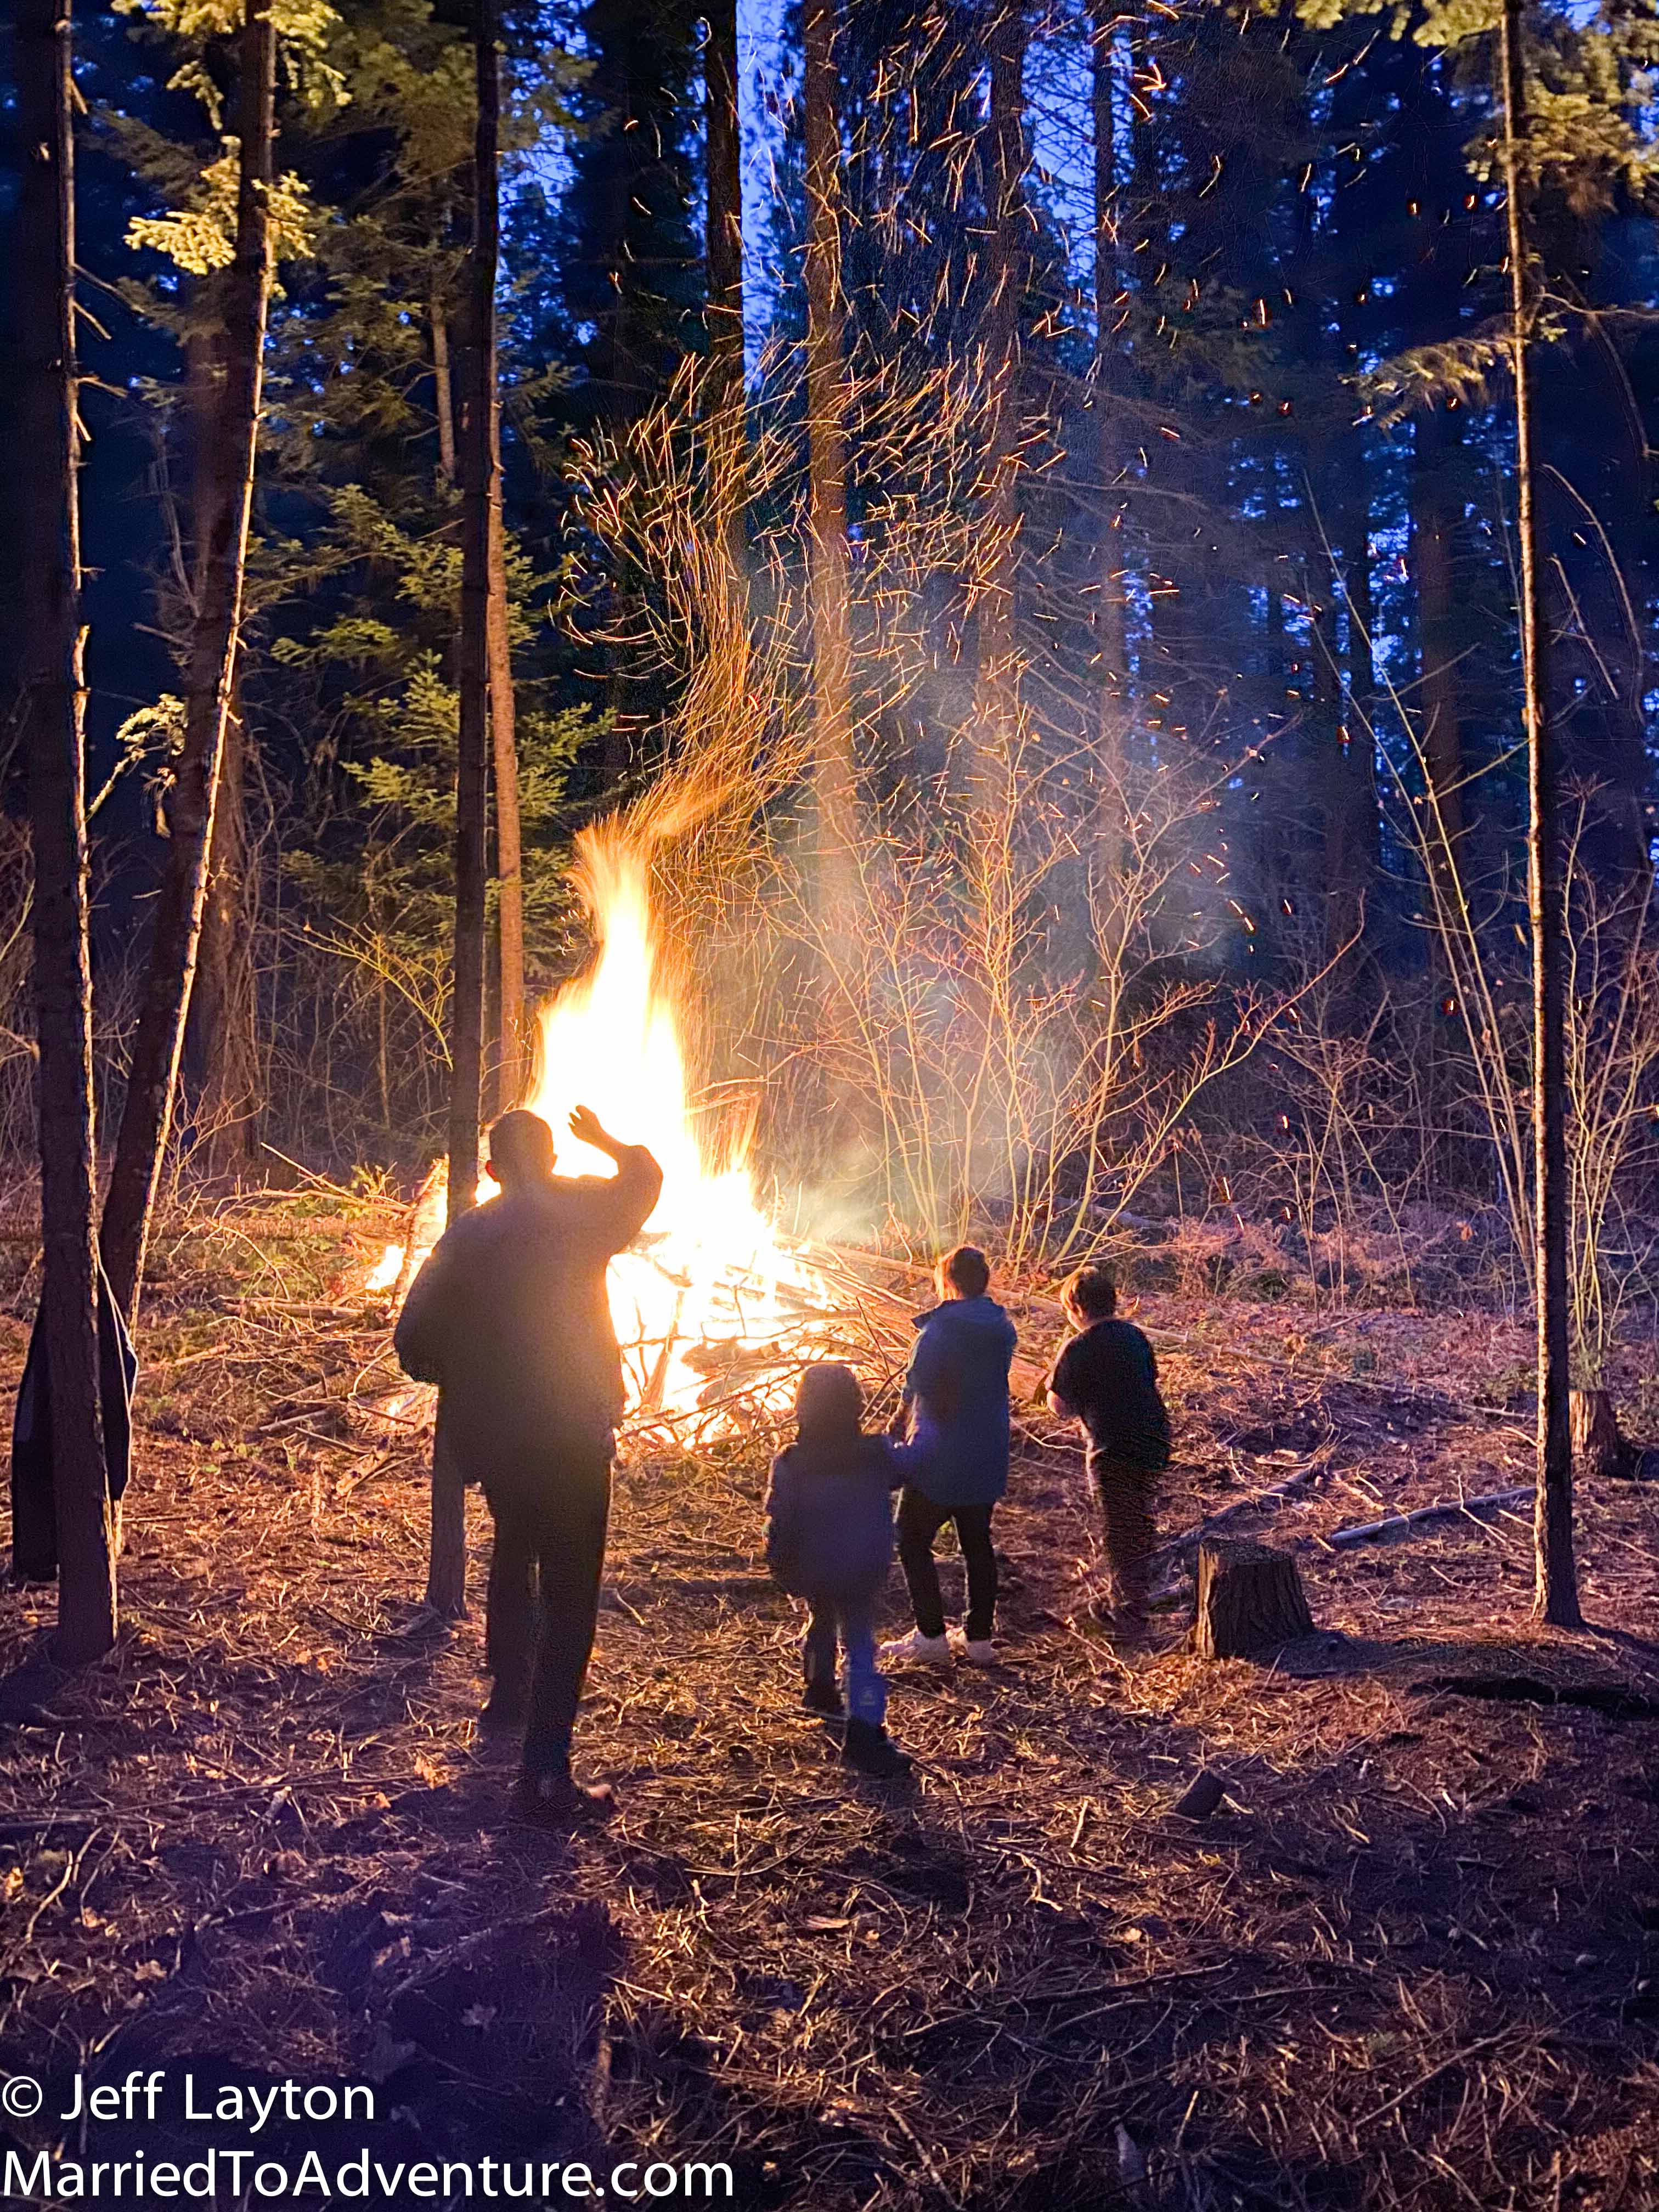
Step #2 Light a Fire
It doesn’t have to be massive. But it’s way more fun if the flames are taller than you are.
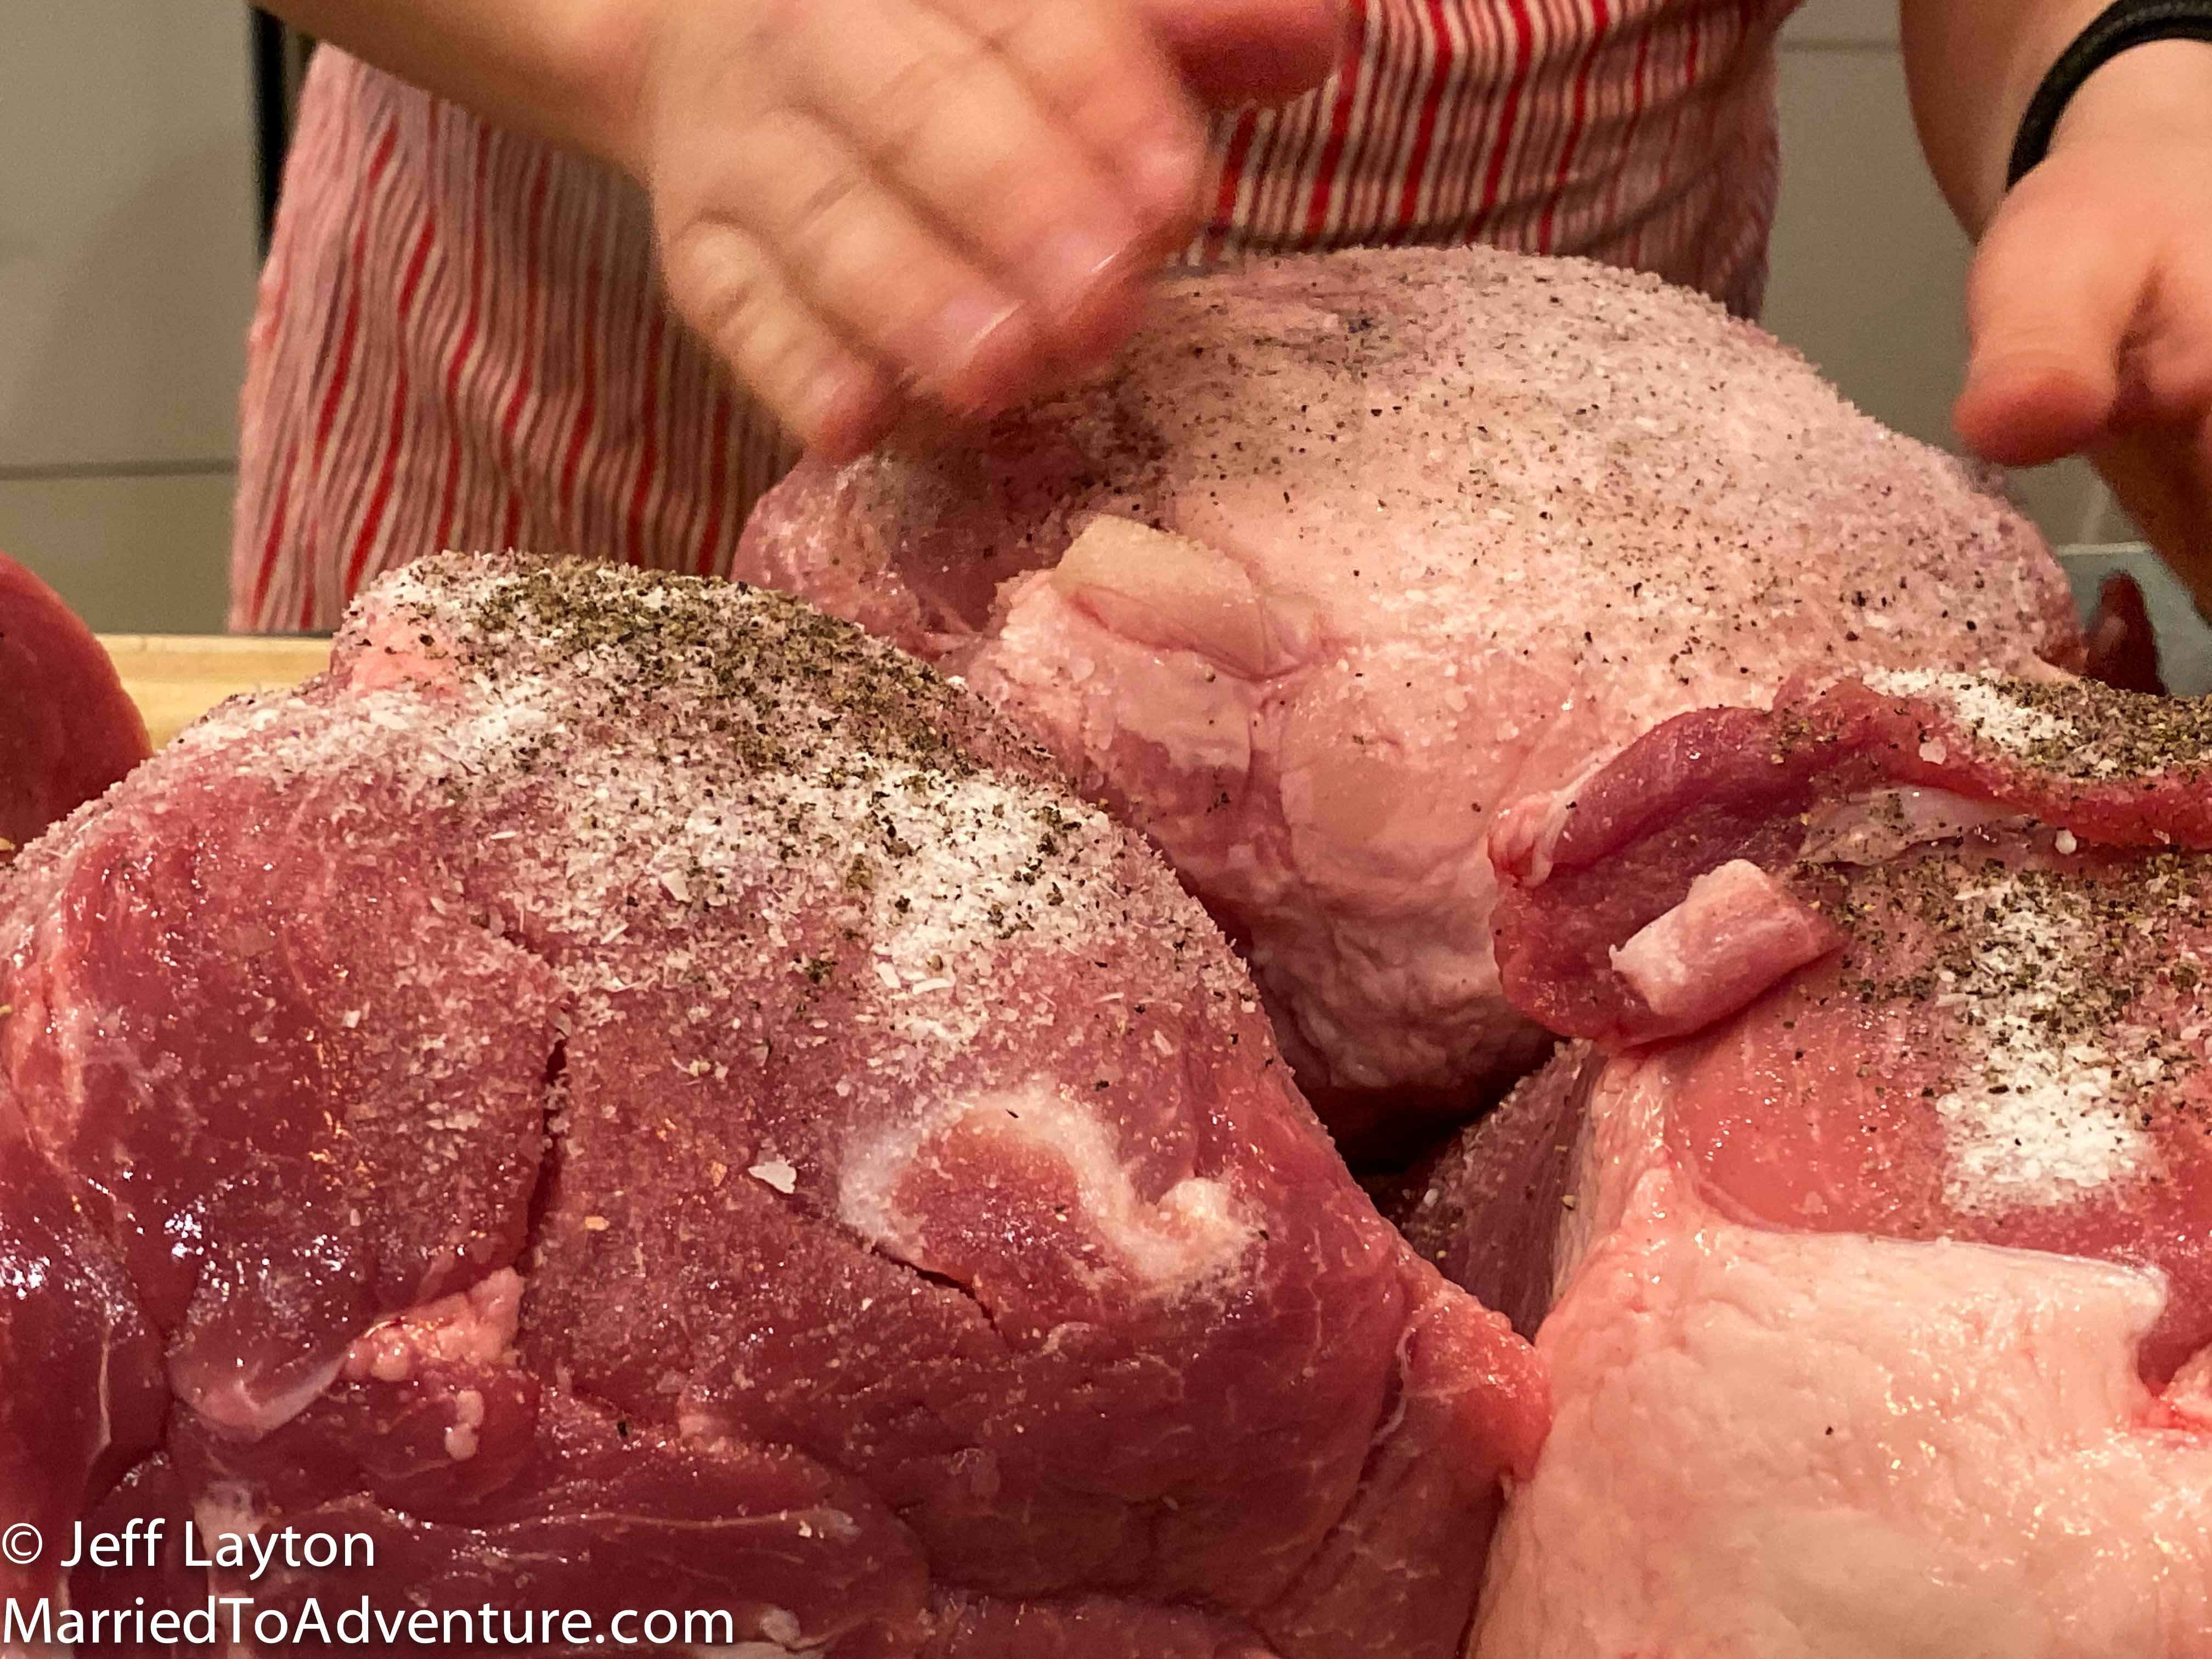
Step #3 Prep the Meat
Amanda’s southern cooking influence helped her decide that less is more when cooking large cuts of pork. Just rub in some salt and pepper.
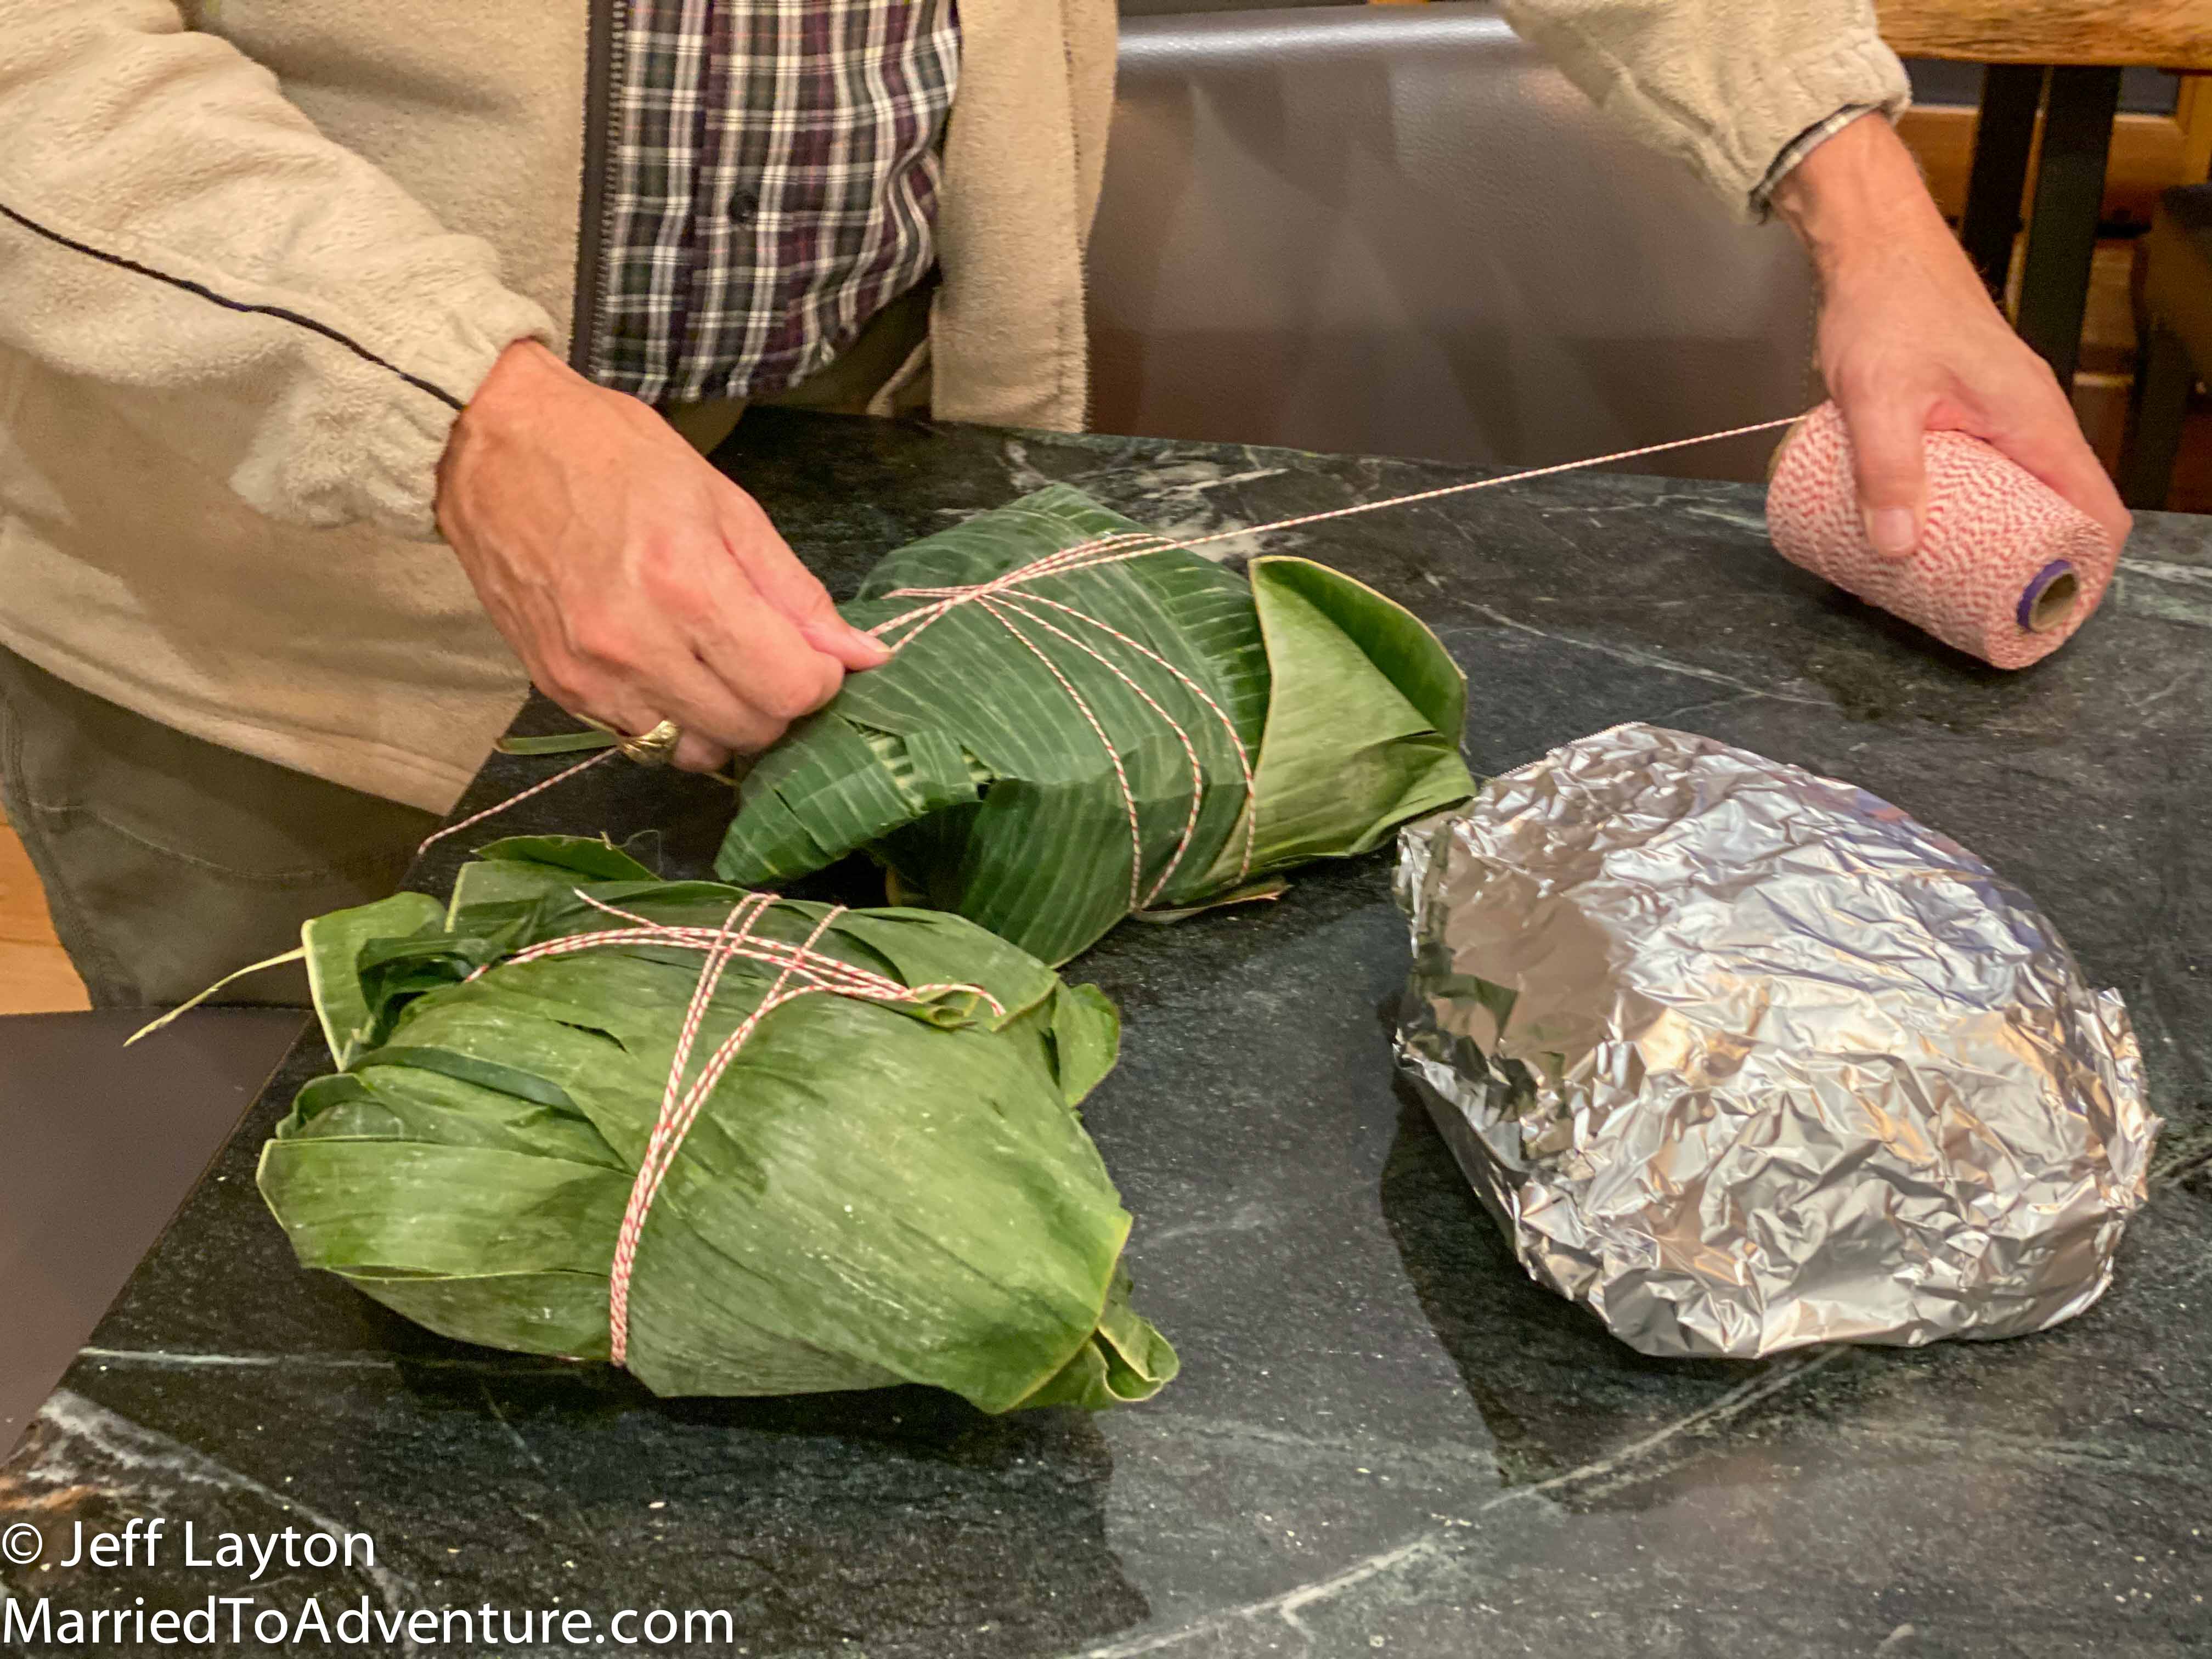
Attaching the banana leaves to the meat was trickier than we imagined, so we used some twine to hold everything together. We weren’t sure what would happen when the string burned up, but to our surprise, after 22 hours cooking the string was more or less undamaged (more on that later).
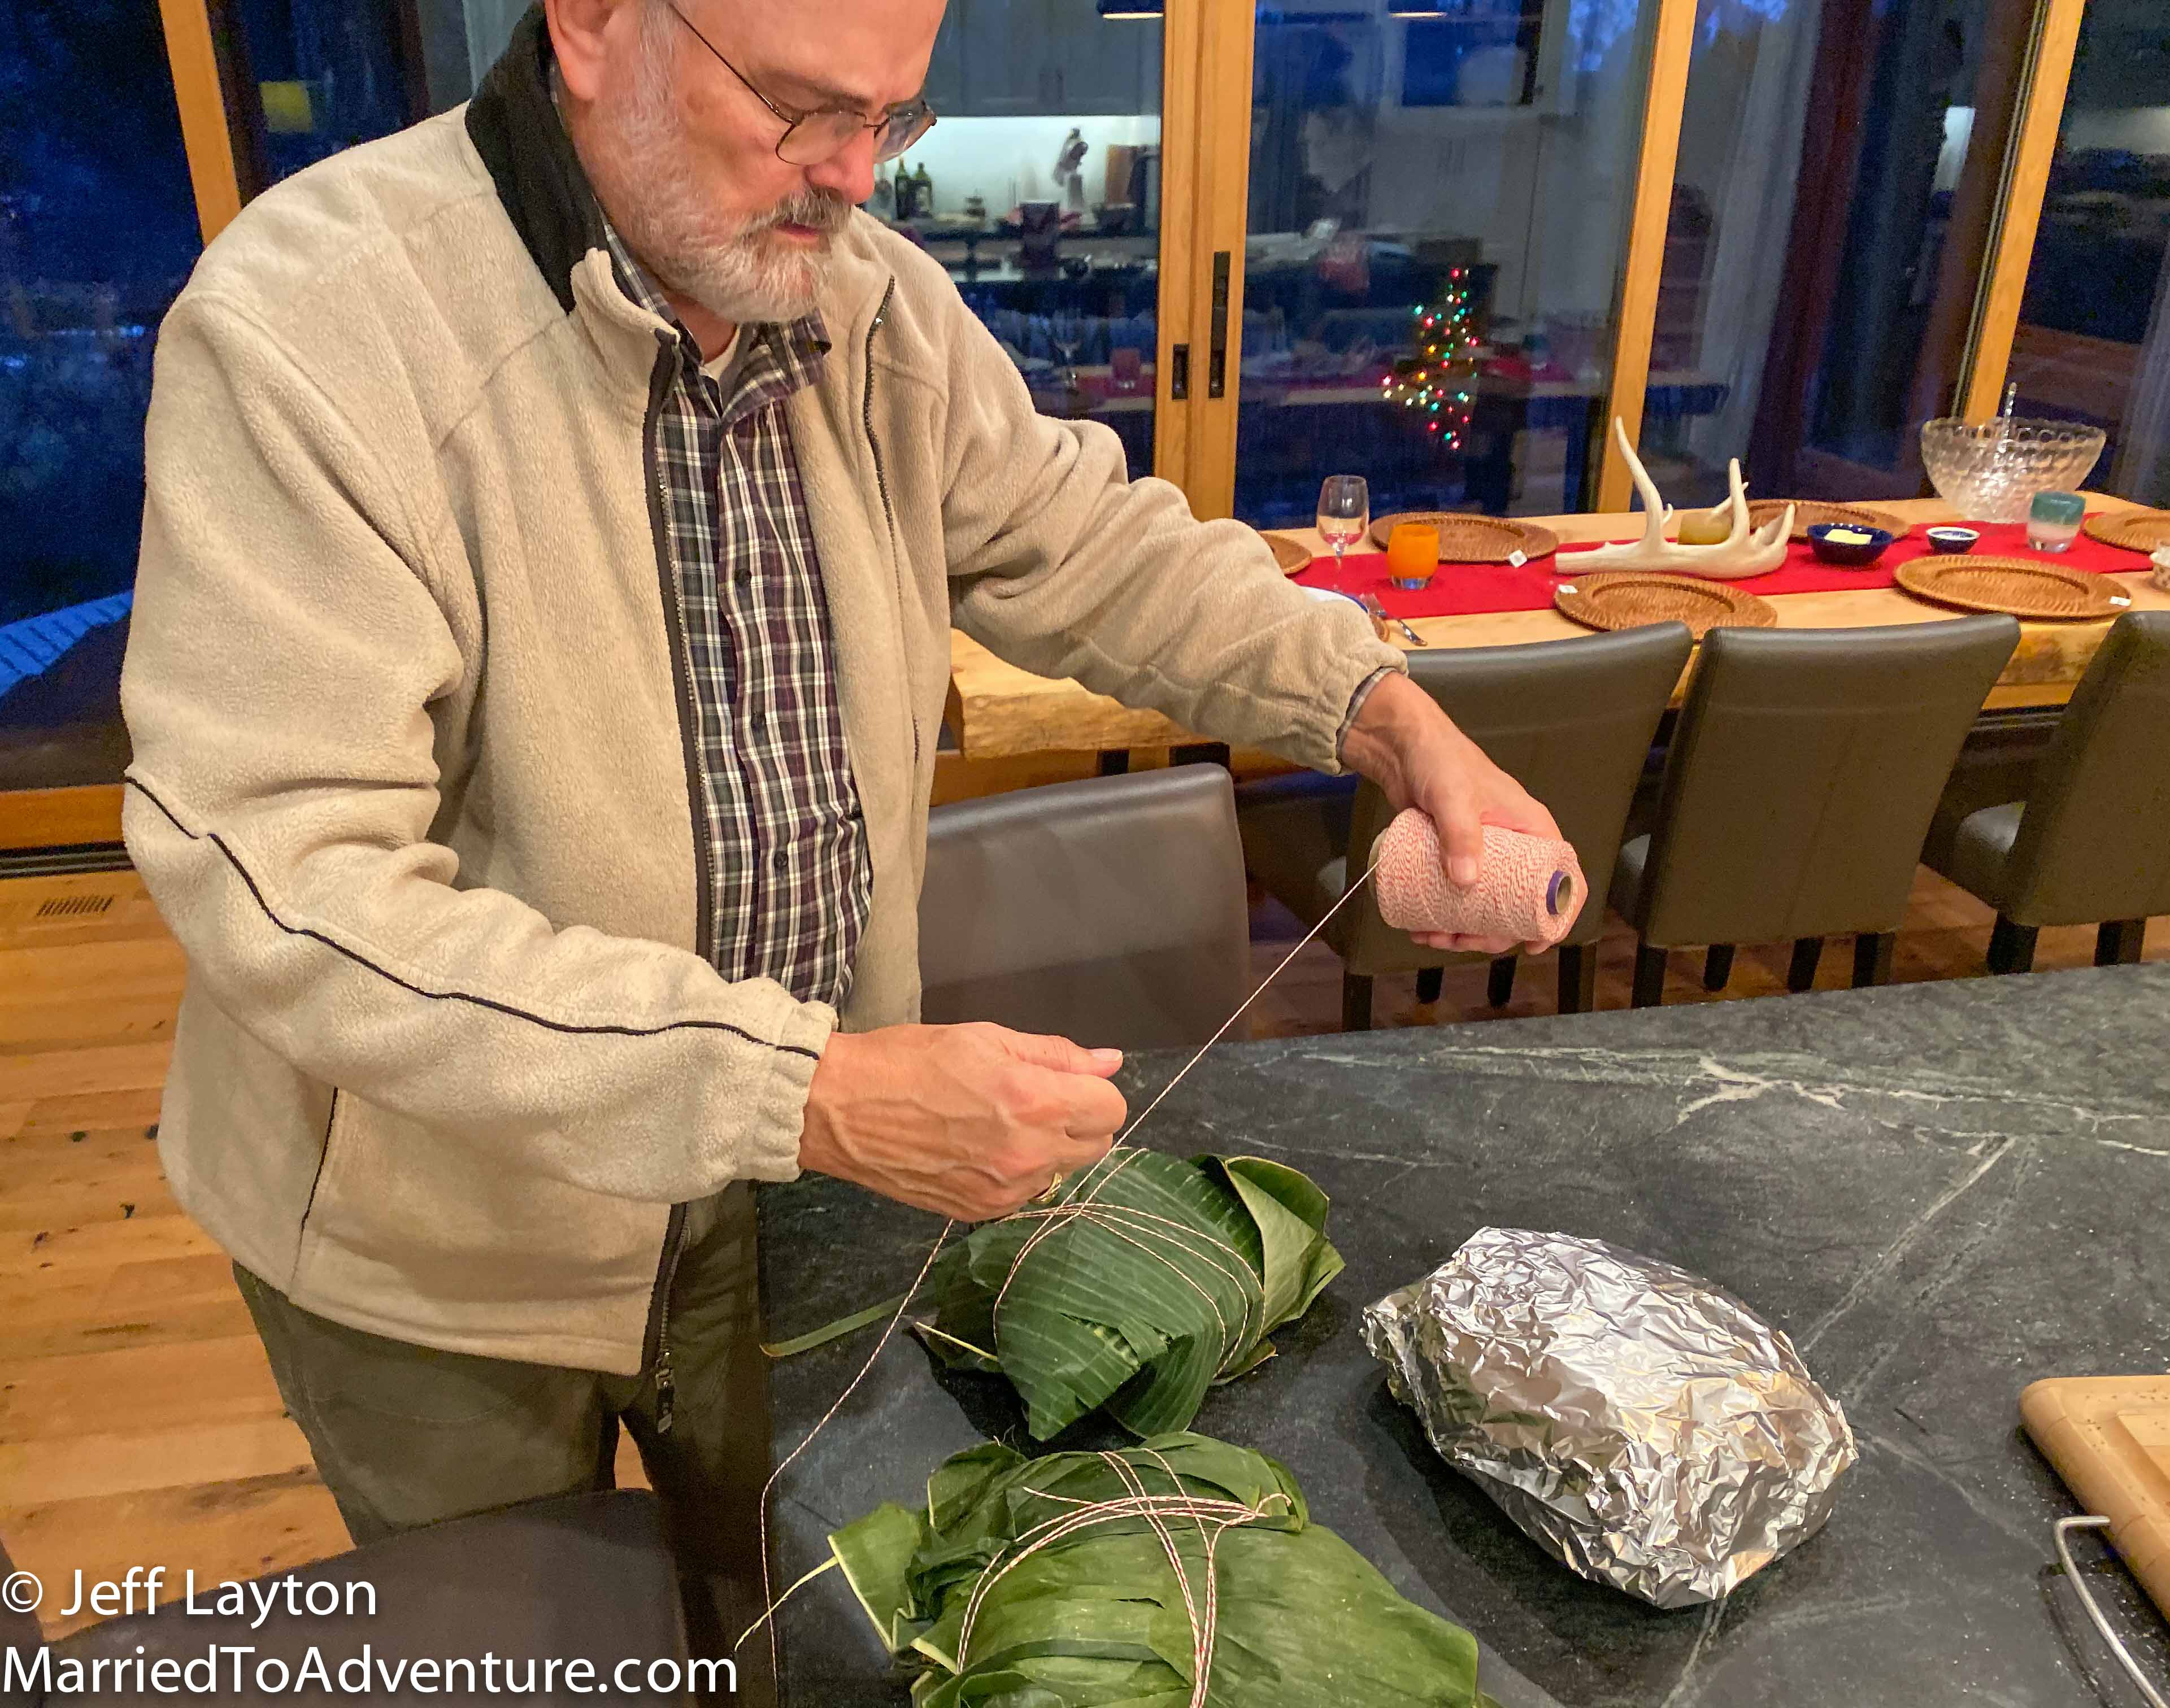
Grandpa Tom helps assemble the uncooked pork shoulders by wrapping them in banana leaves
Since this was our first time, we experimented by wrapping our meat three different ways: two of the cuts were just wrapped in banana leaves, another used leaves plus aluminum foil, and the last was just in foil.
Step #4 – Dig a Hole
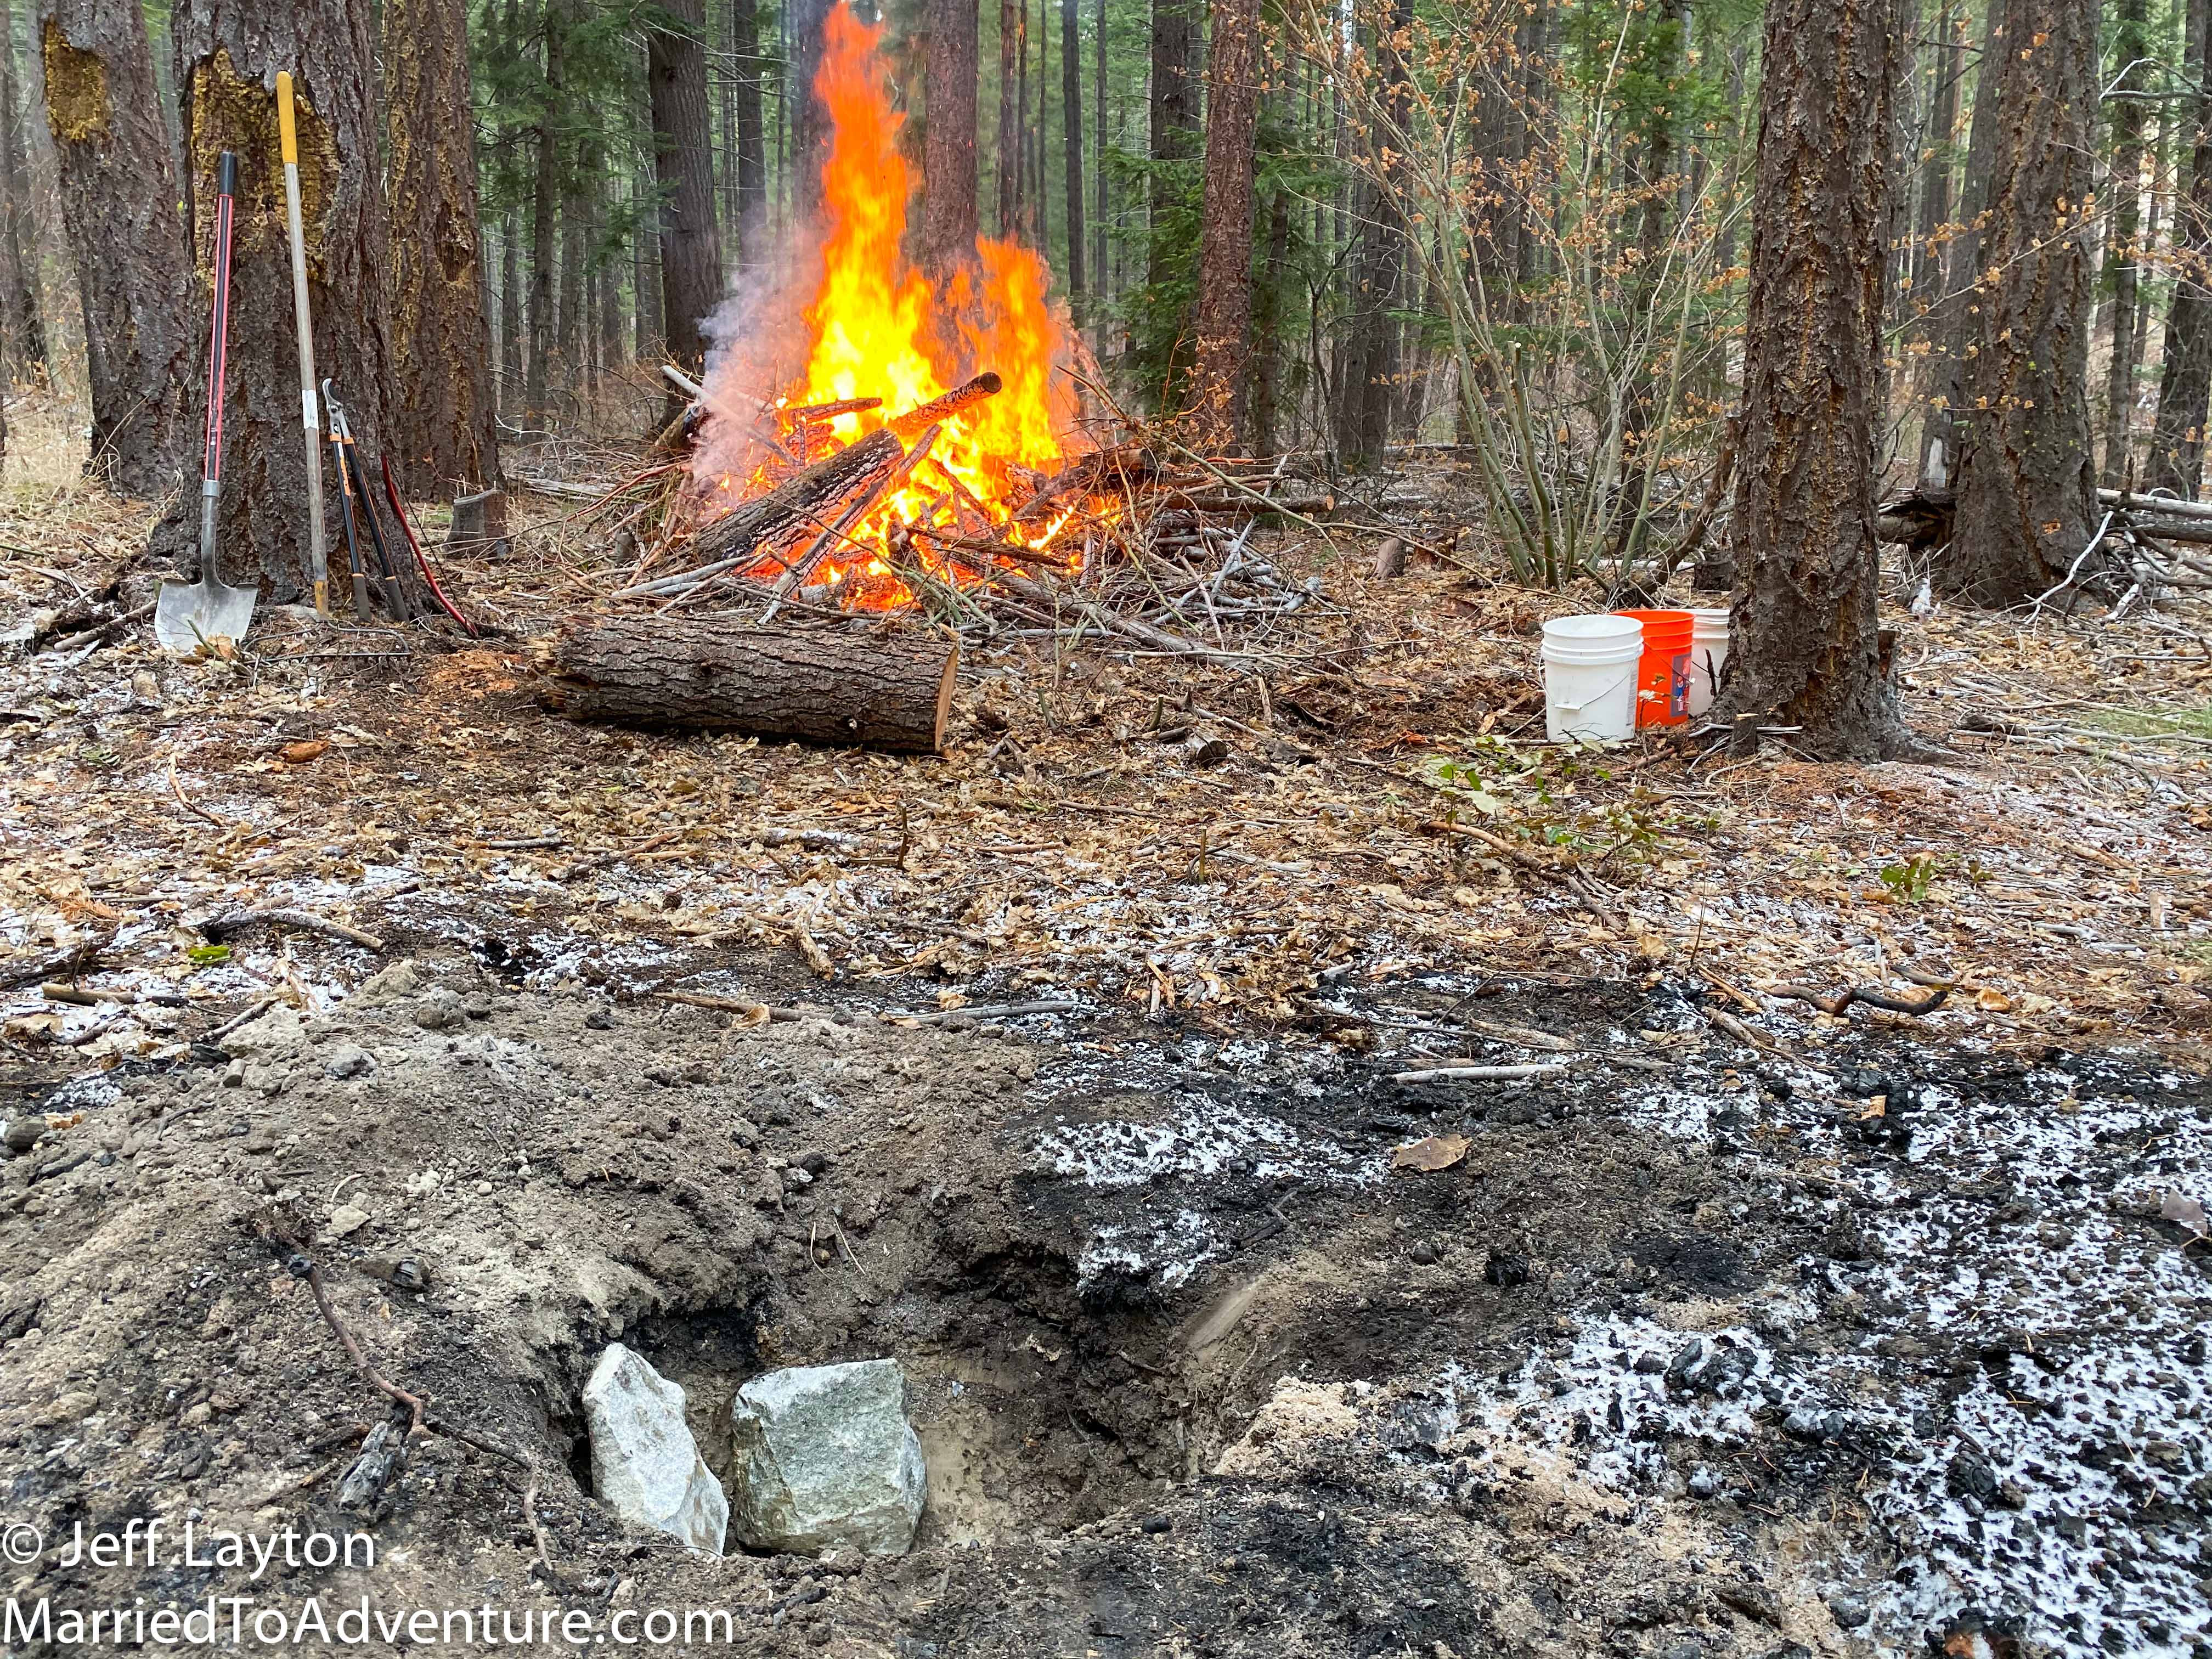
We opened up a hole near our fire about the size of a two-foot square box. Then we lined the box with chunks of granite left over from our summer landscaping. We probably didn’t need to do this step, but we wanted something to help regulate the heat and insulate the hole from the frozen ground.
There are many types of rocks that work – we also had our choice of slate tile or soapstone from our house build.
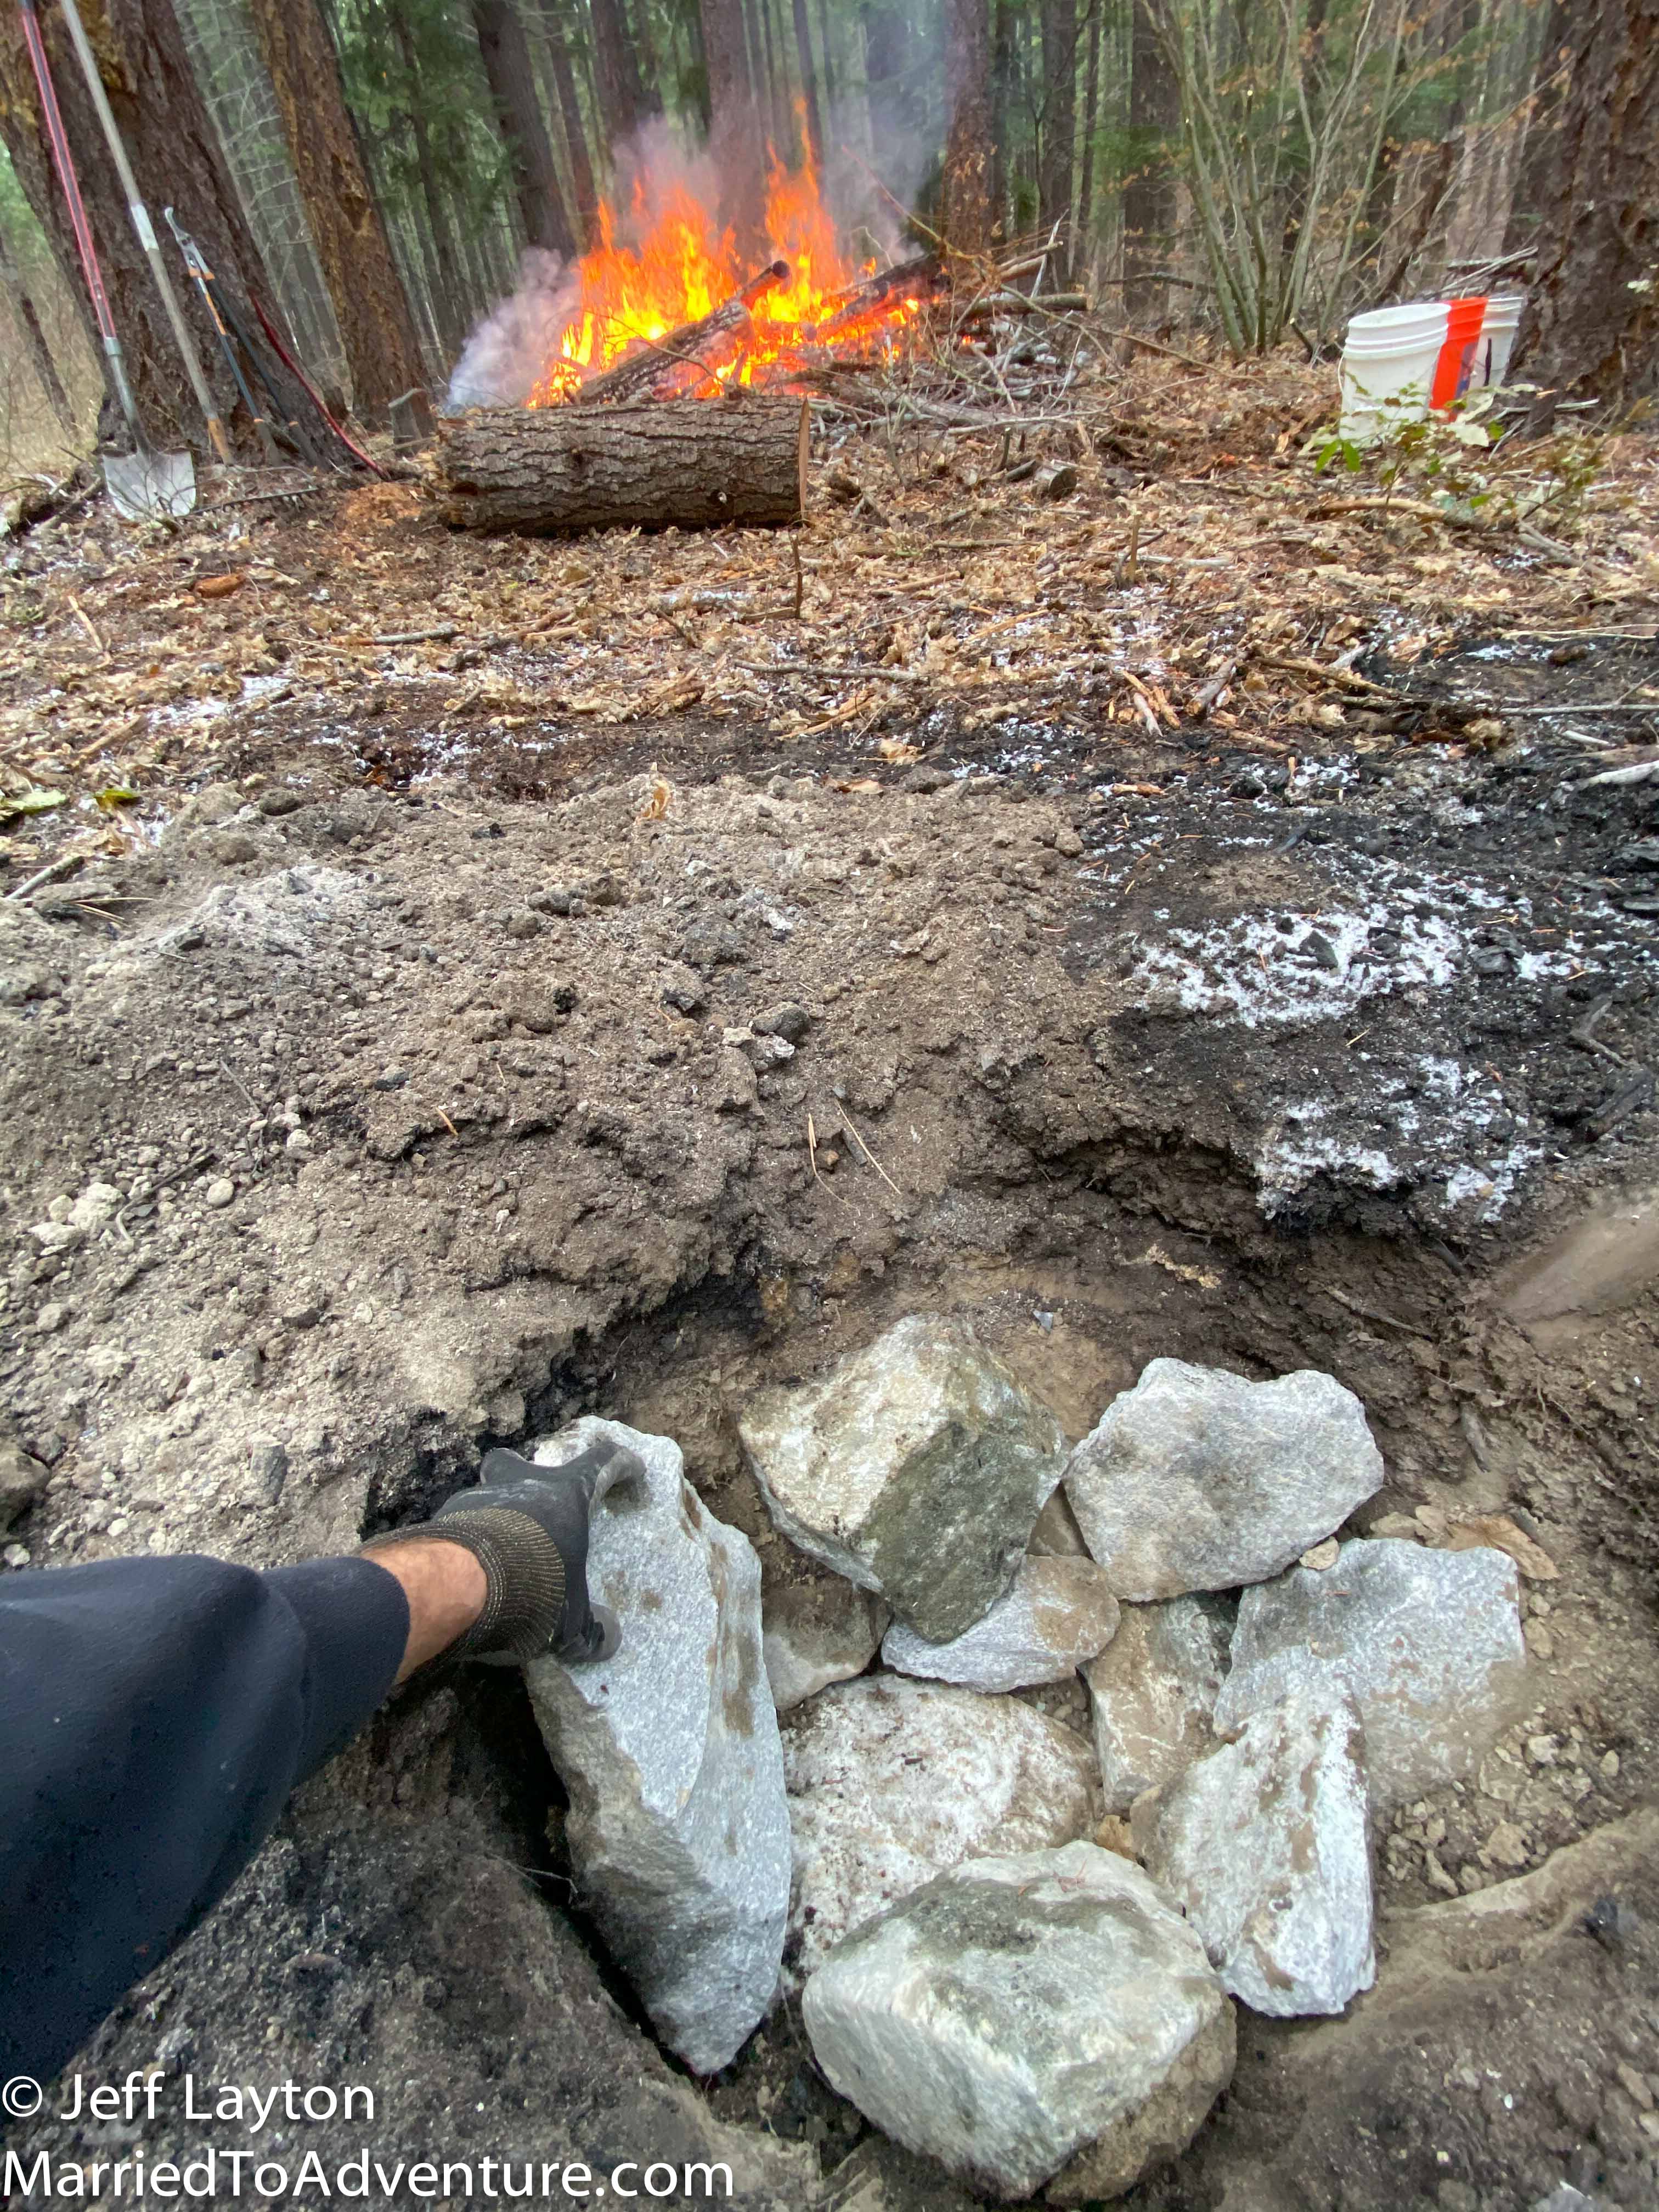
Lining the hole with granite helped insulate the meat against the frozen ground
Step #5 – Add Coals
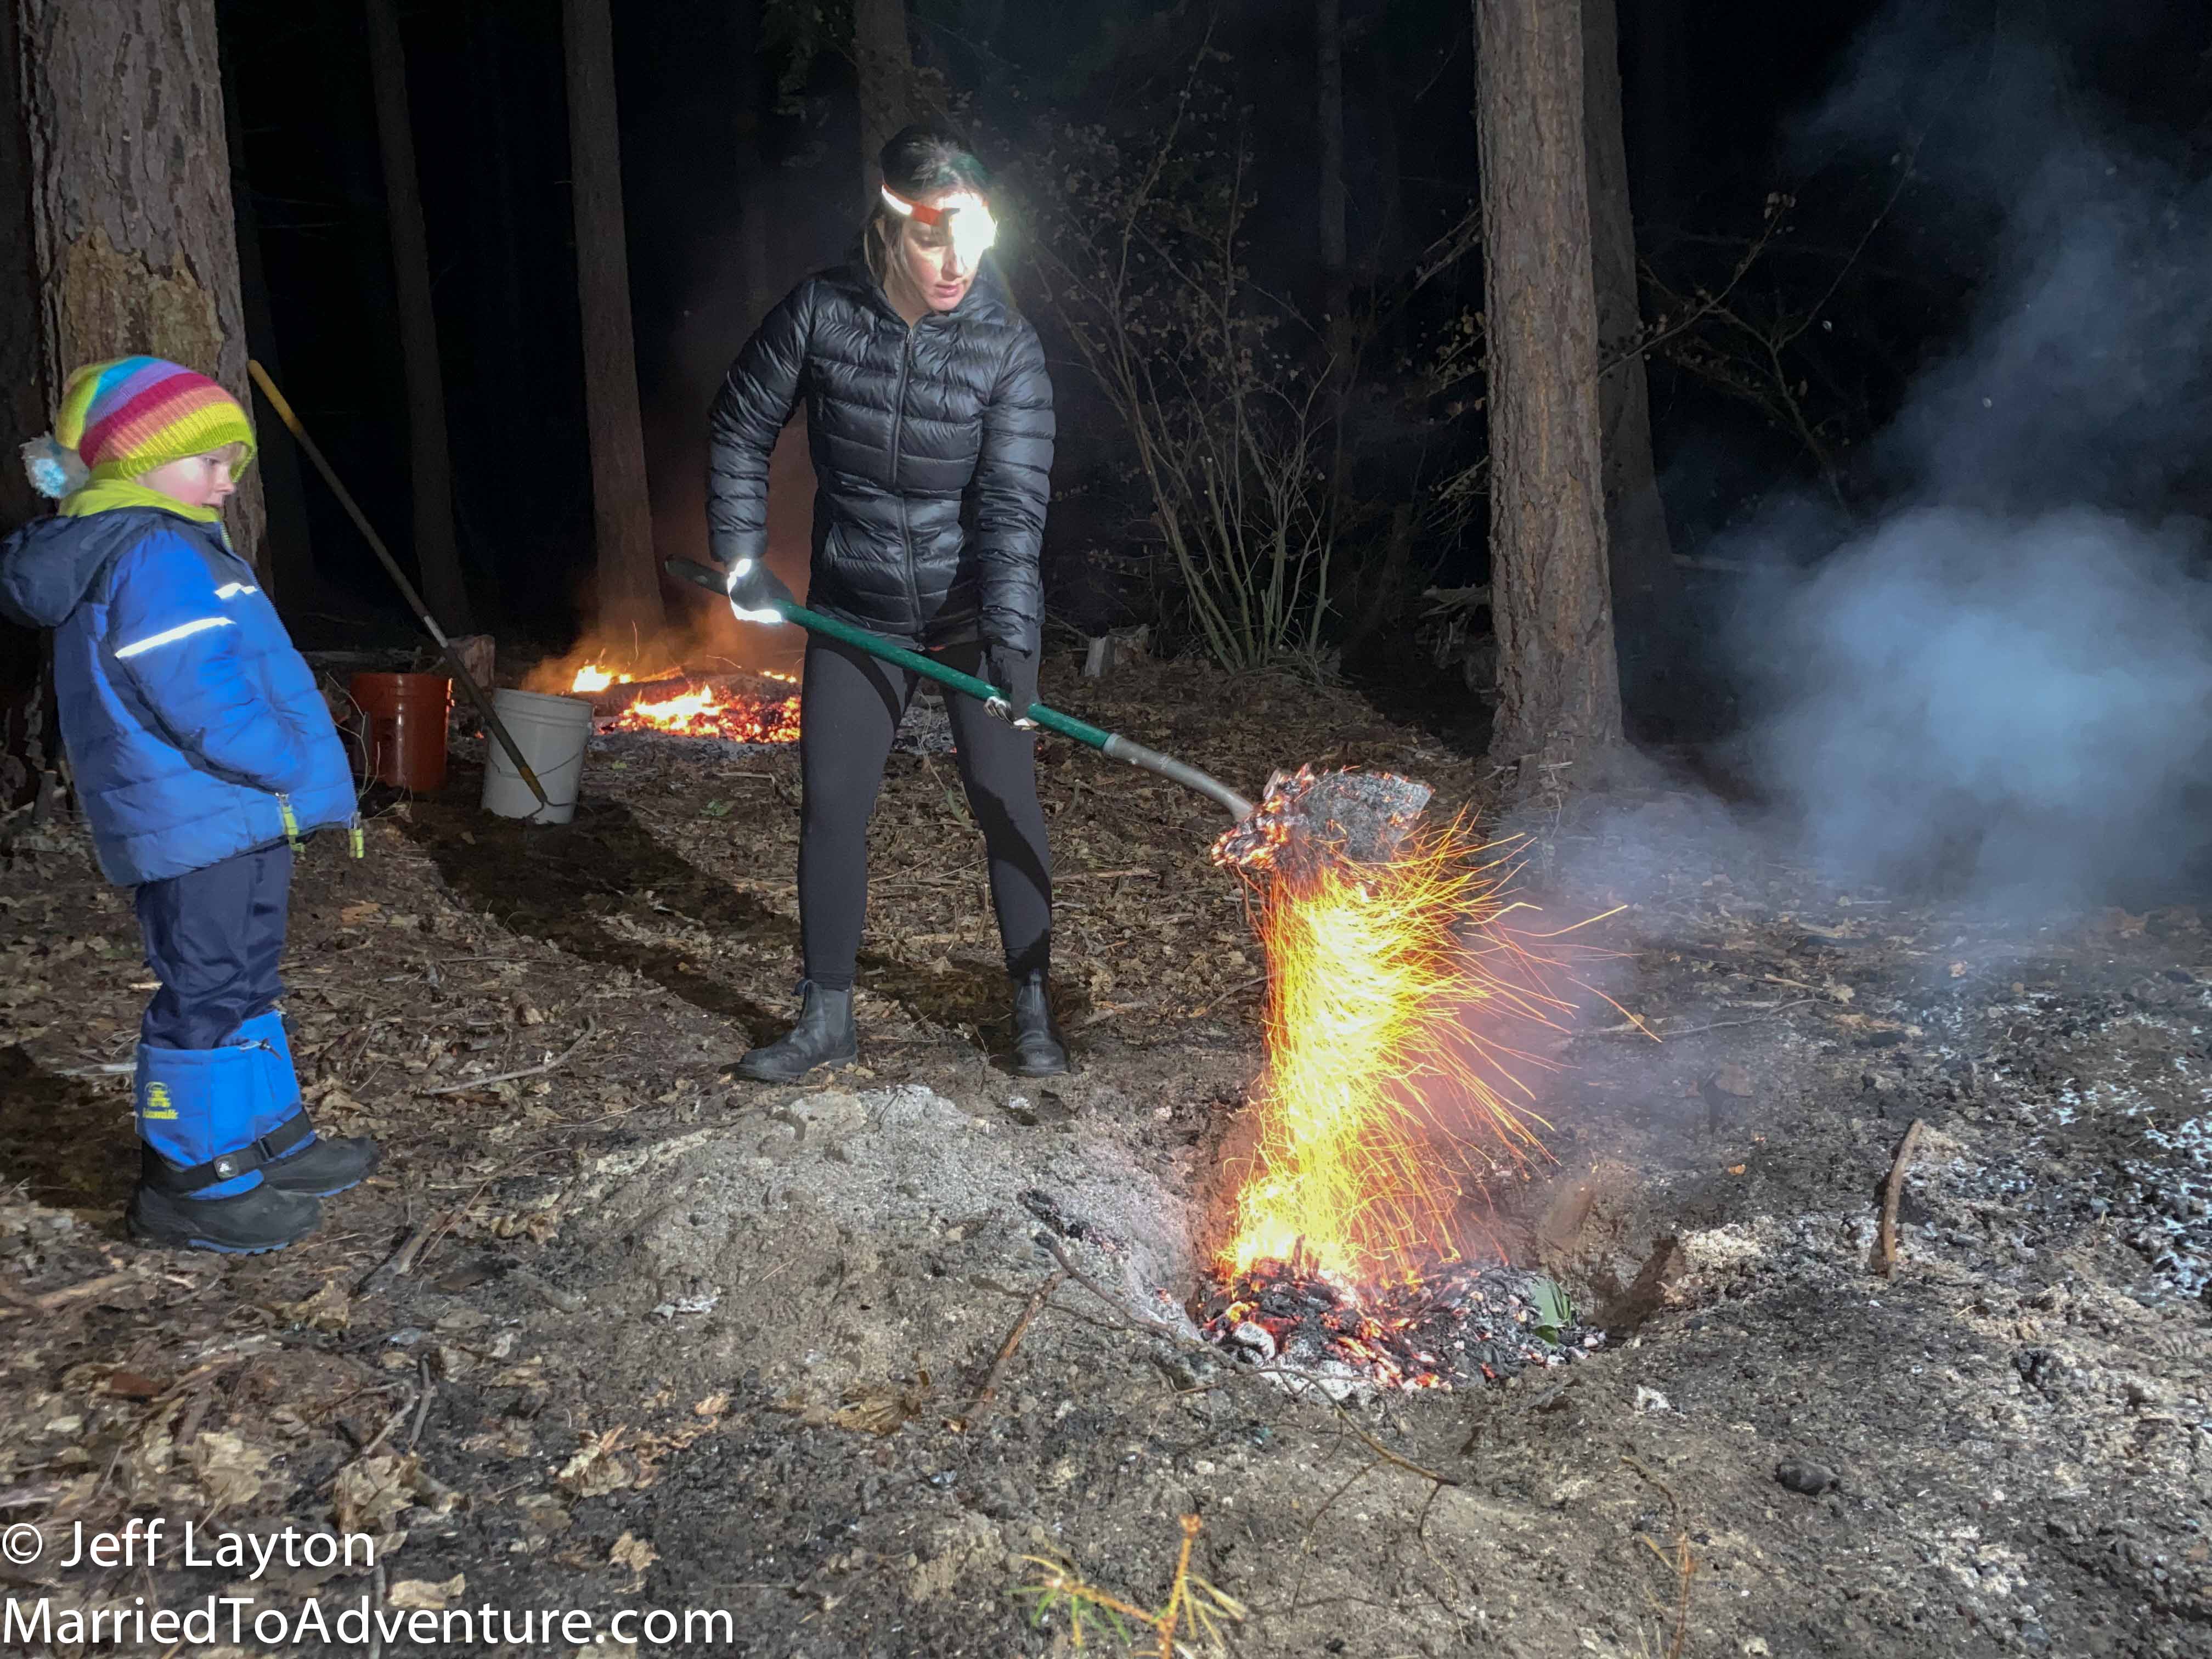
Once the bonfire had died down, we had a good heap of simmering coals. So we shoveled a layer into the bottom of our box to pre-heat the oven. Again, not really sure we needed to do this step, but we had plenty of coals to spare.
After an hour, we dropped the meat bundles into the hole, and piled on the hot coals – probably the equivalent of a wheelbarrow load in total.

Topping off the oven with one last layer of hot coals
Finally we covered the coals with a layer of dirt – about 2 inches thick – to add some extra insulation.
Step #6 – Wait
We let the meat sit overnight. There was some talk about what would happen if a wild animal dug it up, but ultimately we thought no self-respecting critter would put their noses or paws into a hole of molten coals.
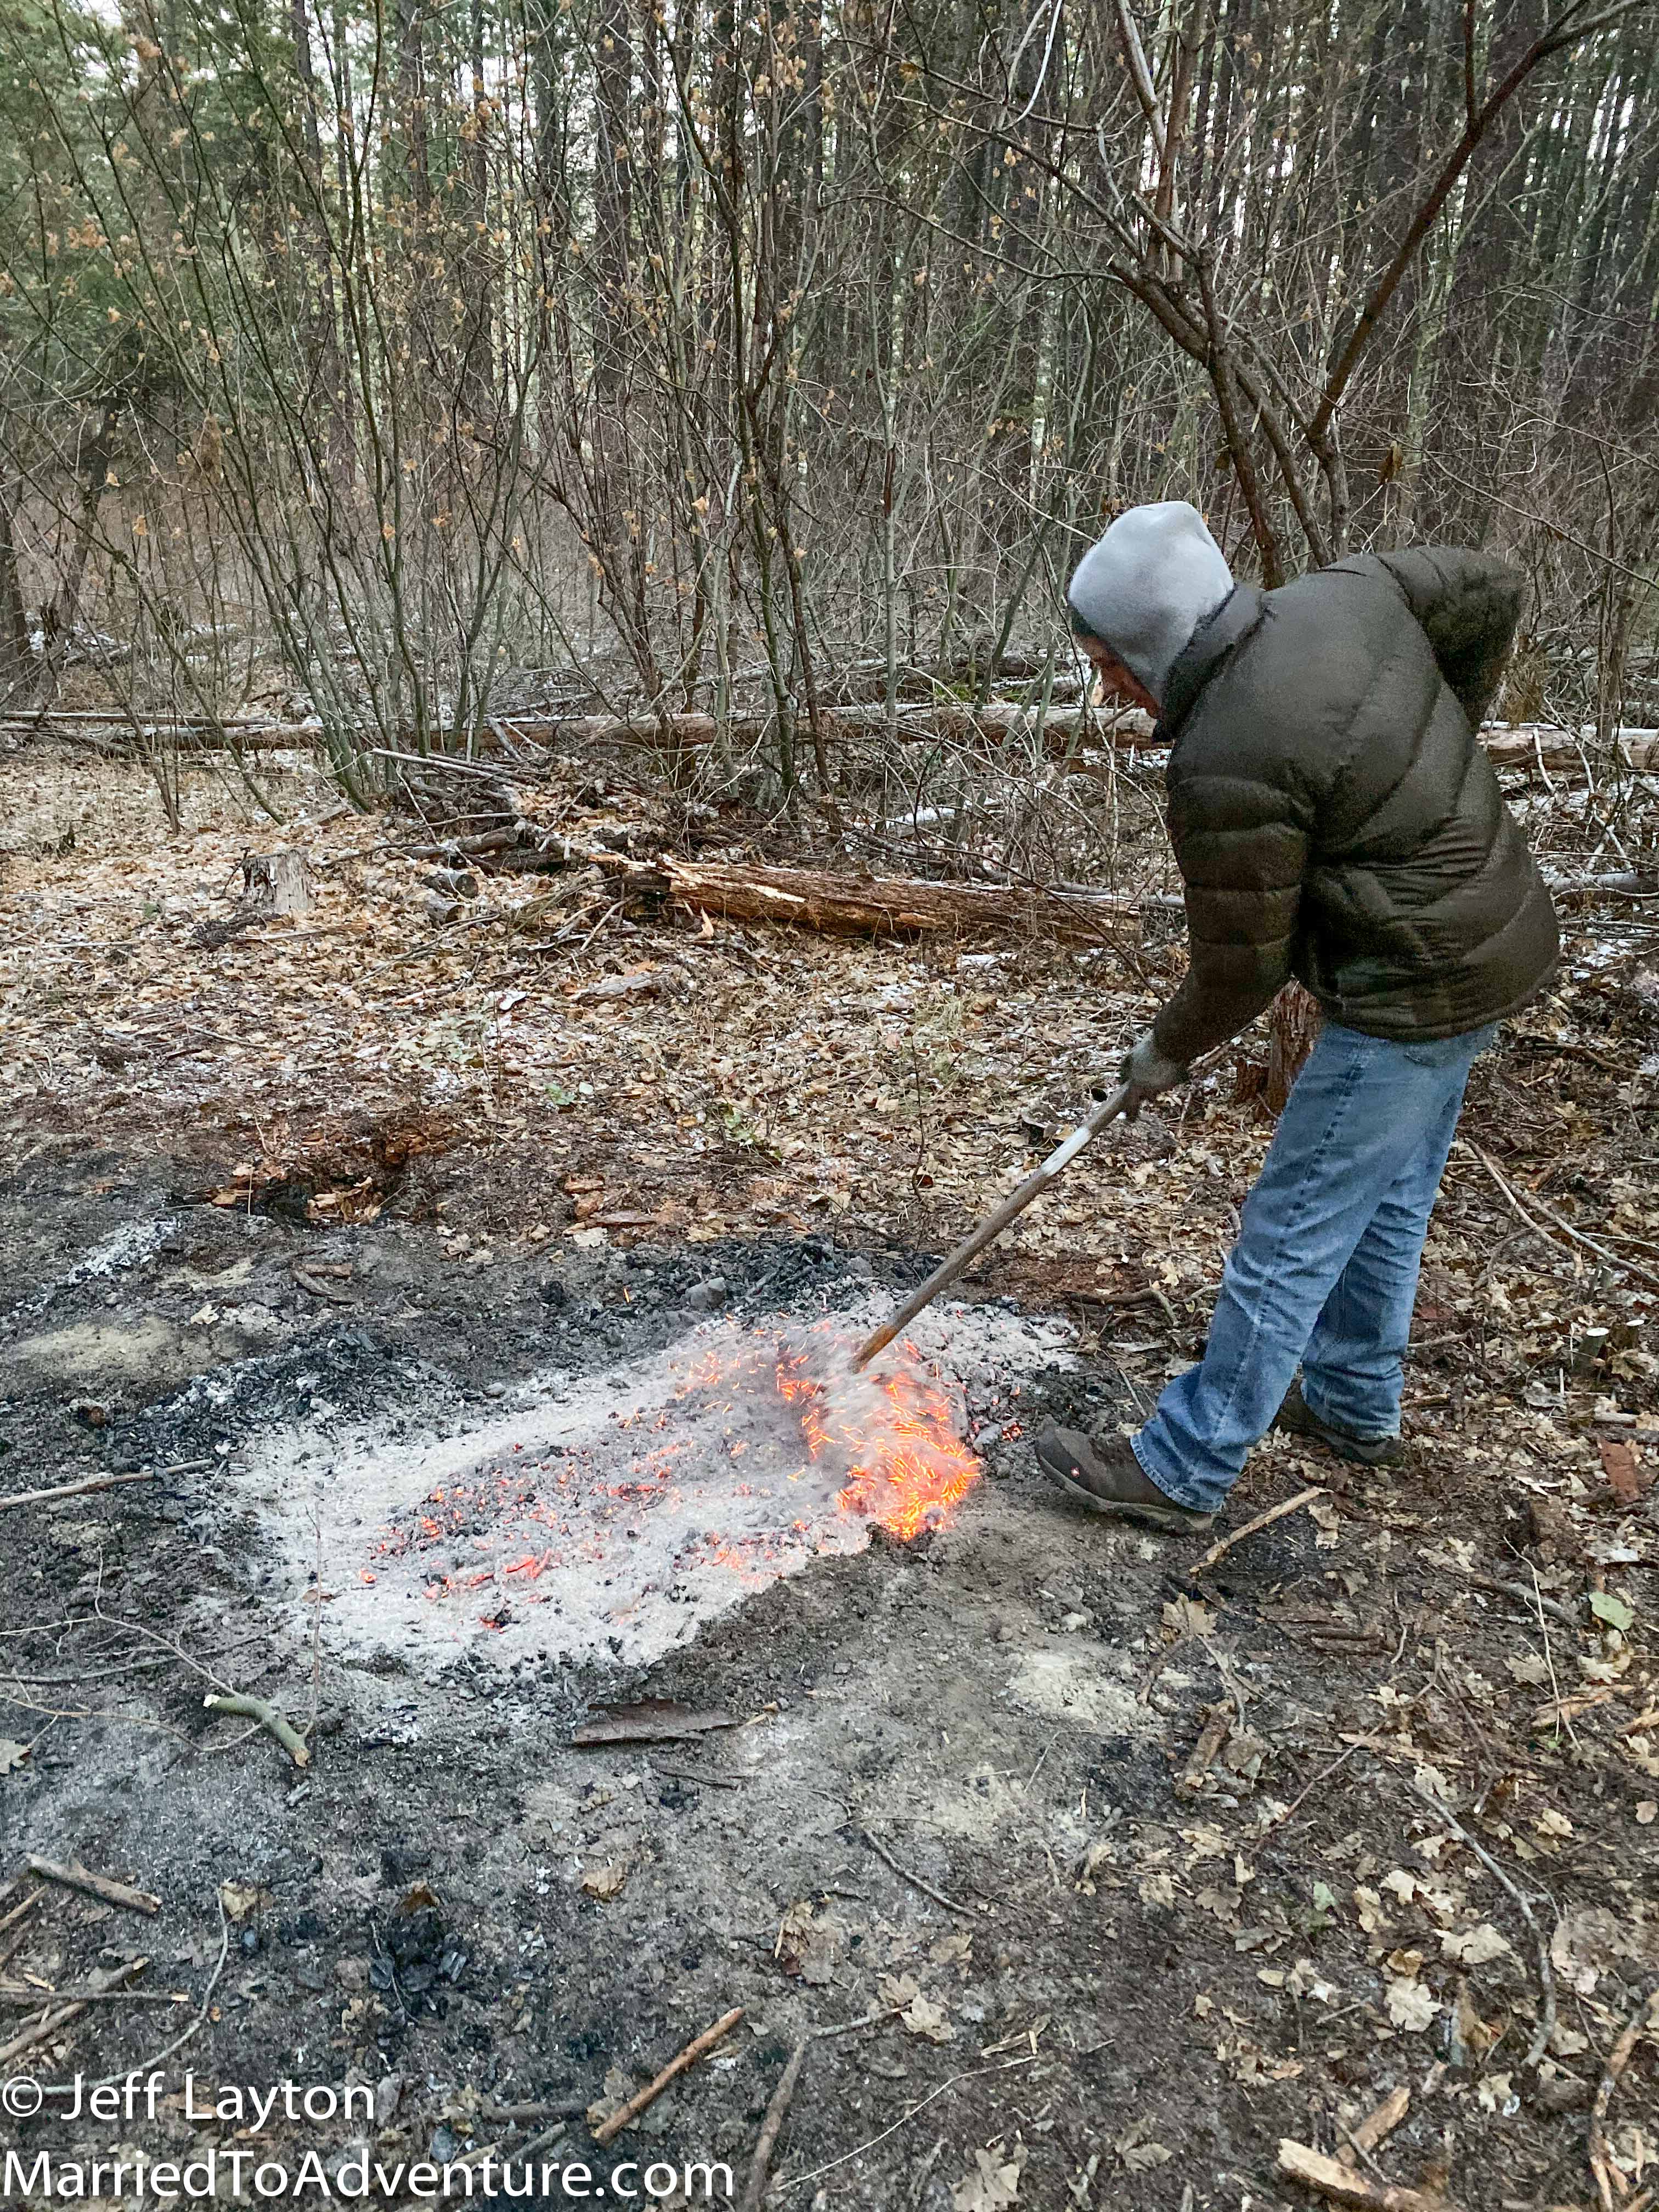
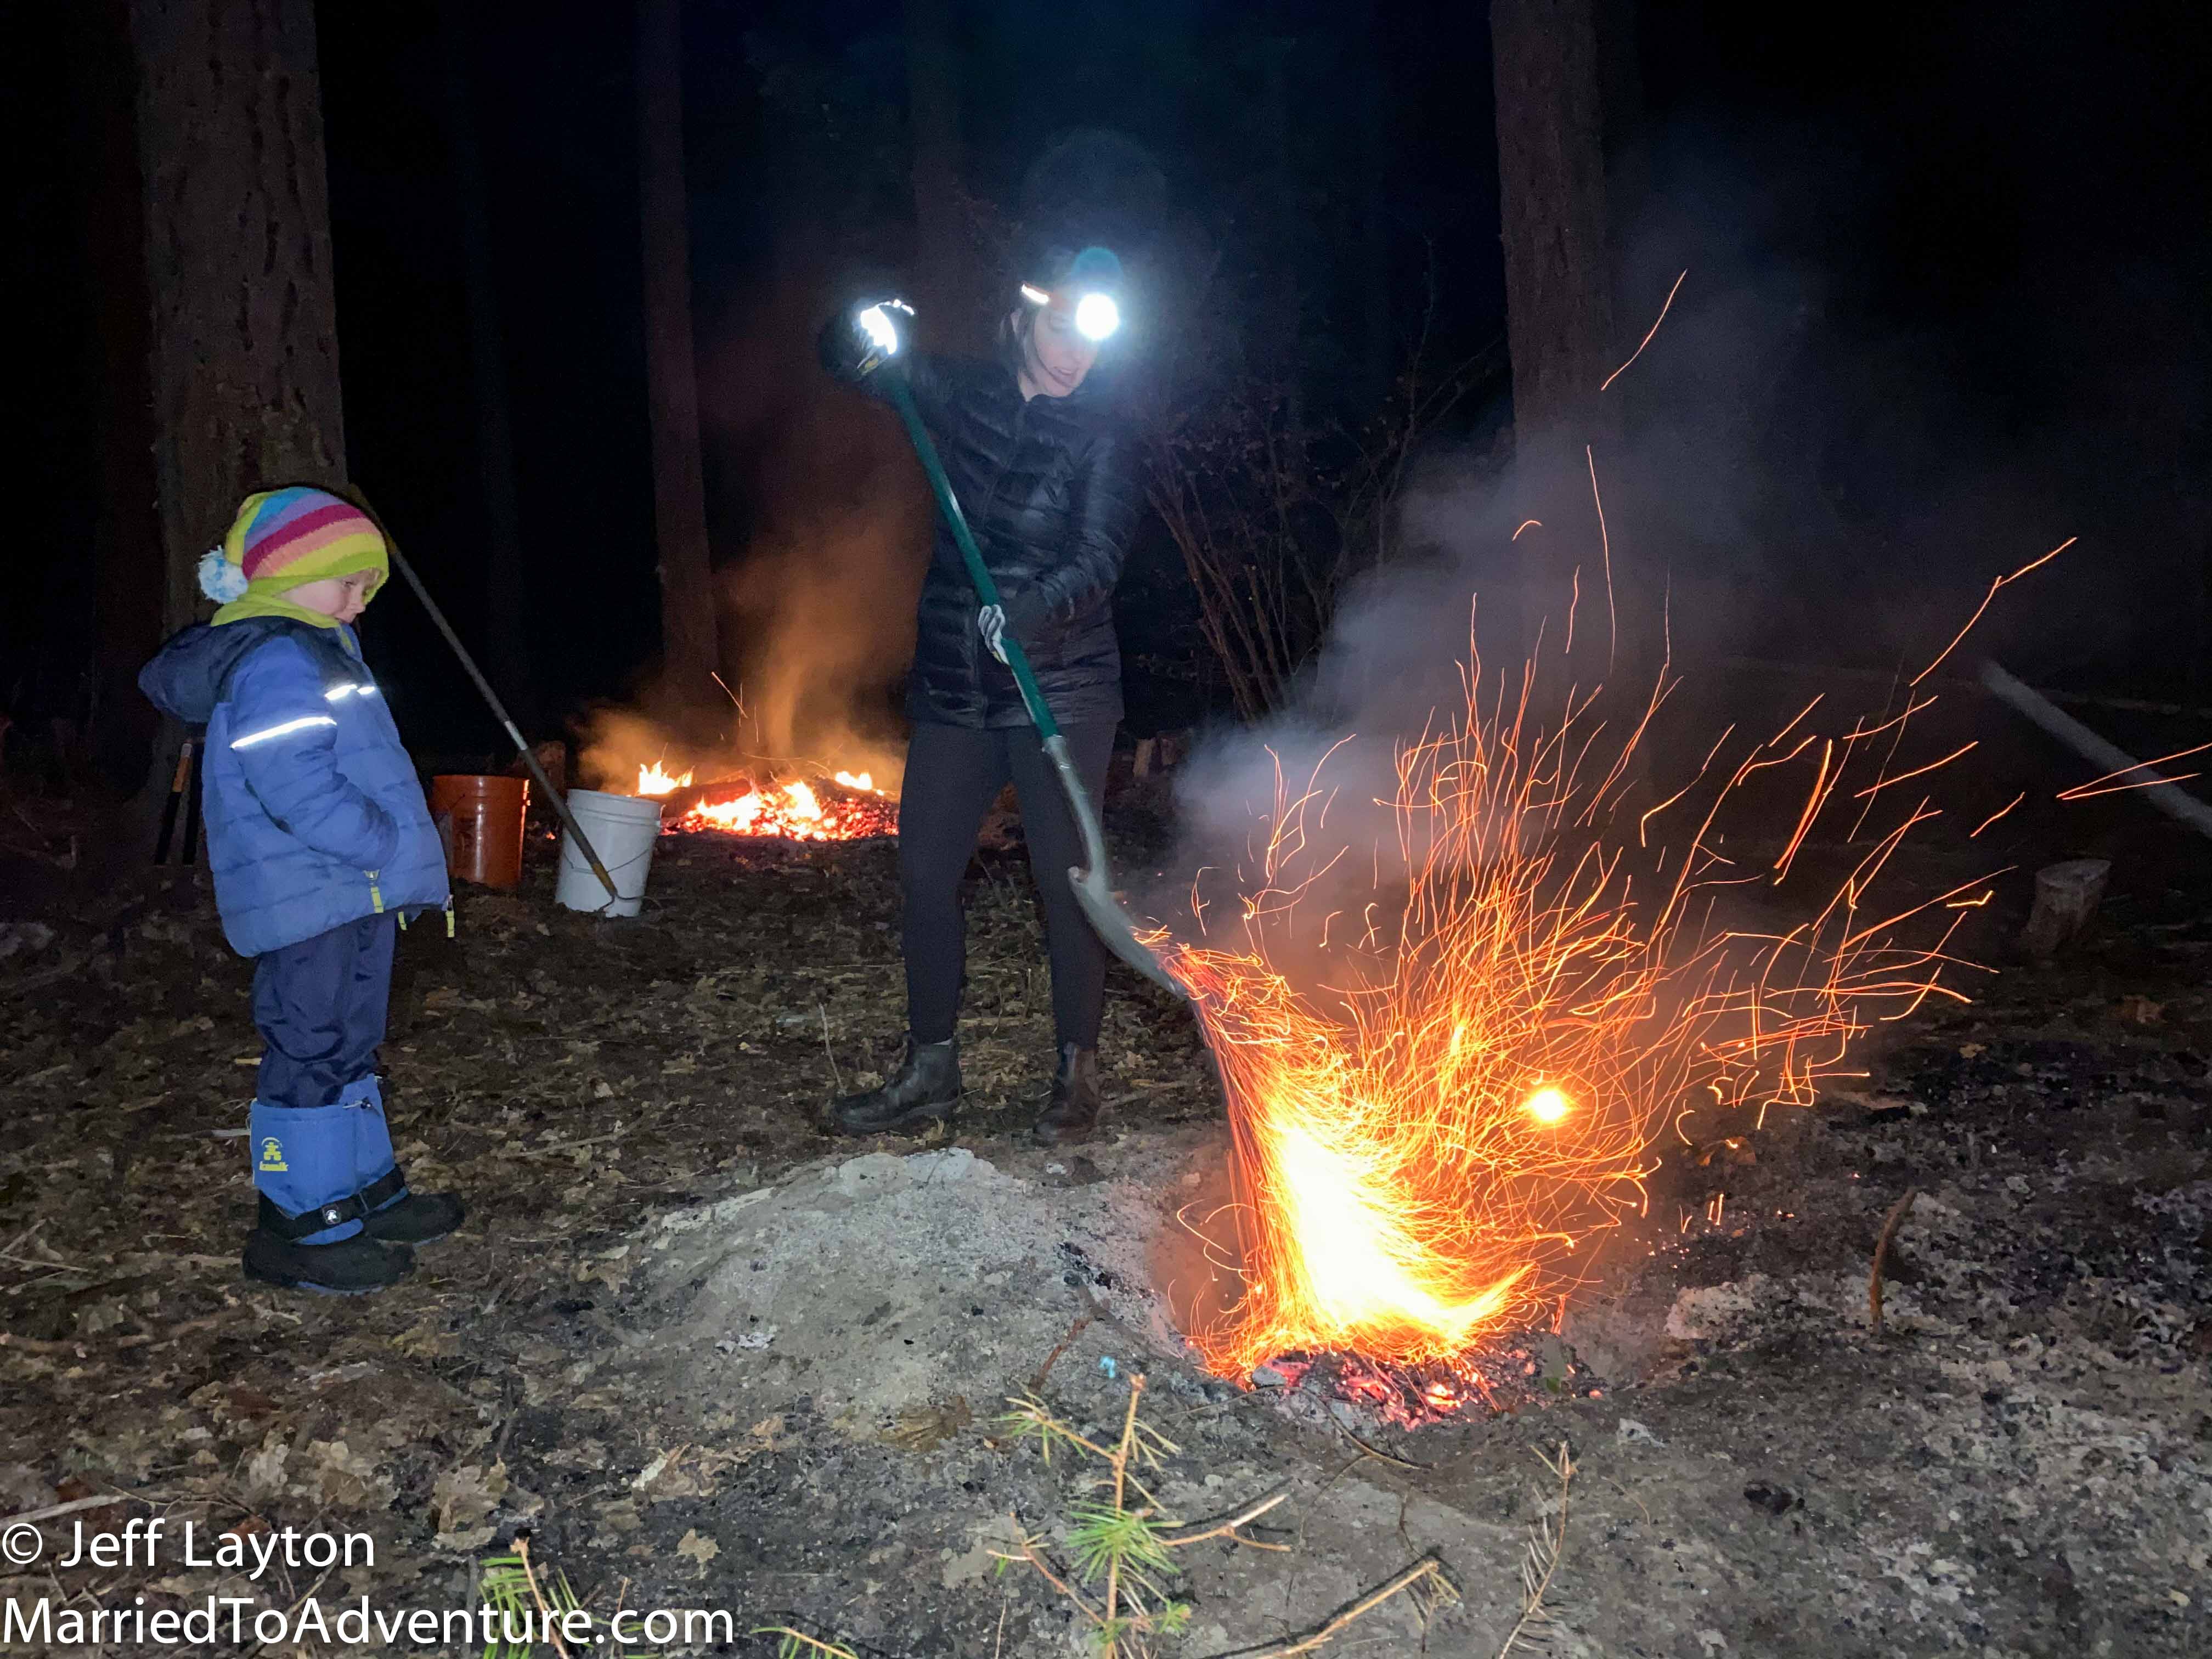
The next day Jeff raked the coals away to check the progress.
The following morning – about 12 hours later – we dug up a hunk and tested it with a meat thermometer. The inside of the meat was already at the perfect 180 degrees. It was well done by pork standards and we debated if we should have some for breakfast. But cheap cuts of meat are best when they’re cooked low and slow, and there were still plenty of hot coals in our oven, so we let everything sit another 10 hours.
And why didn’t the string burn? We deduced that the coals and dirt starved the fire of oxygen and the string couldn’t combust!
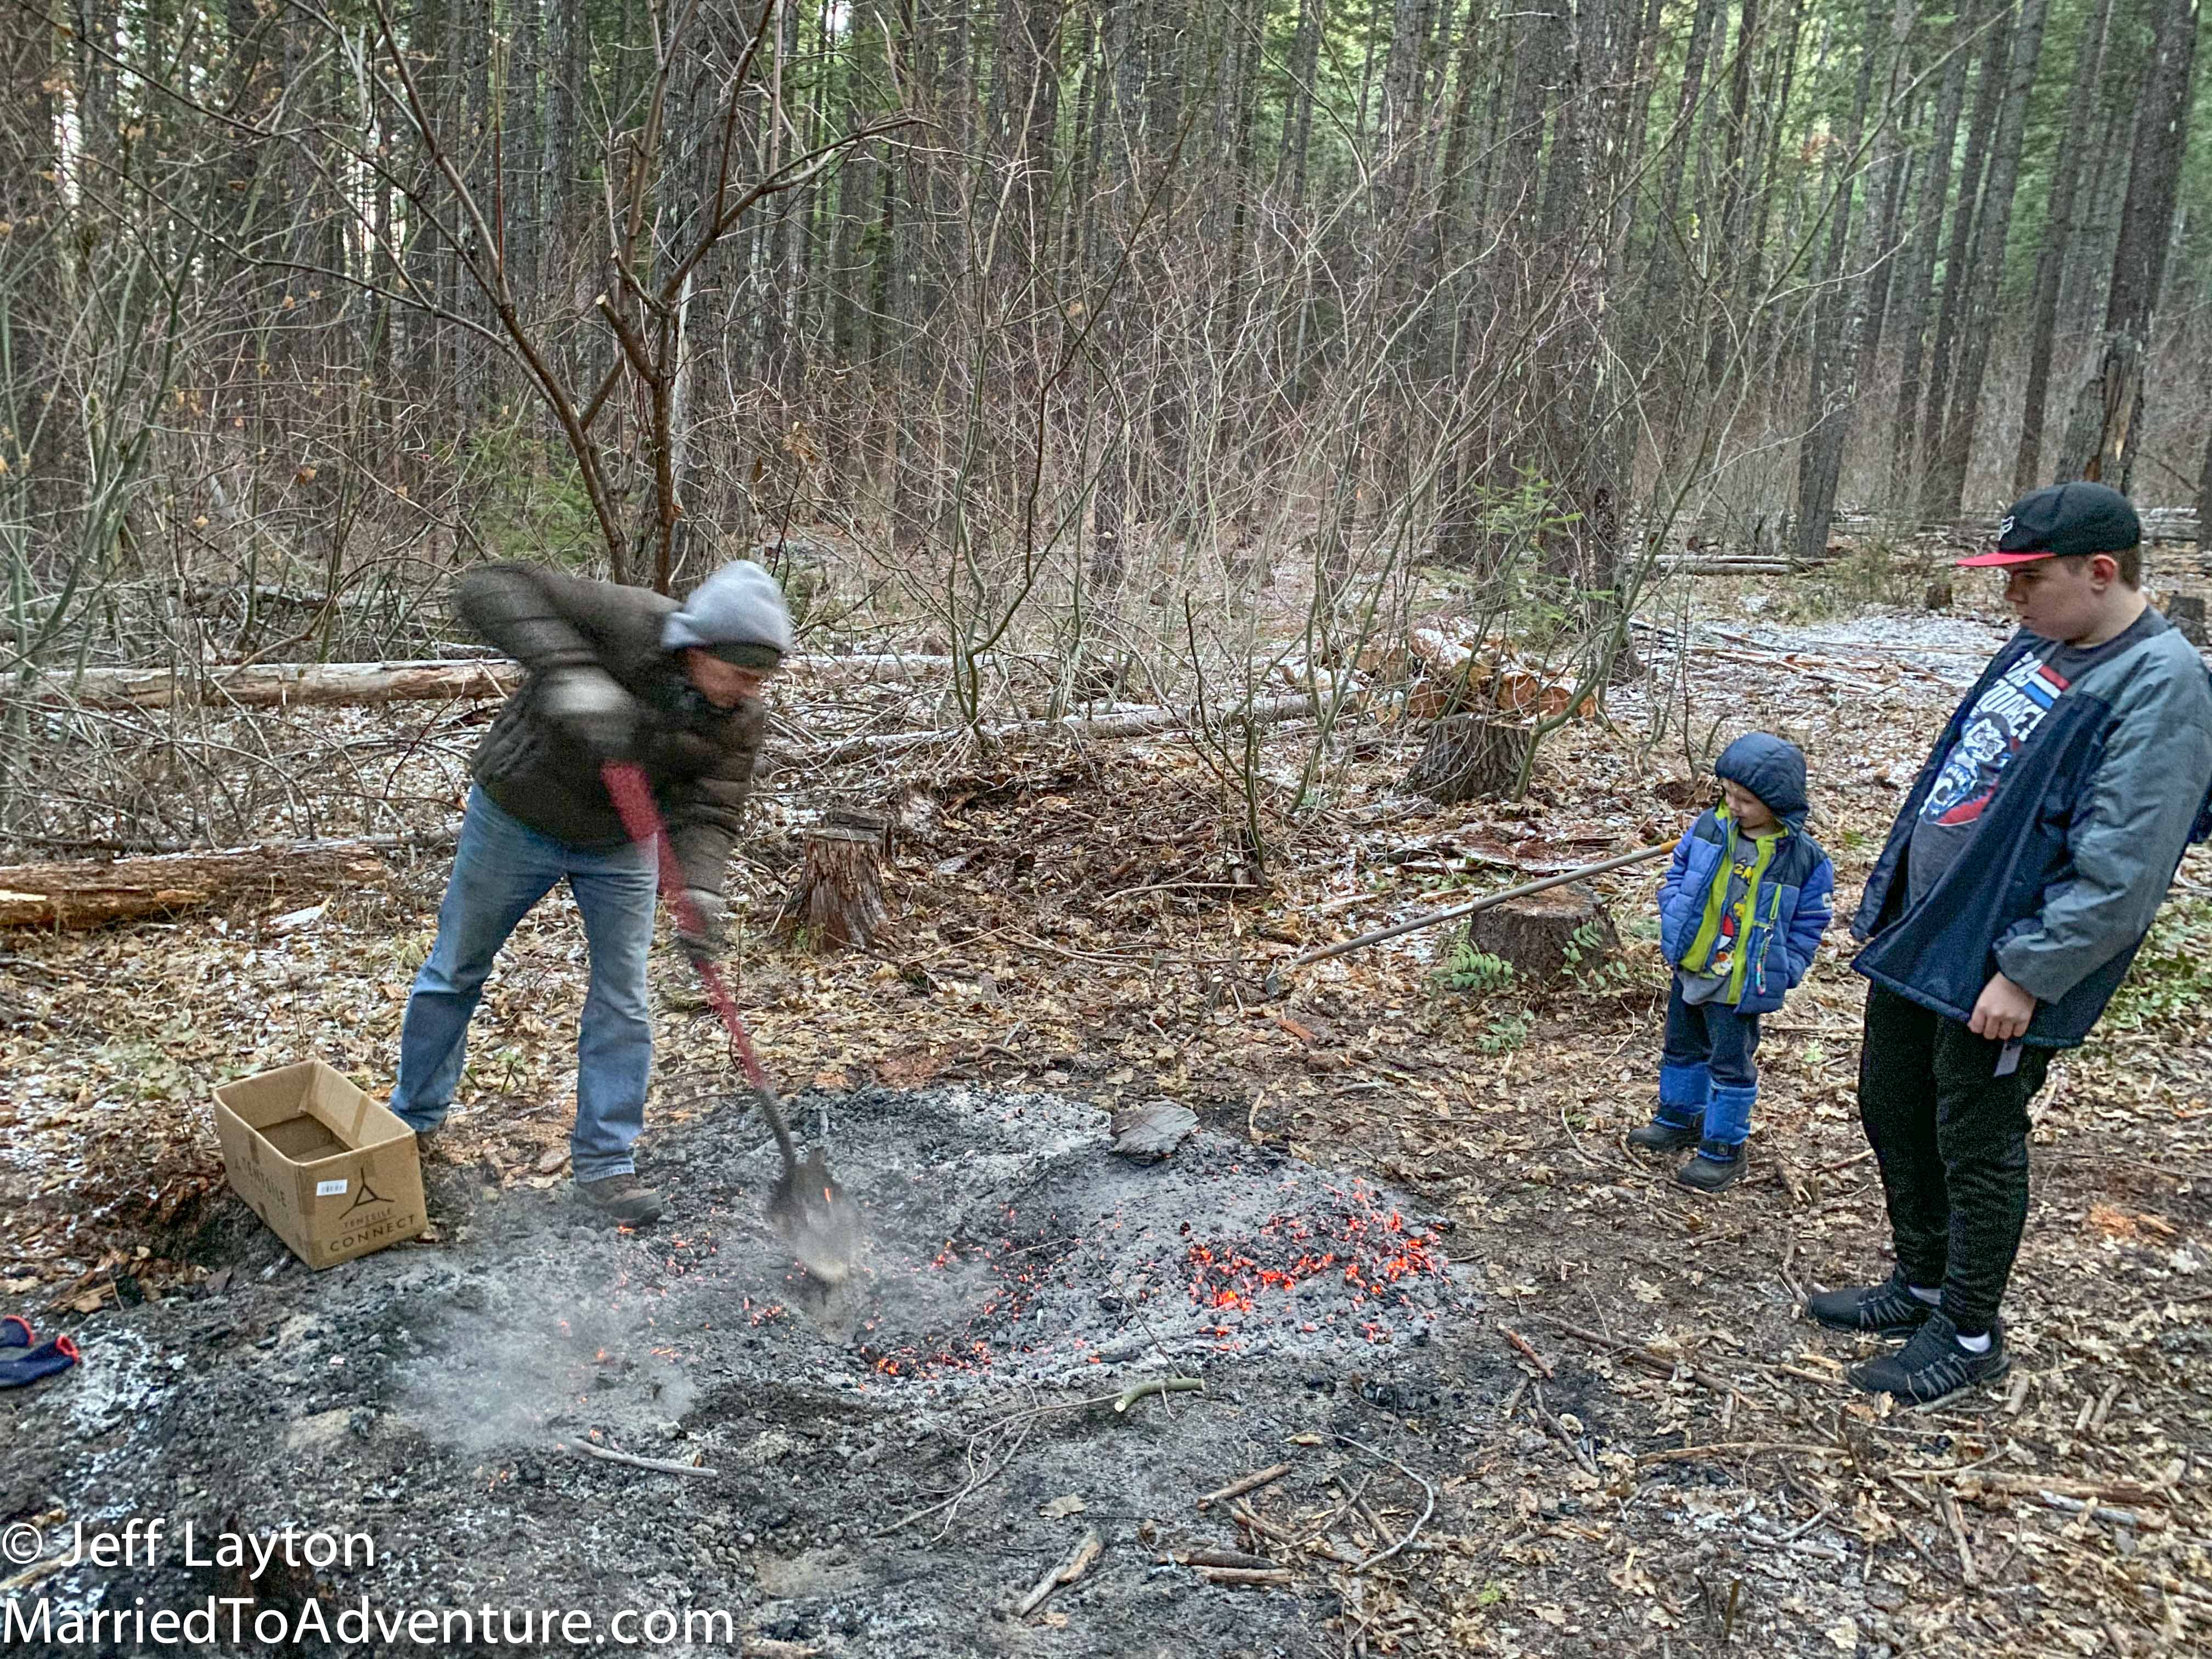
Ian and Zach watch on as Jeff removes the pork shoulder after 22 hours of cooking
Step #7 – Feast
After 22 hours, our ravenous family dove in.
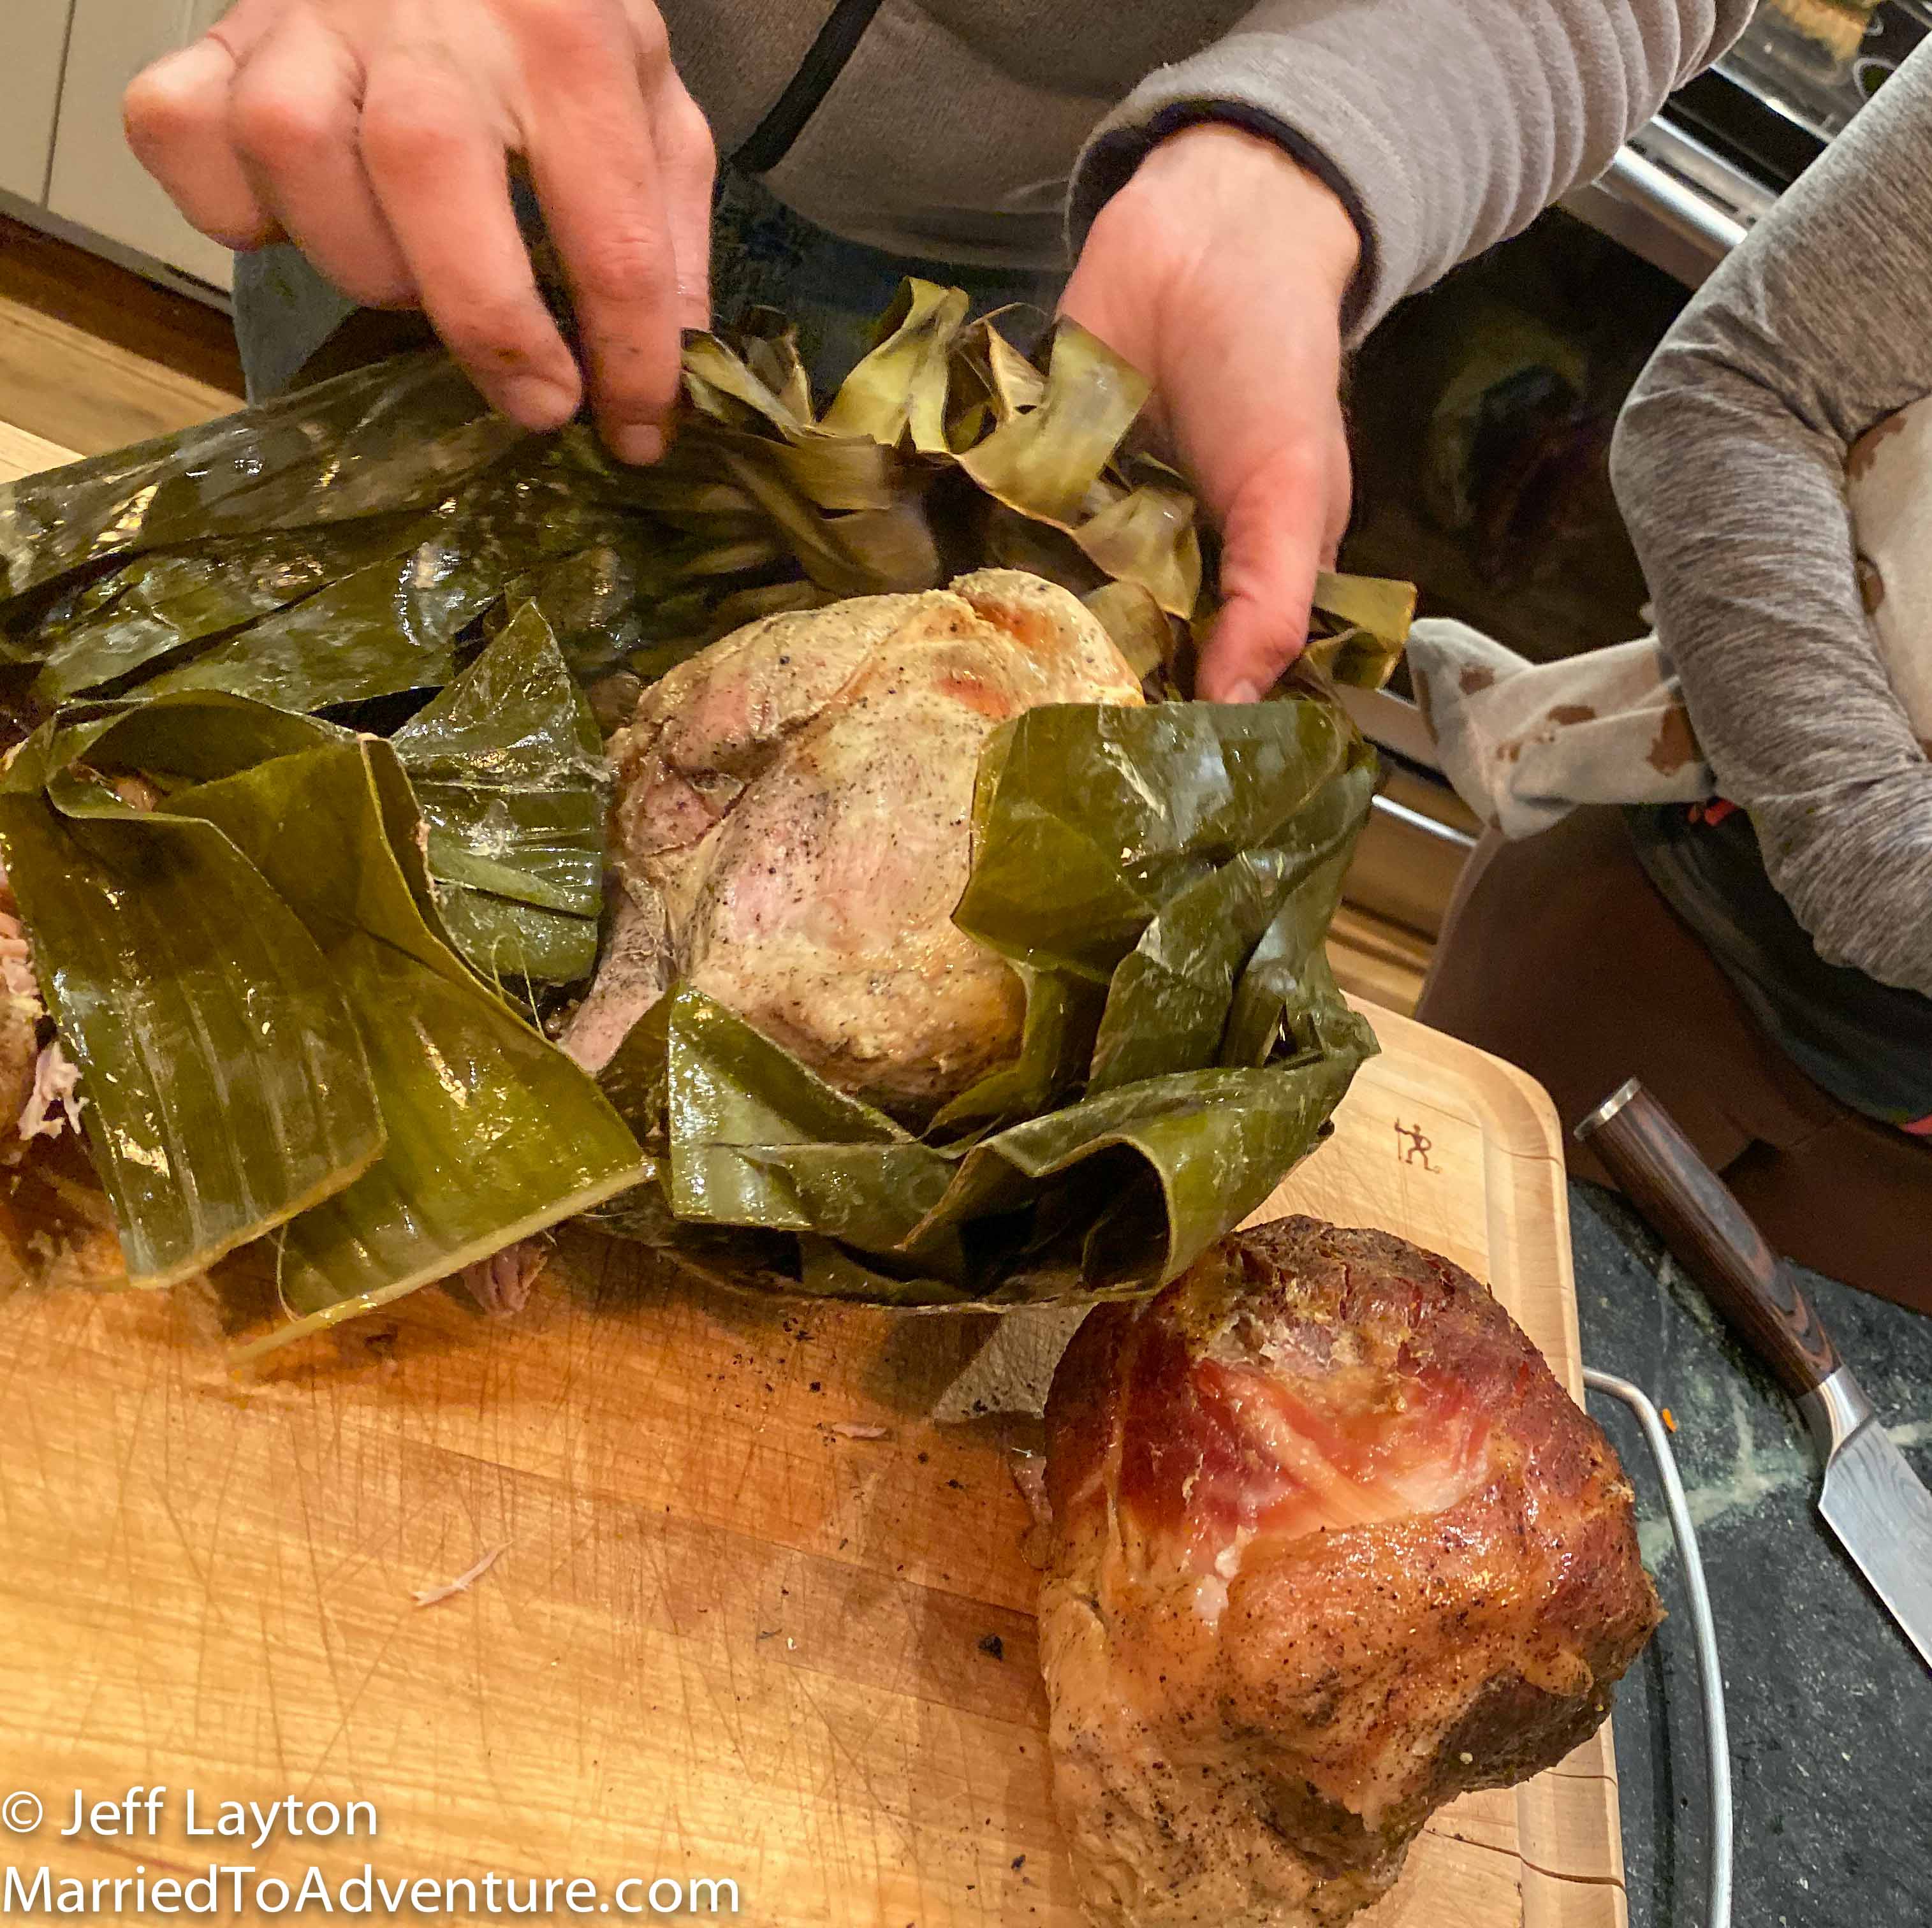
The meat on the left was wrapped in banana leaves and foil. The meat on the right was just in leaves
We unearthed all the meat bundles and taste tested them – a gaggle of family members voted on the best.
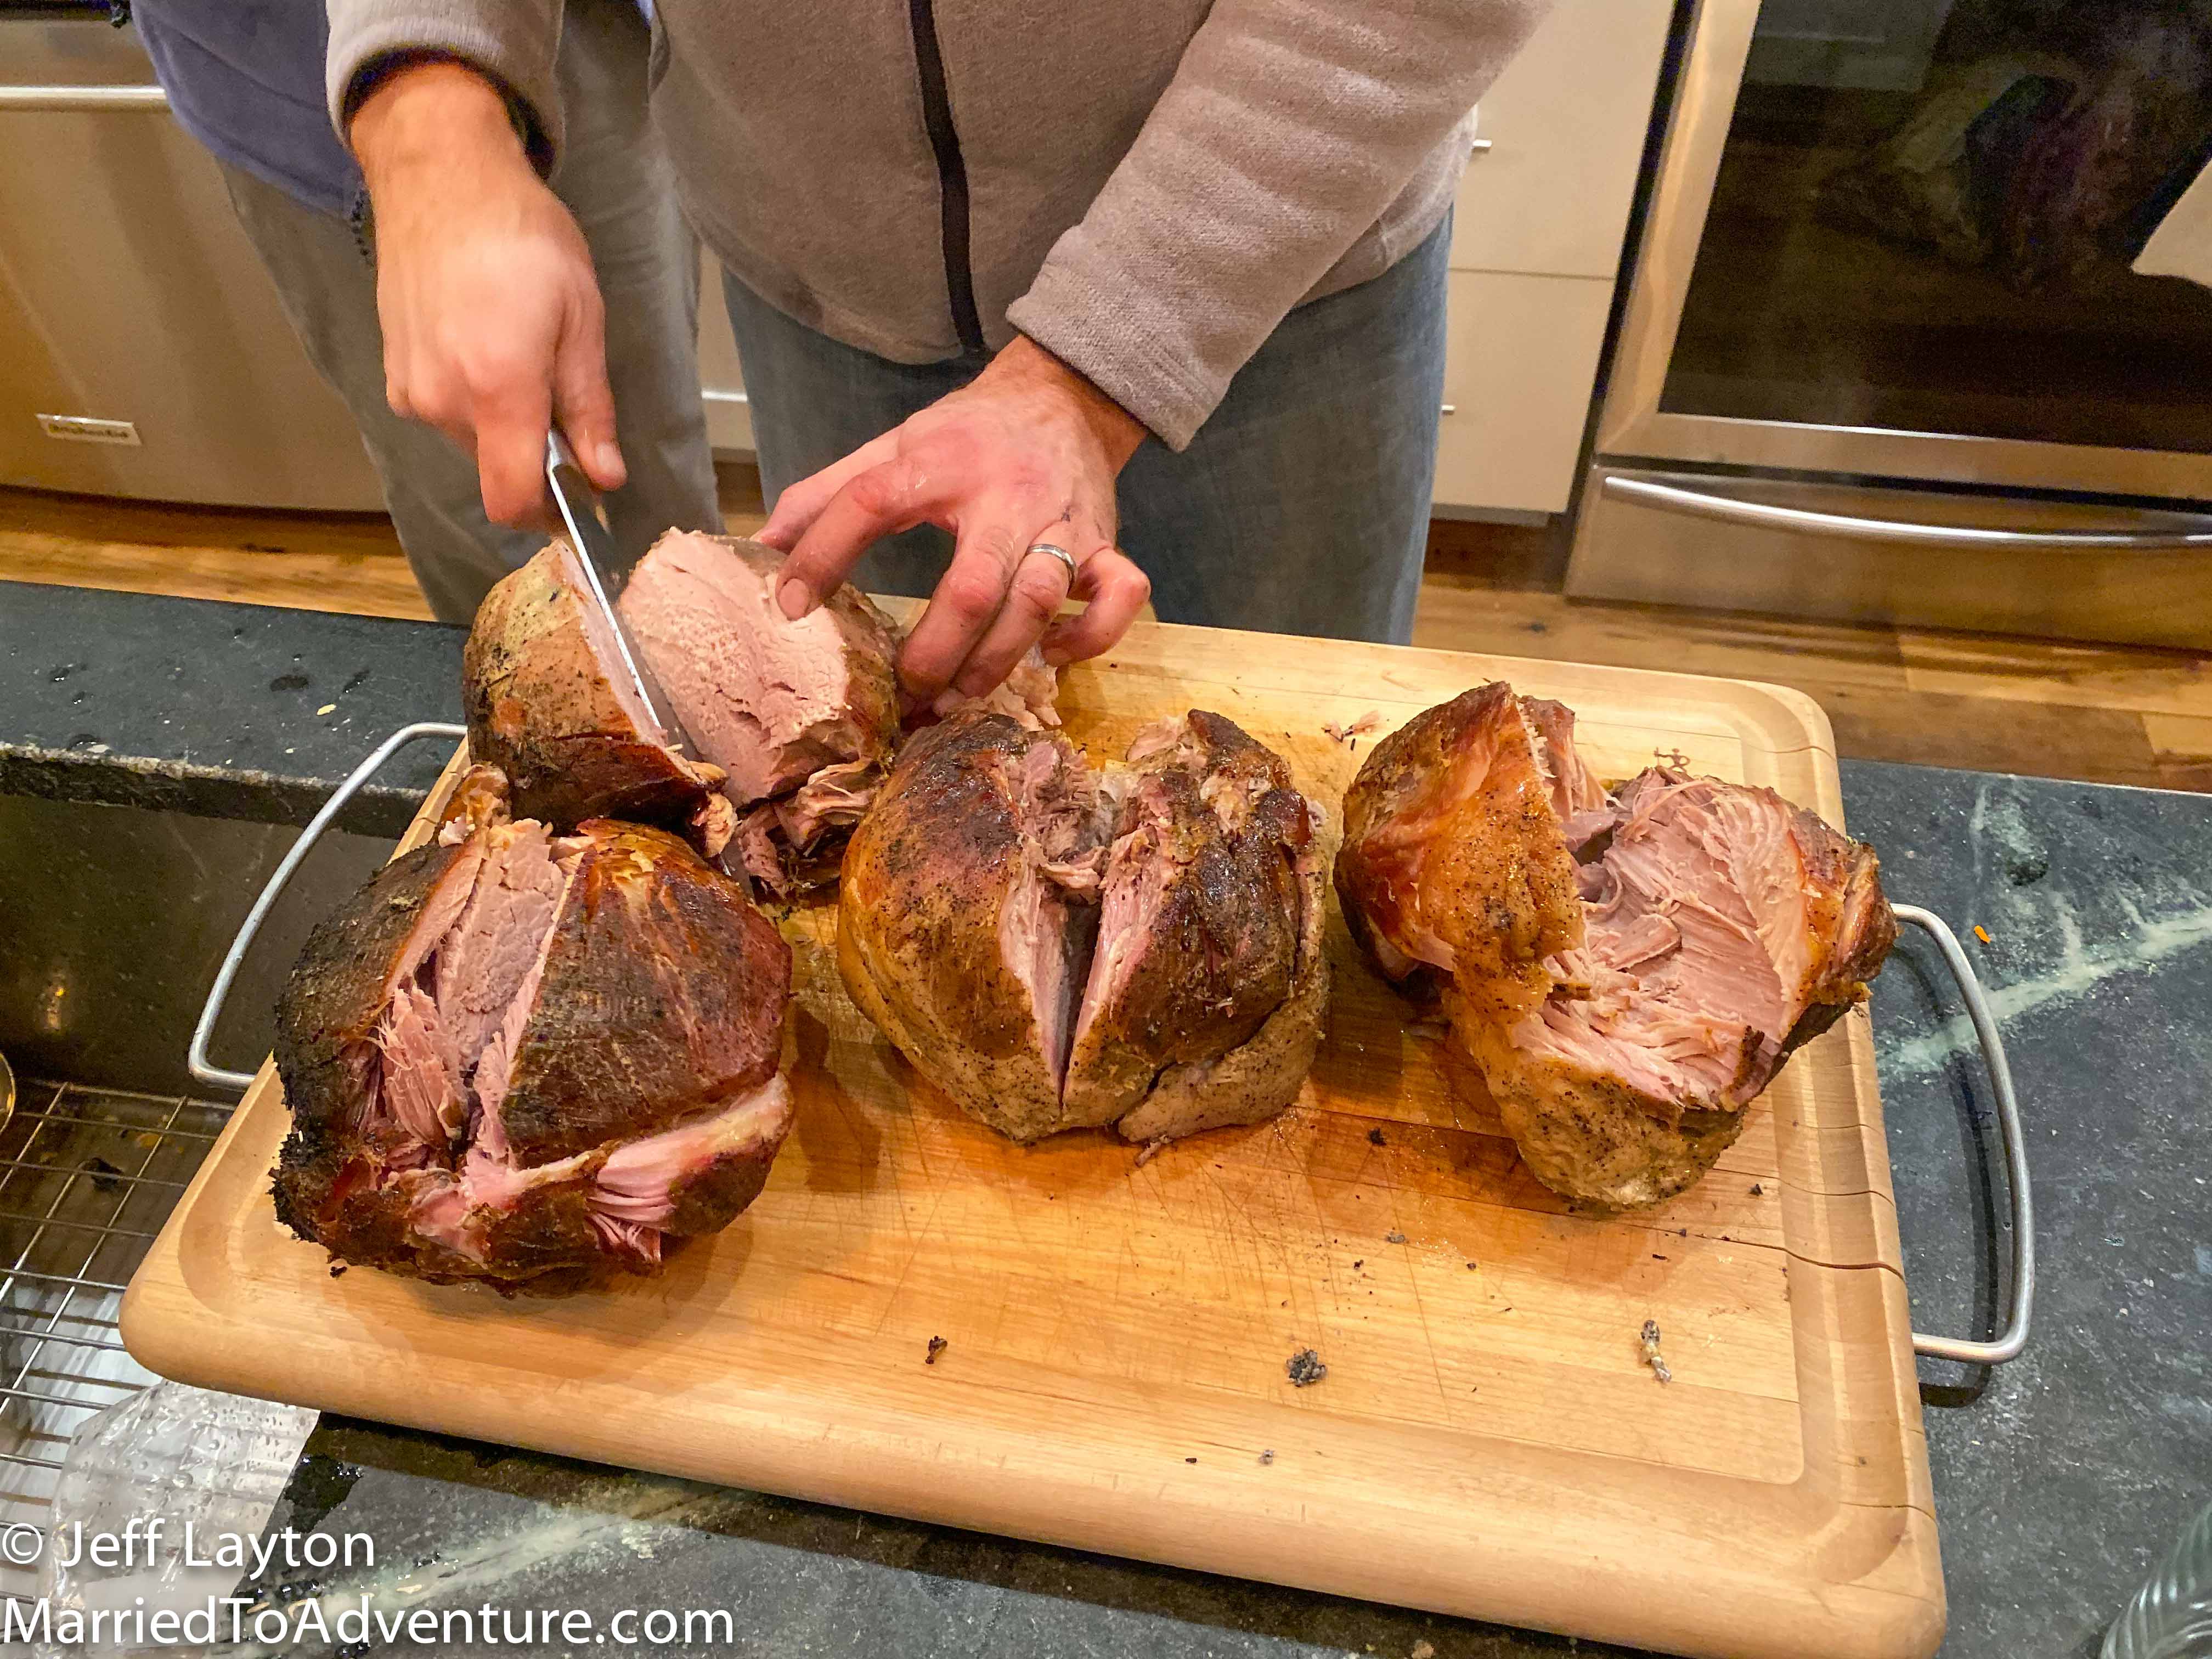
Three different methods for cooking the meat result in delicious pulled pork for weeks
All three versions were delicious and each would have counted as standalone success.
The clear winner though was the cut wrapped in banana leaves and then foil. It was by far the most juicy, (m-word), and tender. The leaves gave the meat a slightly earthy flavor.
The cut wrapped only in foil was slightly dryer but definitely an acceptable option if banana leaves are hard to come by.
The cut wrapped only in leaves was also delicious but when we removed it from the fire, some of the leaves punctured or fell off, and the pork got a bit dirty. Also some of the outer parts of the meat were slightly singed. So the lesson was: if you go this route, use several layers of leaves and plenty of string.